<< Chapter < Page Chapter >> Page >
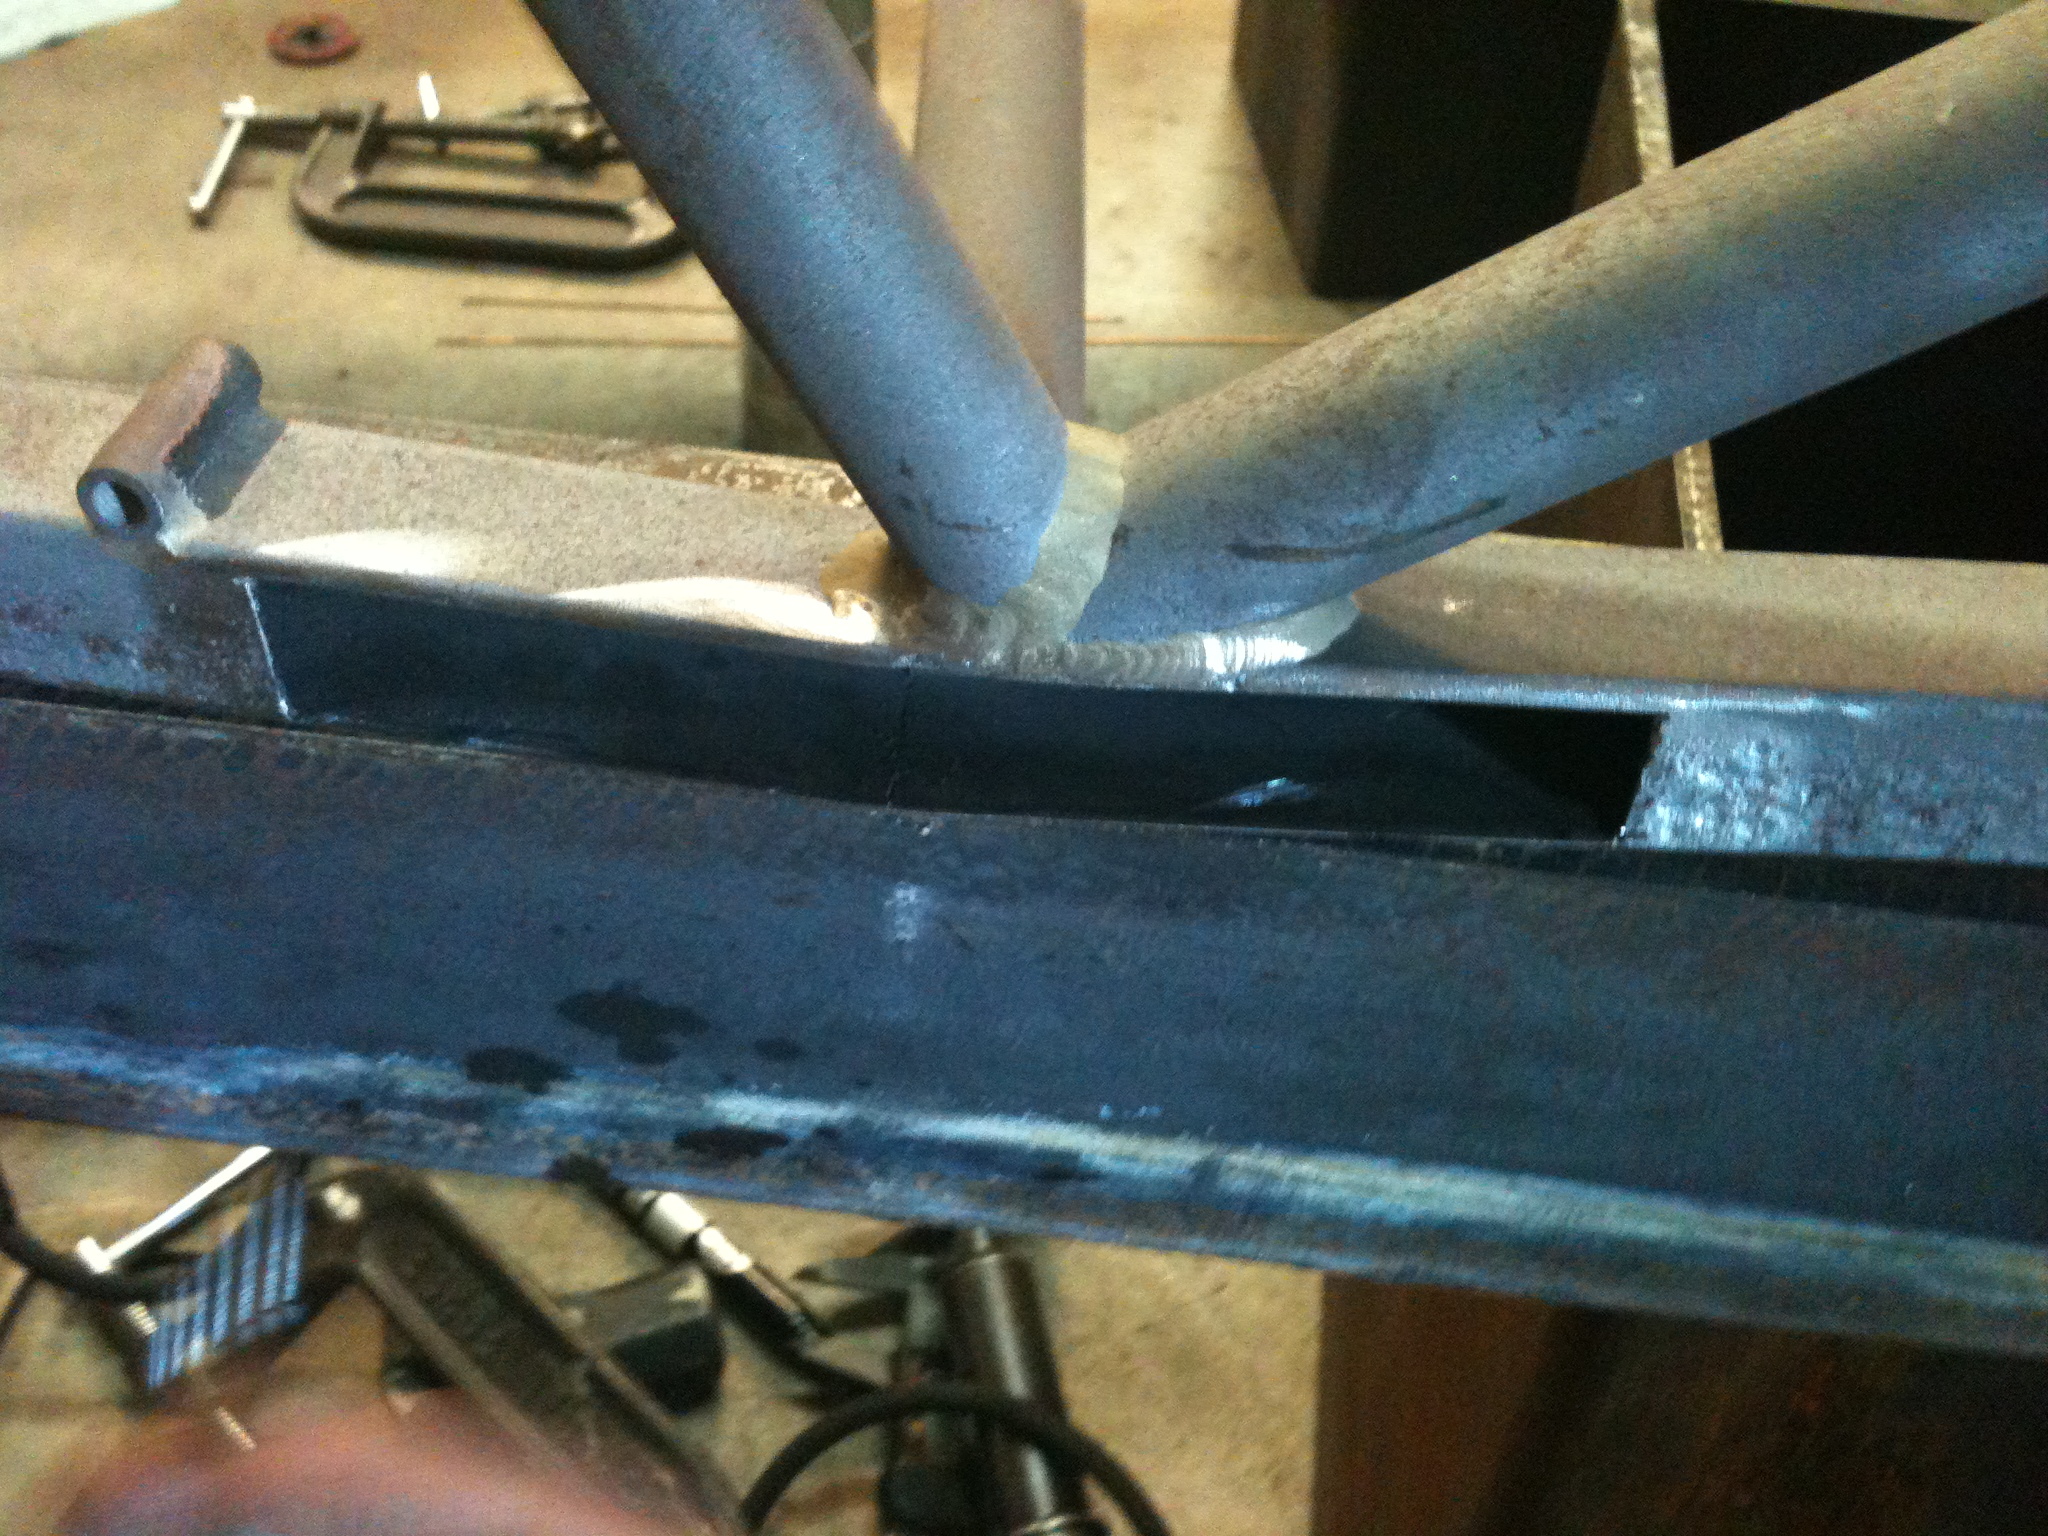
View of lower left-hand side chassis tube showing removal of the section aft of the chassis-to-body bobbin.
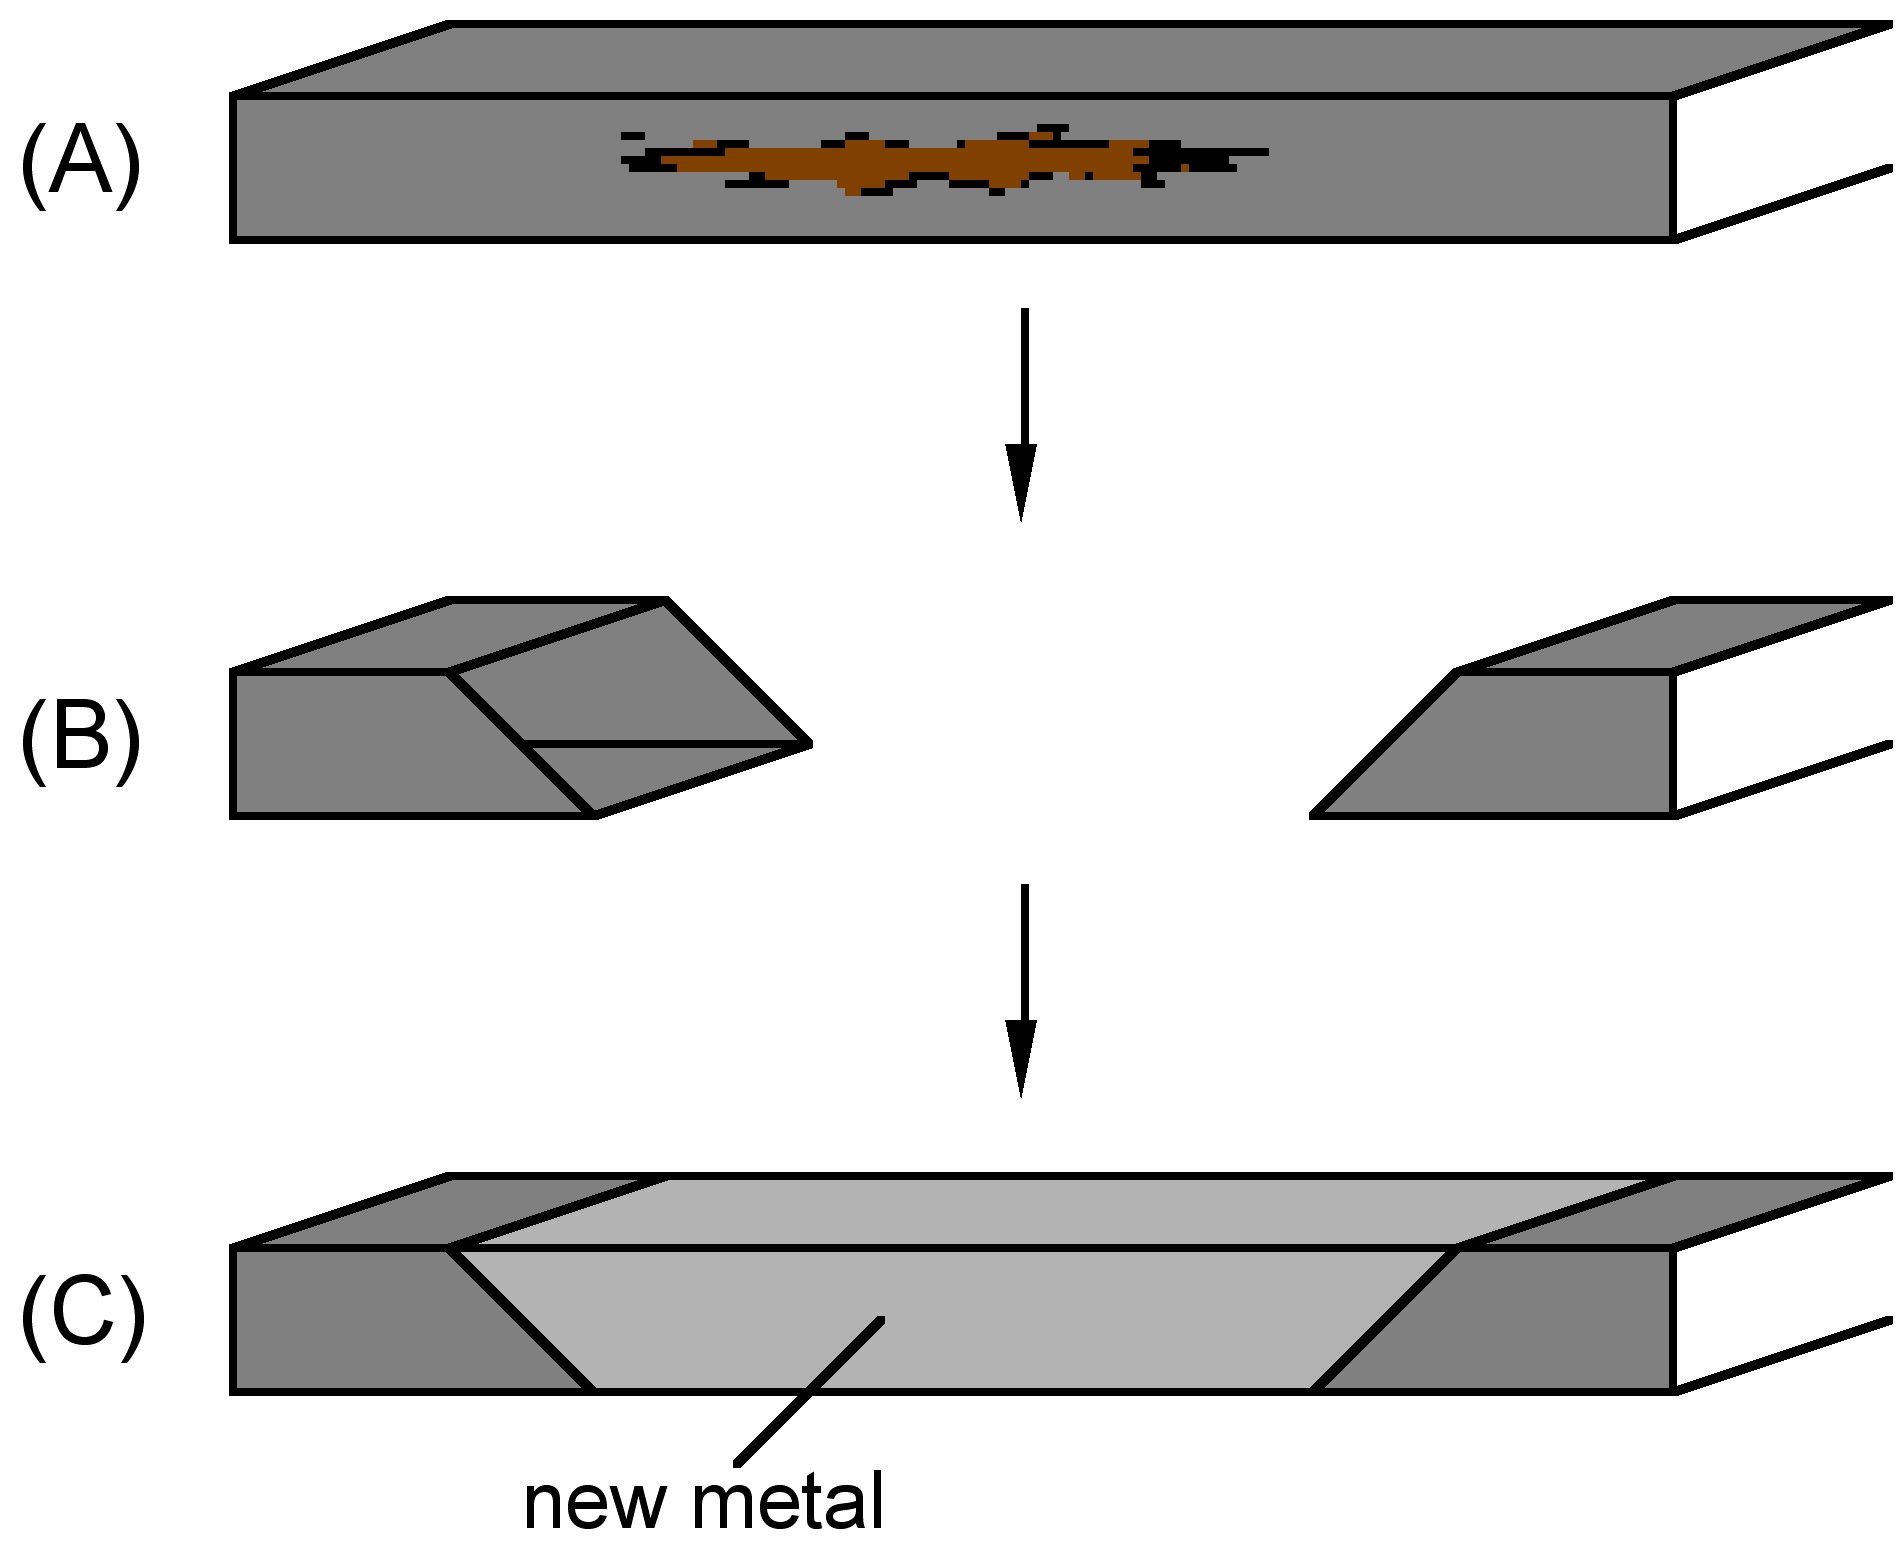
Schematic representation of the repair of lower chassis tube.
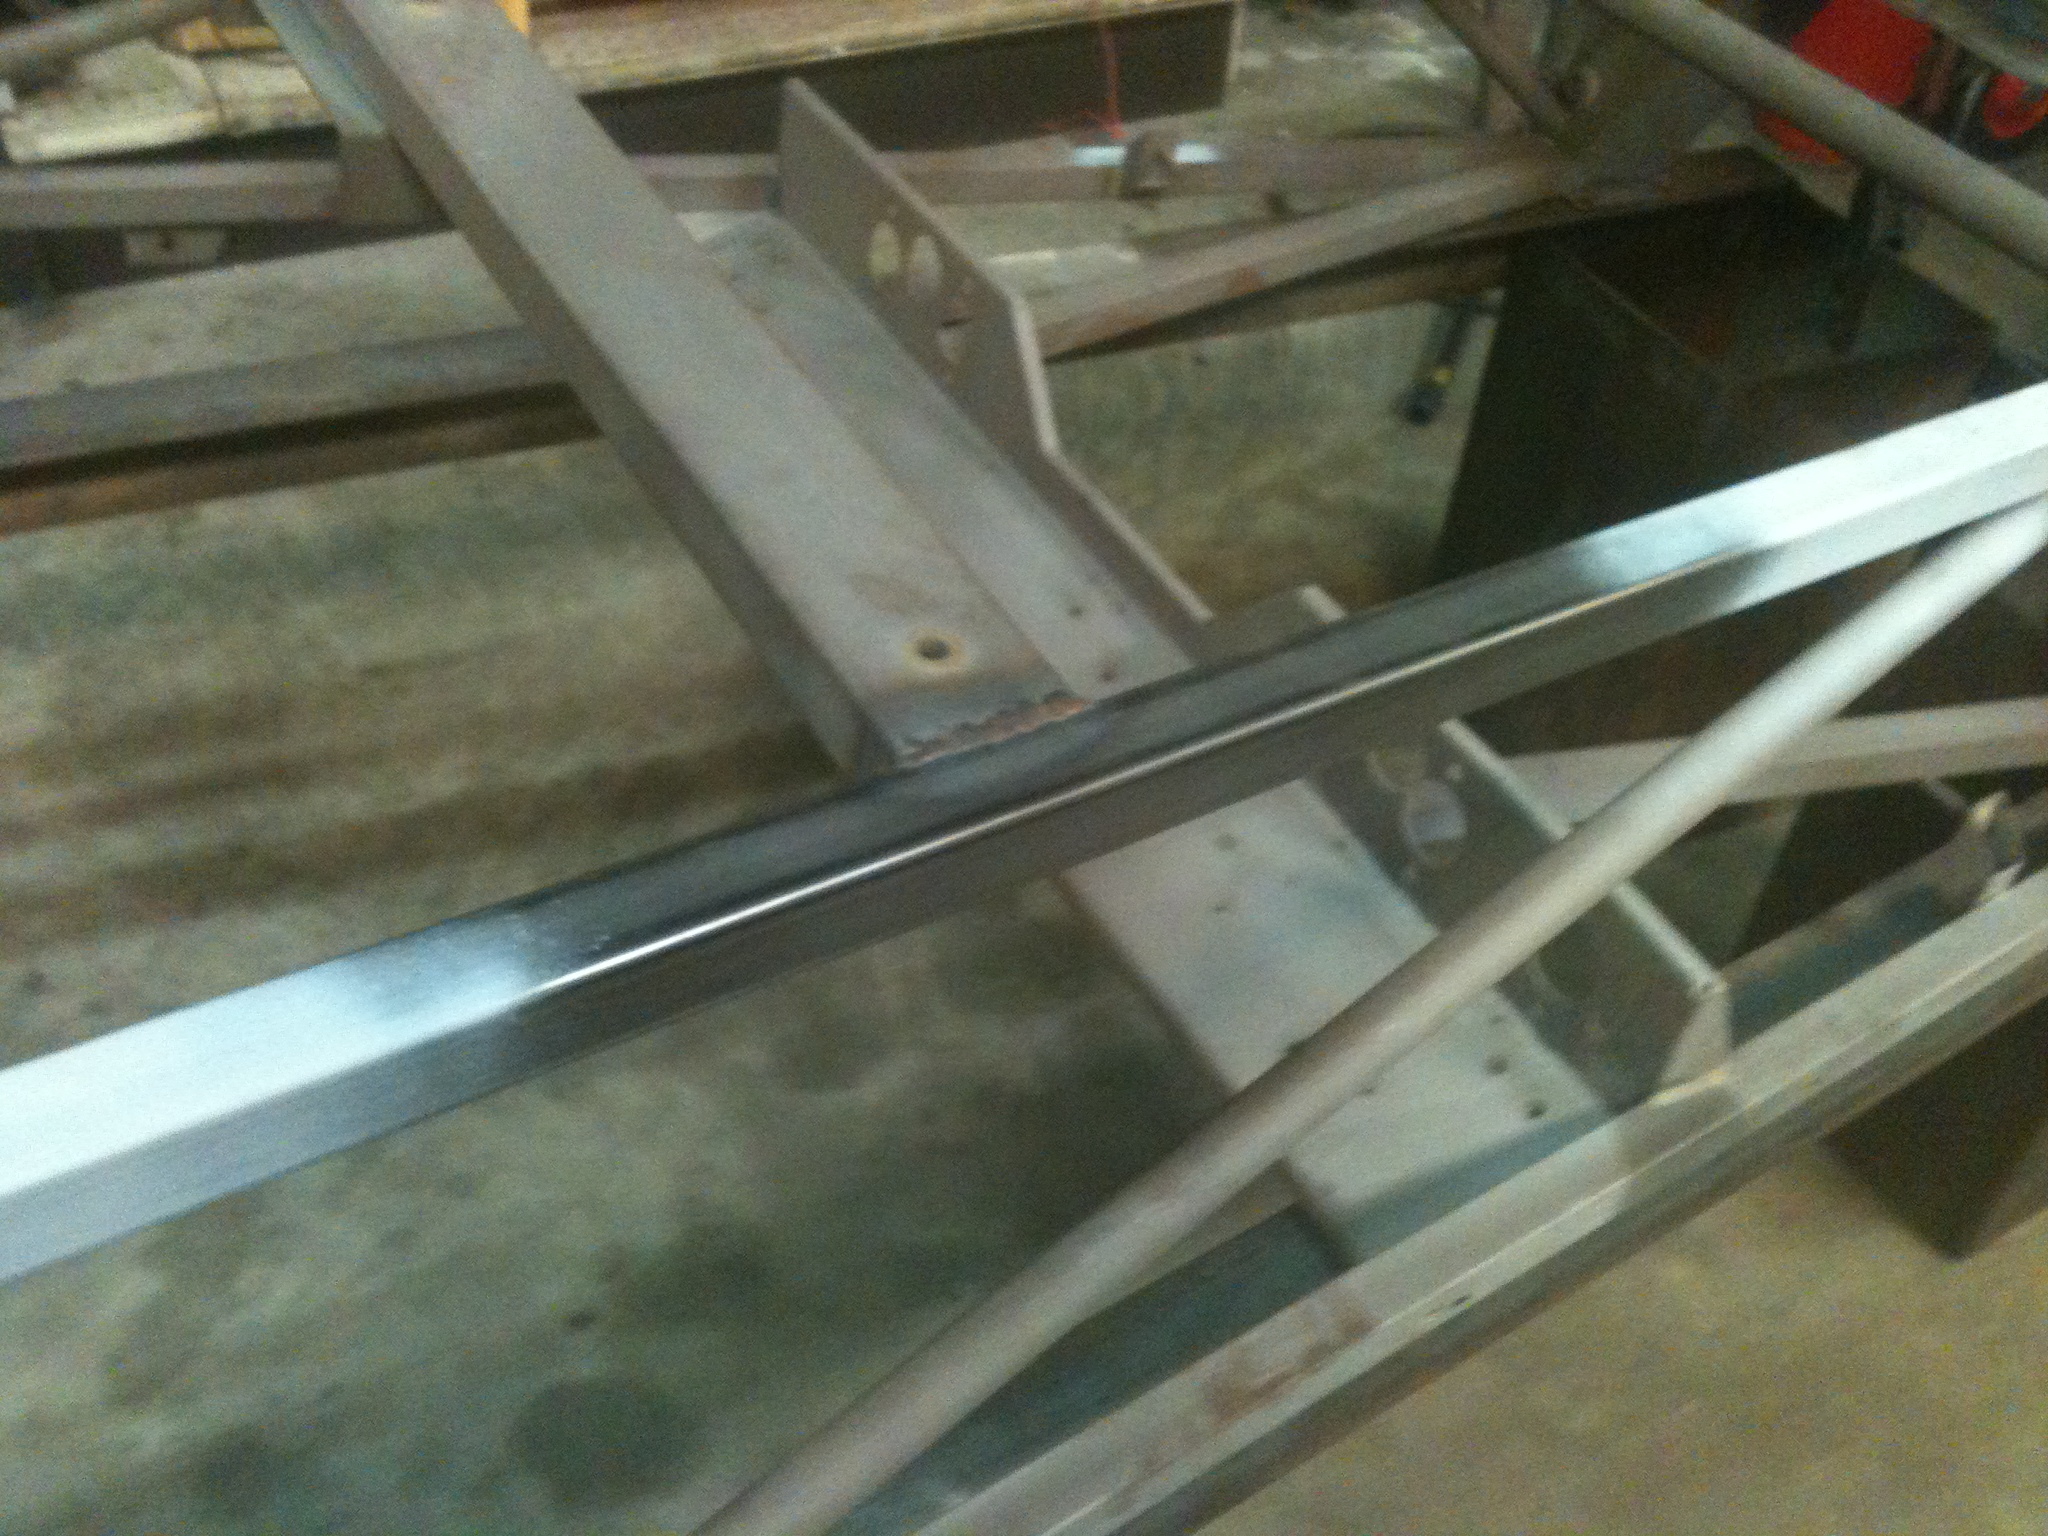
Finished repair lower chassis section. N.B. The chassis is upside down and thus viewed from below.

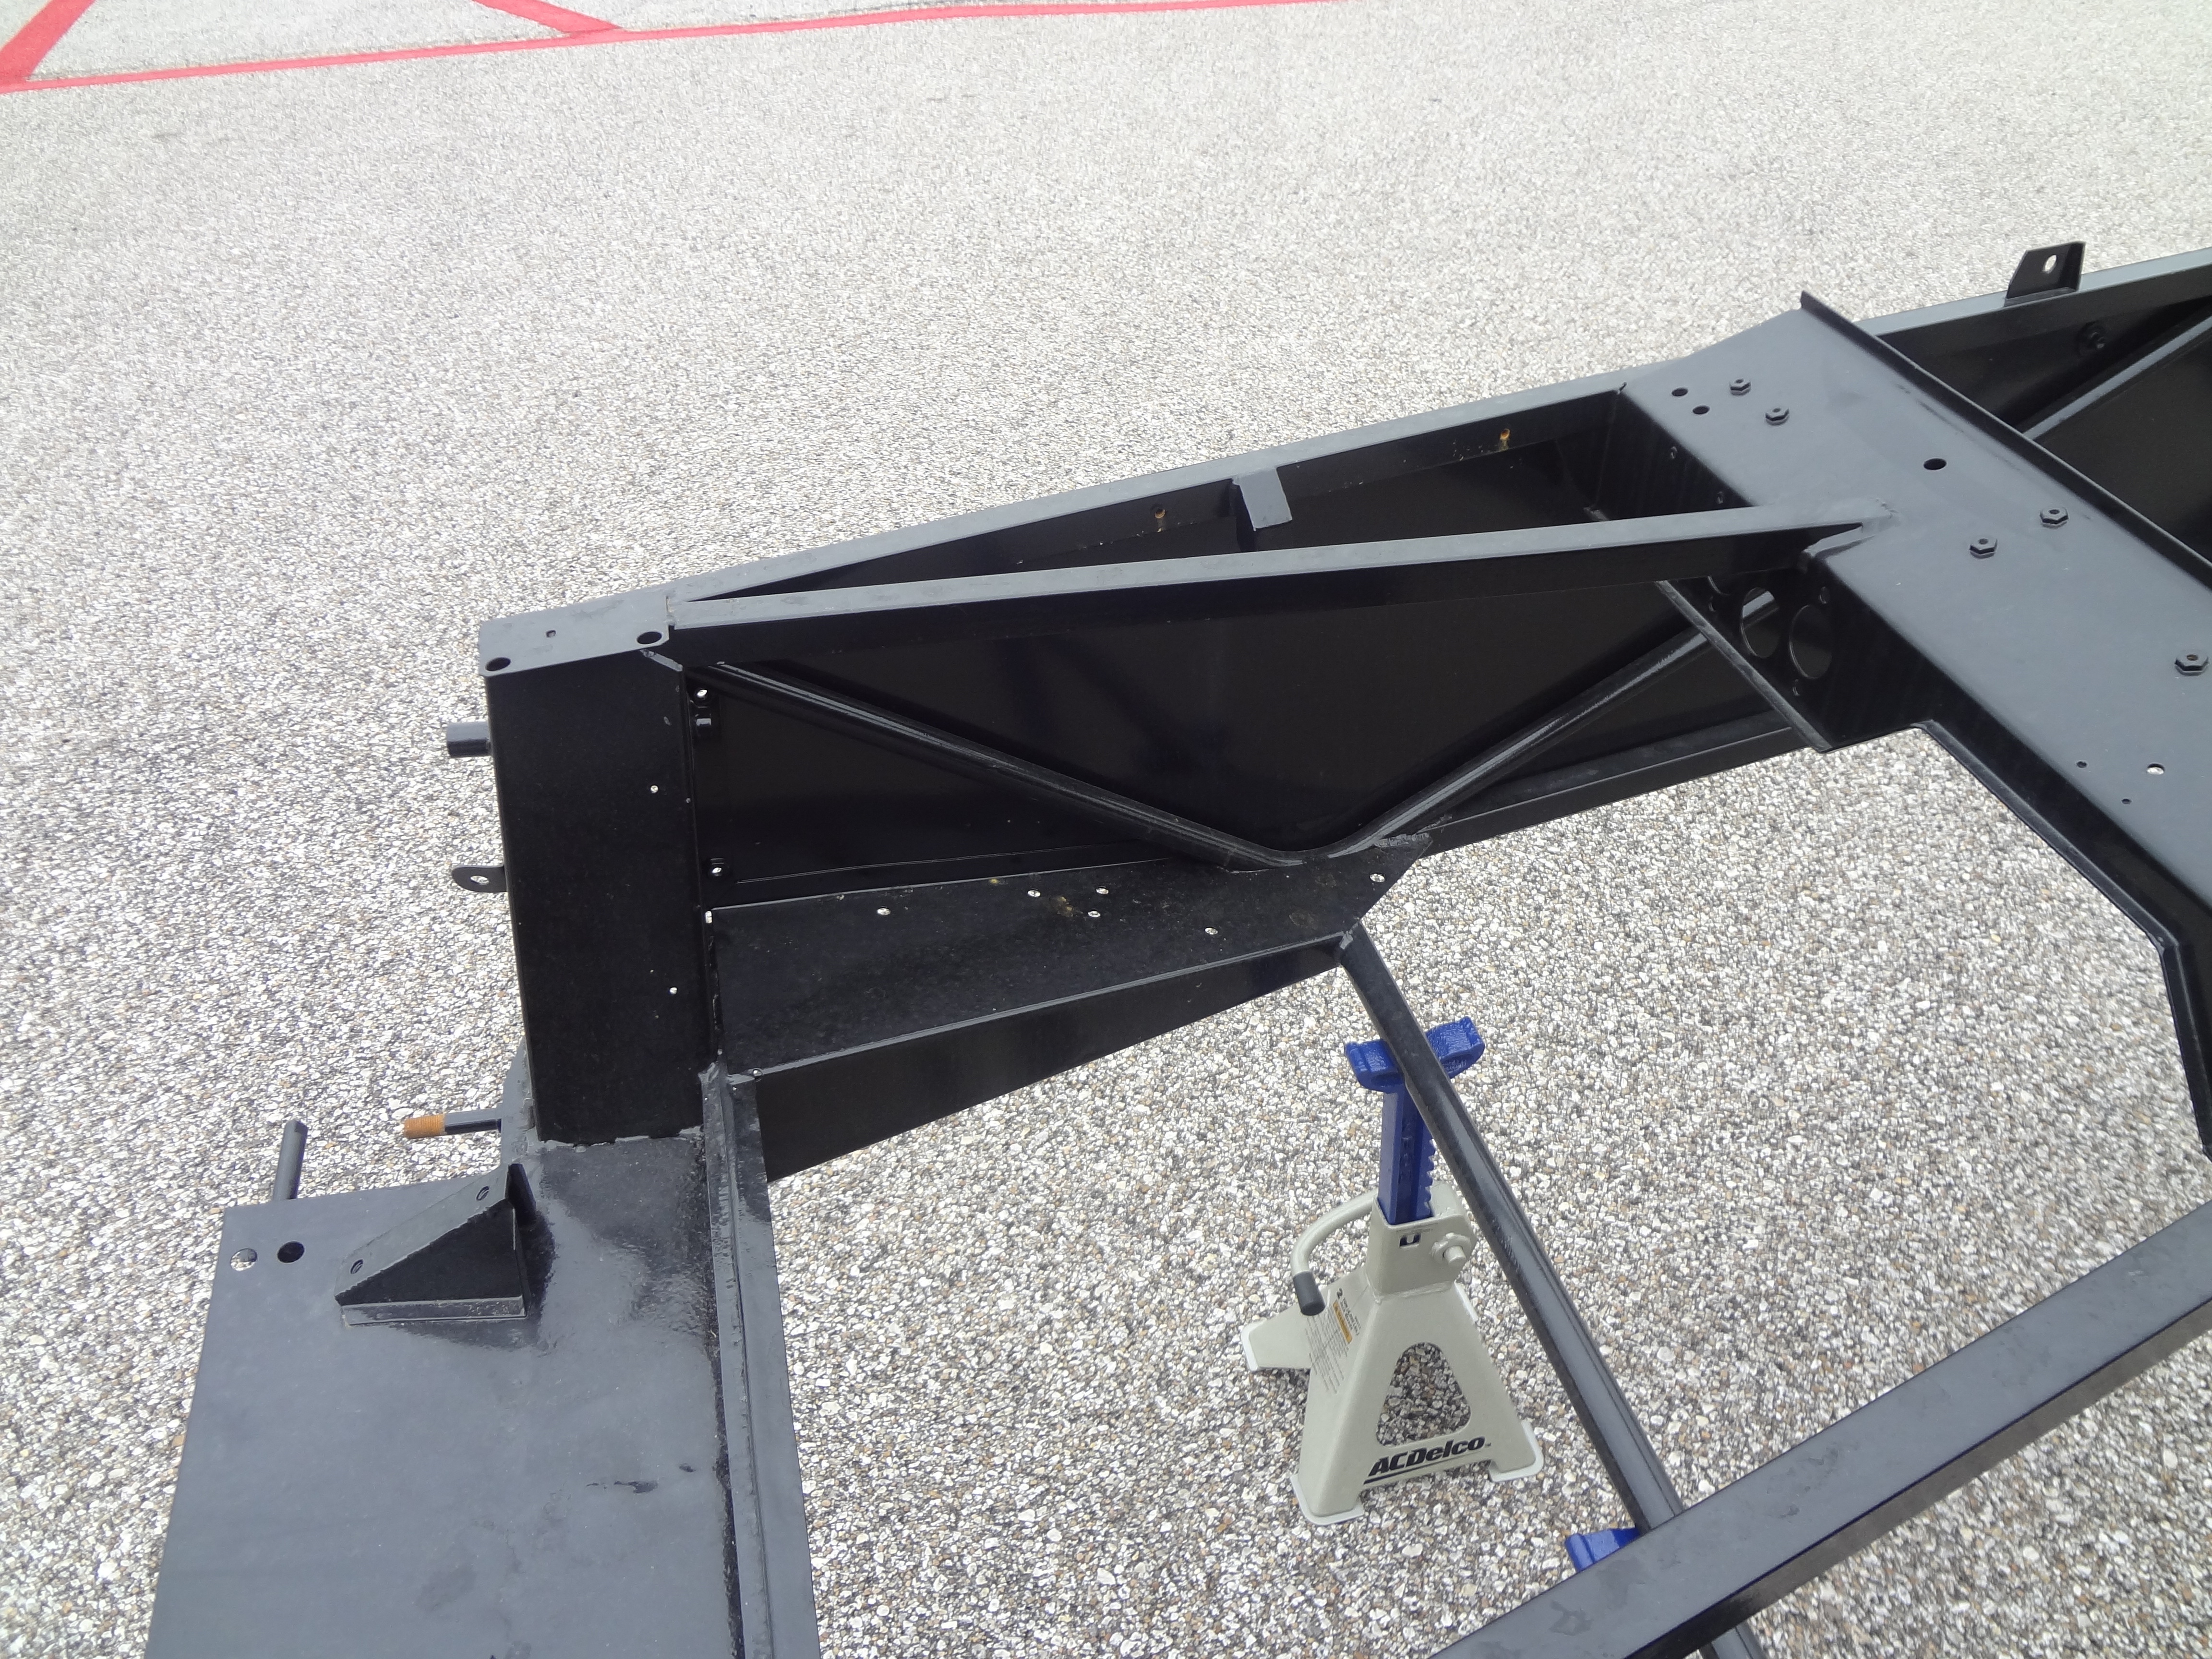
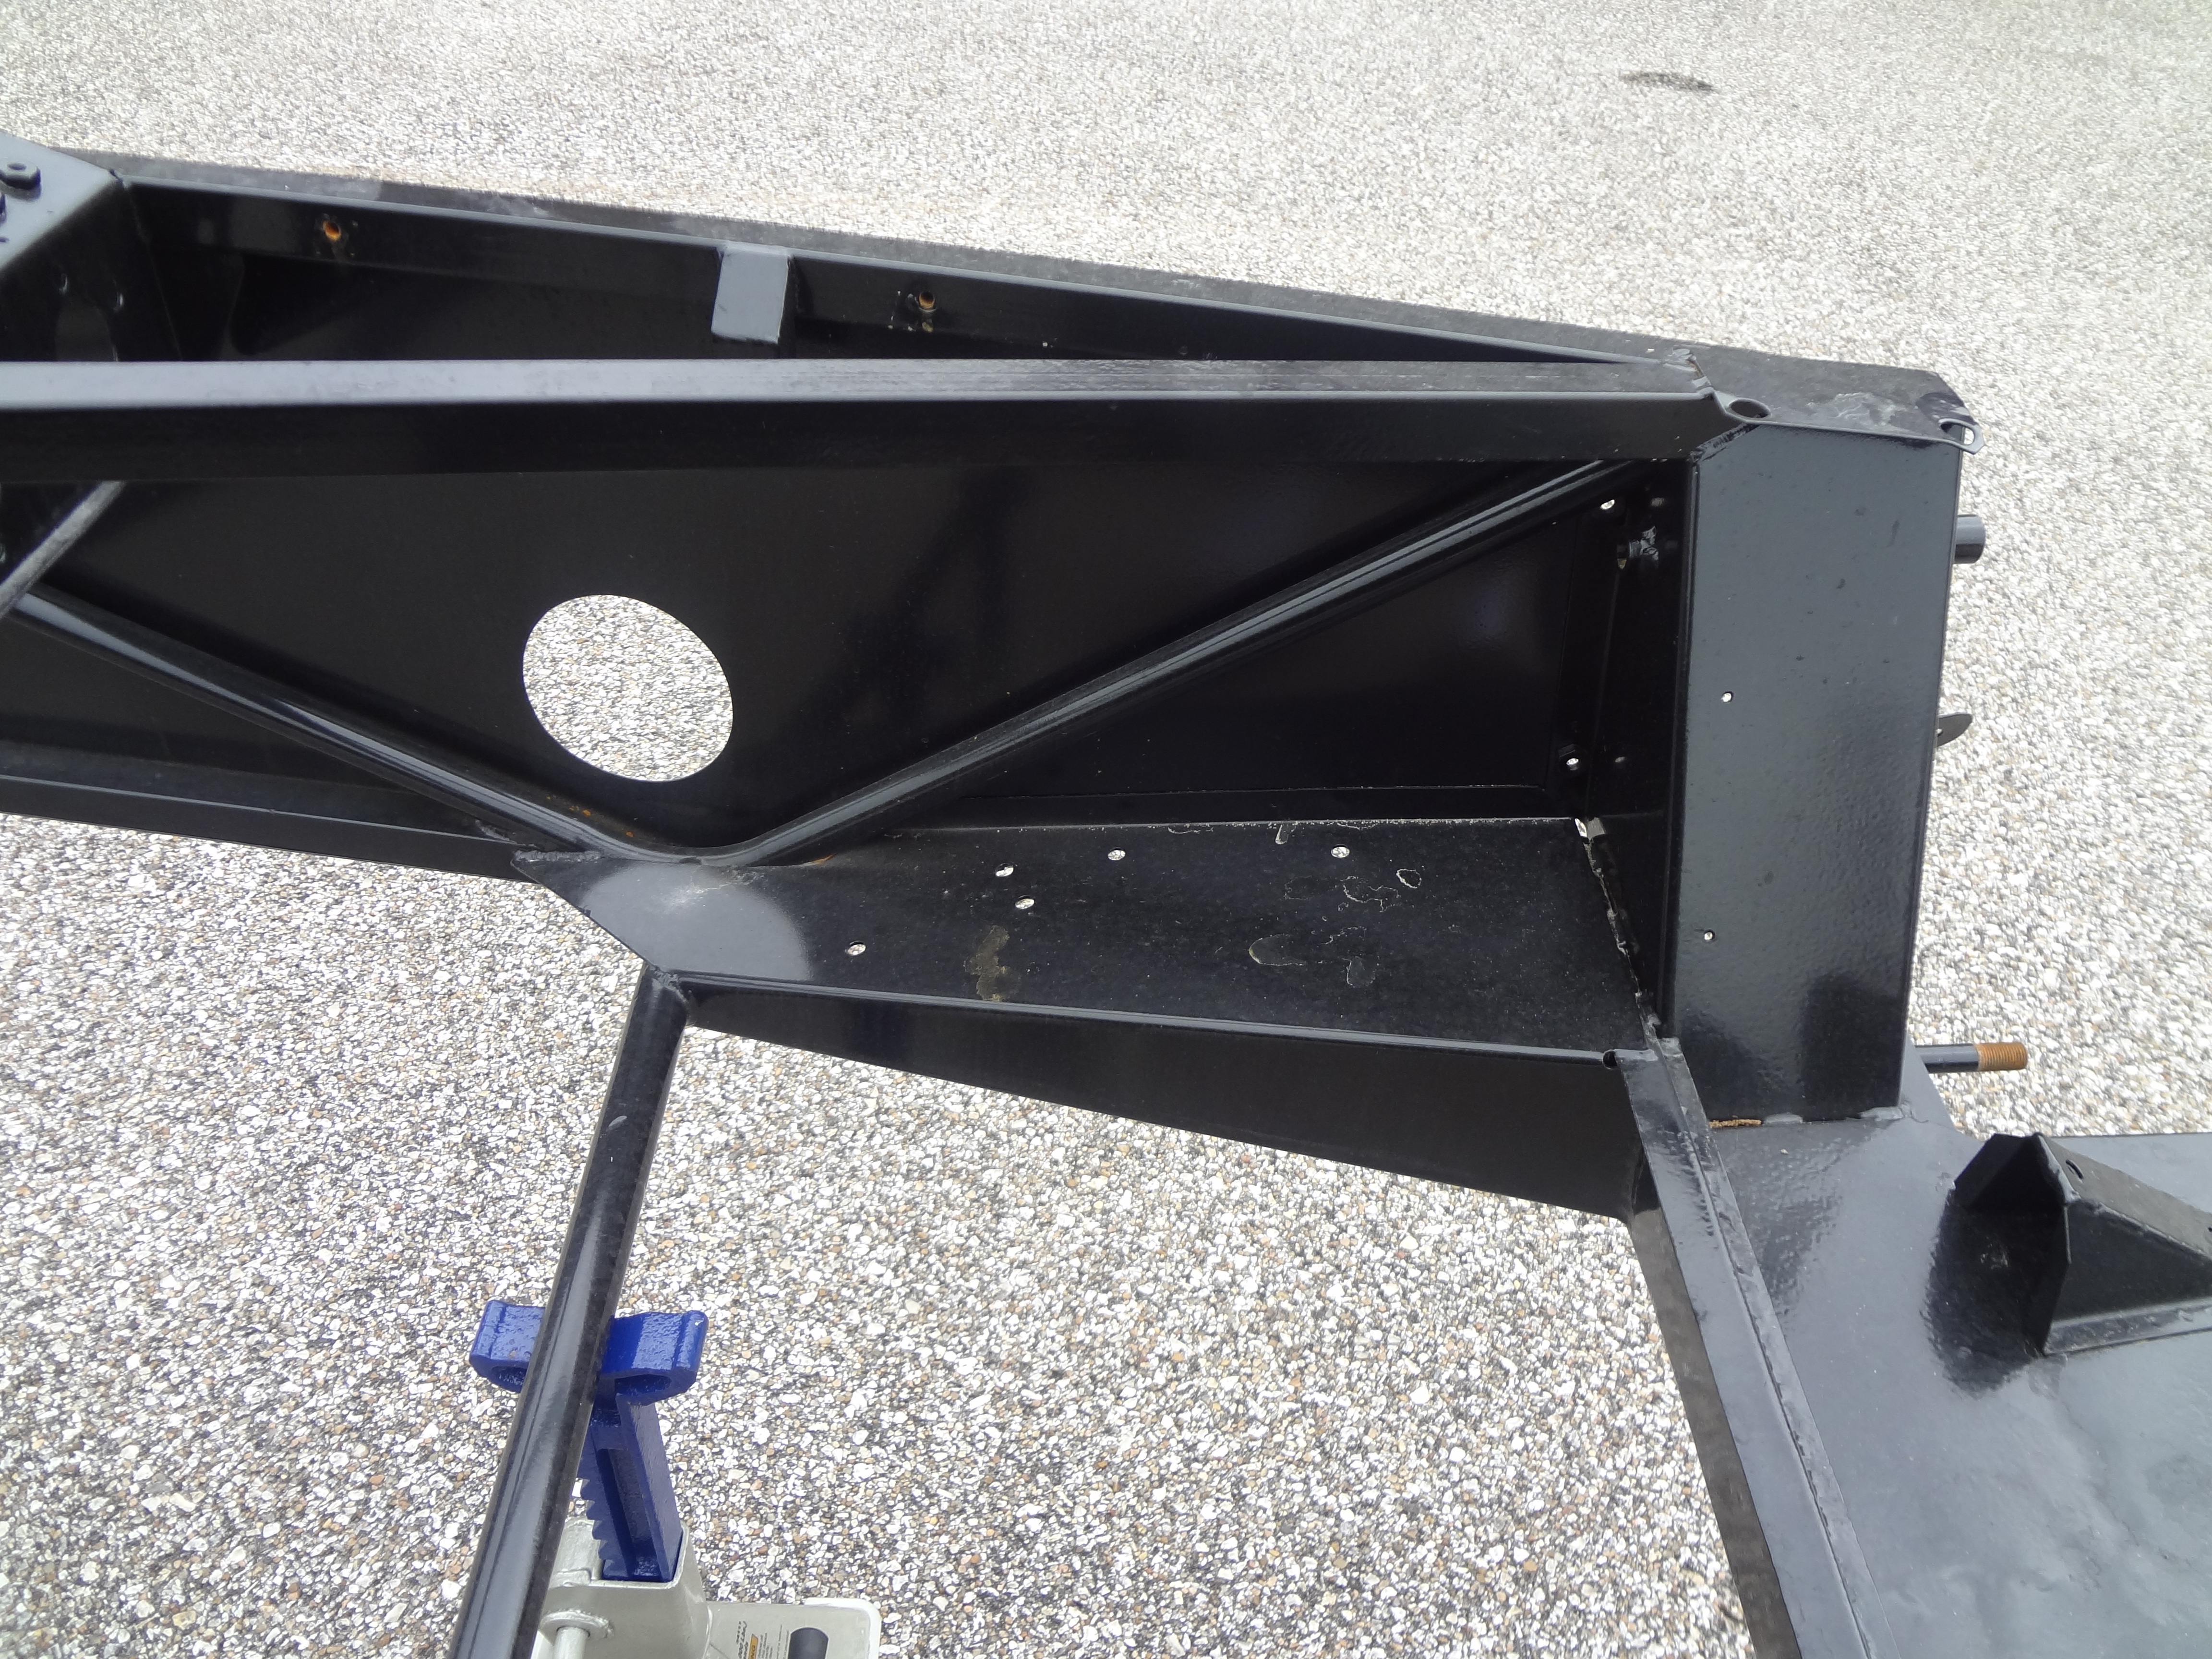
Repair of front box section

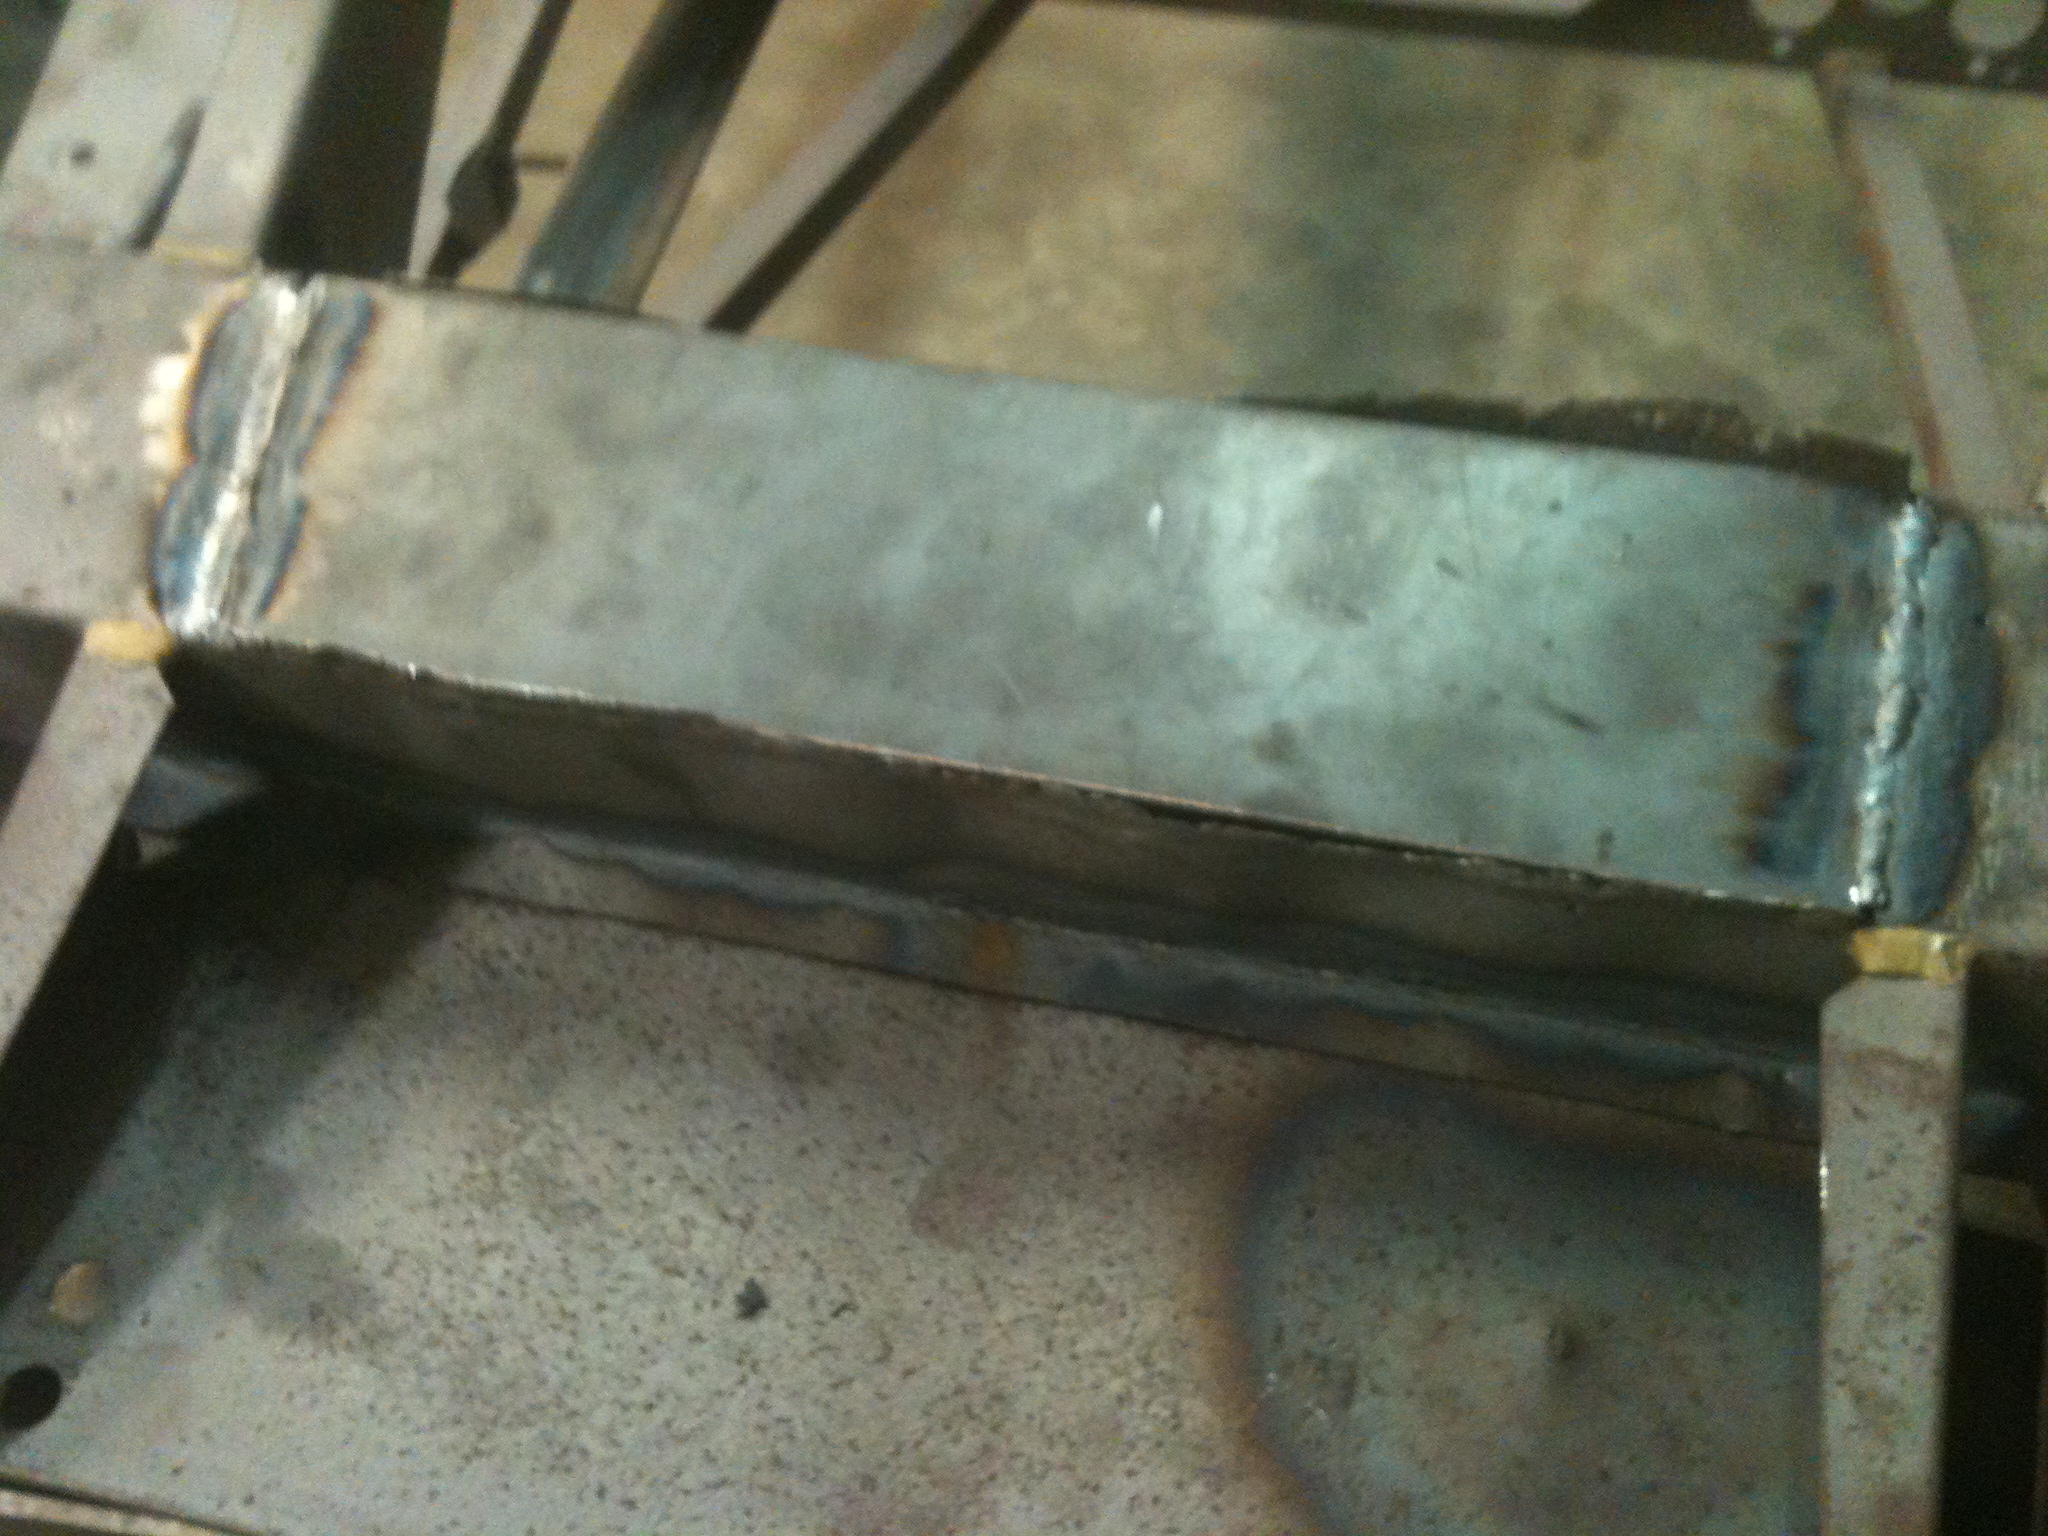
The front box section is almost completely corroded and needs to be replaced. In addition, this is a good time for it to be strengthened so that it can be used as a front jack point. The complete lower part of the box was cut away and a replacement section made from 1 / 8 ” steel plate. Before the lower section is welded in place a brace is welded to strength the box ( [link] ). Once the lower section is welded in place the sides are straightened and then welded to the new metal ( [link] and [link] ).
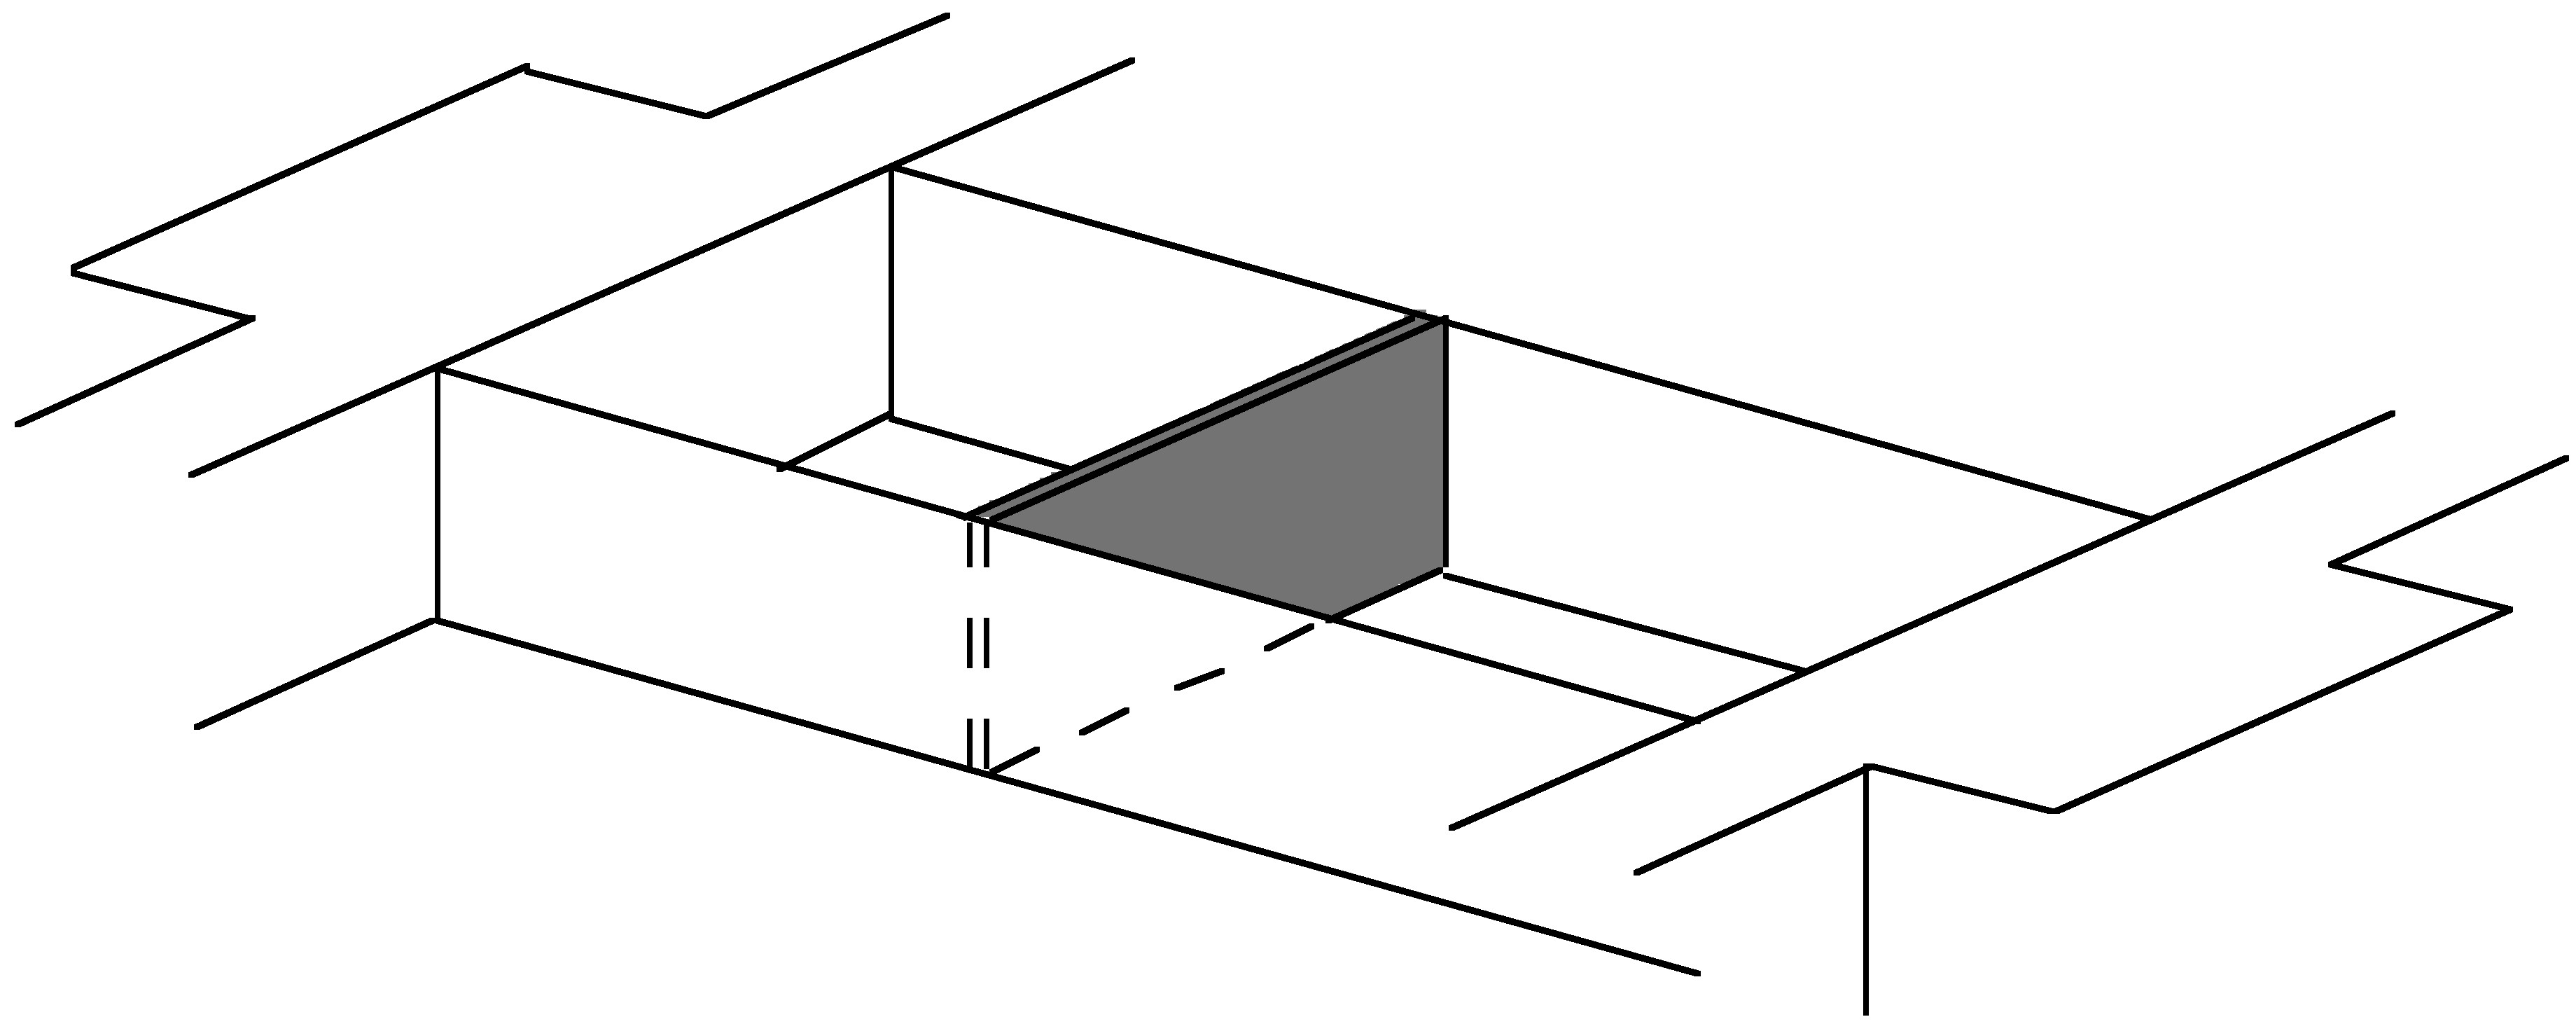
Schematic of the reinforcement (shaded) added to the front box section.
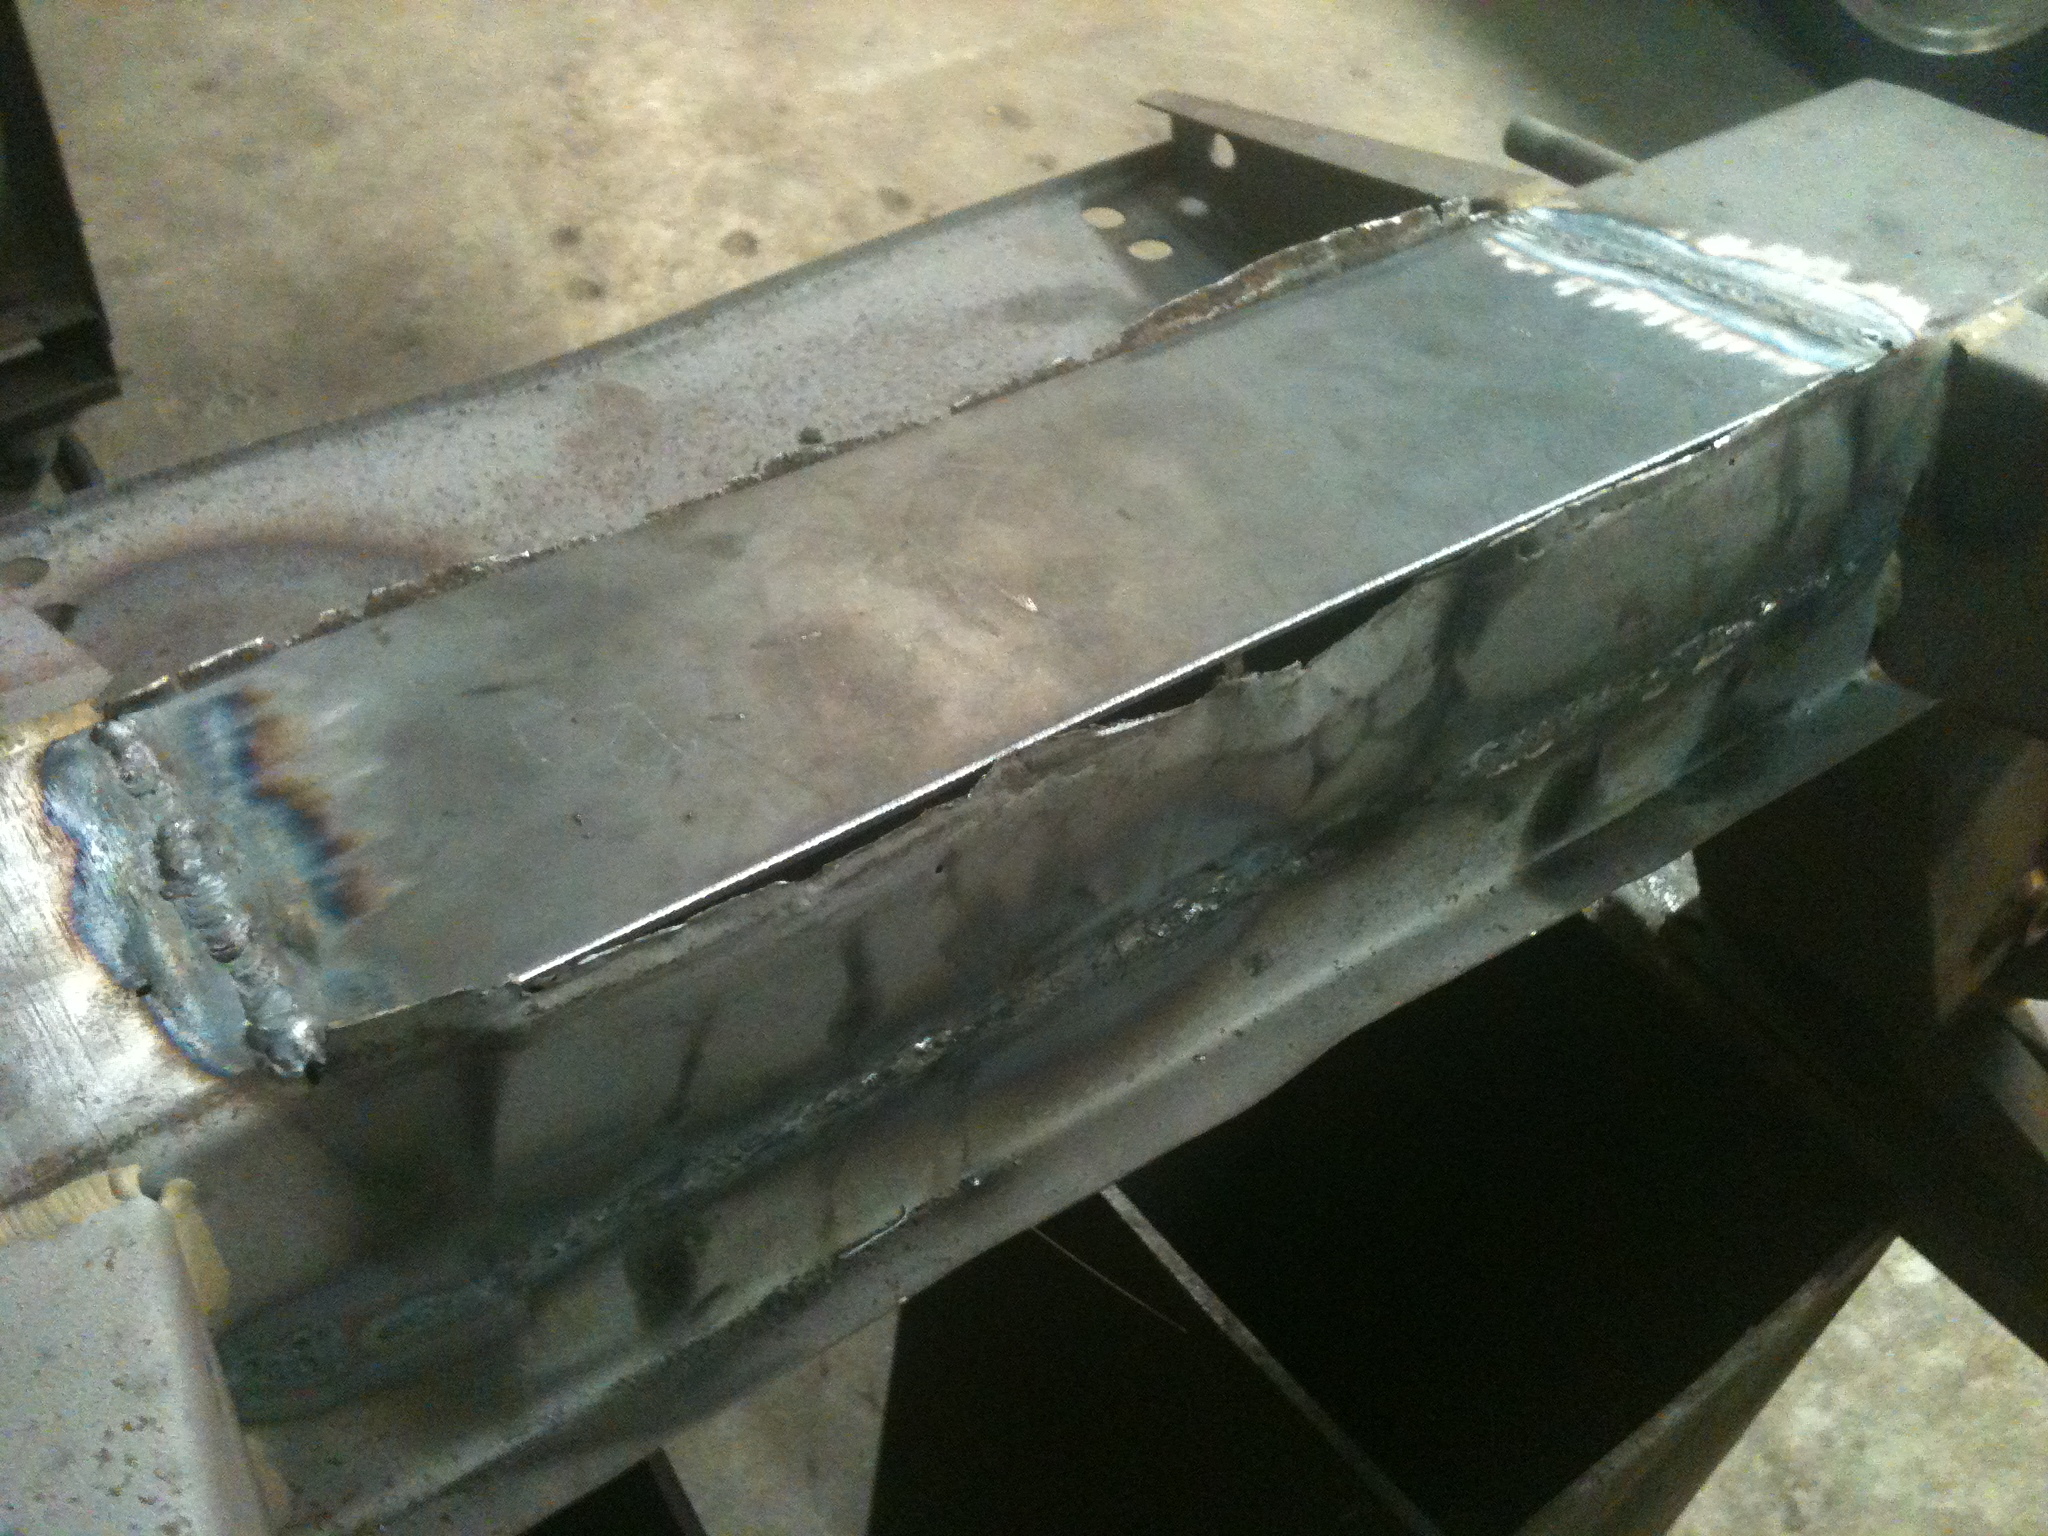
View of the underside of front box section (viewed from the front of the chassis) after removal of the old metal and welding in the lower plate. Compare with [link] .
View of the underside of front box section (viewed from the rear of the chassis) after removal of the old metal and welding in the lower plate. Compare with [link] .

On the upper side of the box section the seams were bronzed to ensure that no water ingress could occur and cause a repeat of the corrosion that was present.

Steering rack mount

As shown in [link] one of the four bolts holding the steering rack clamps had sheered-off. Given that the nut is welded to the lower side of the mount, and it was found difficult to remove the bolt or replace that one nut, it was decided to replace the whole top of the bracket along with new nuts ( [link] ).
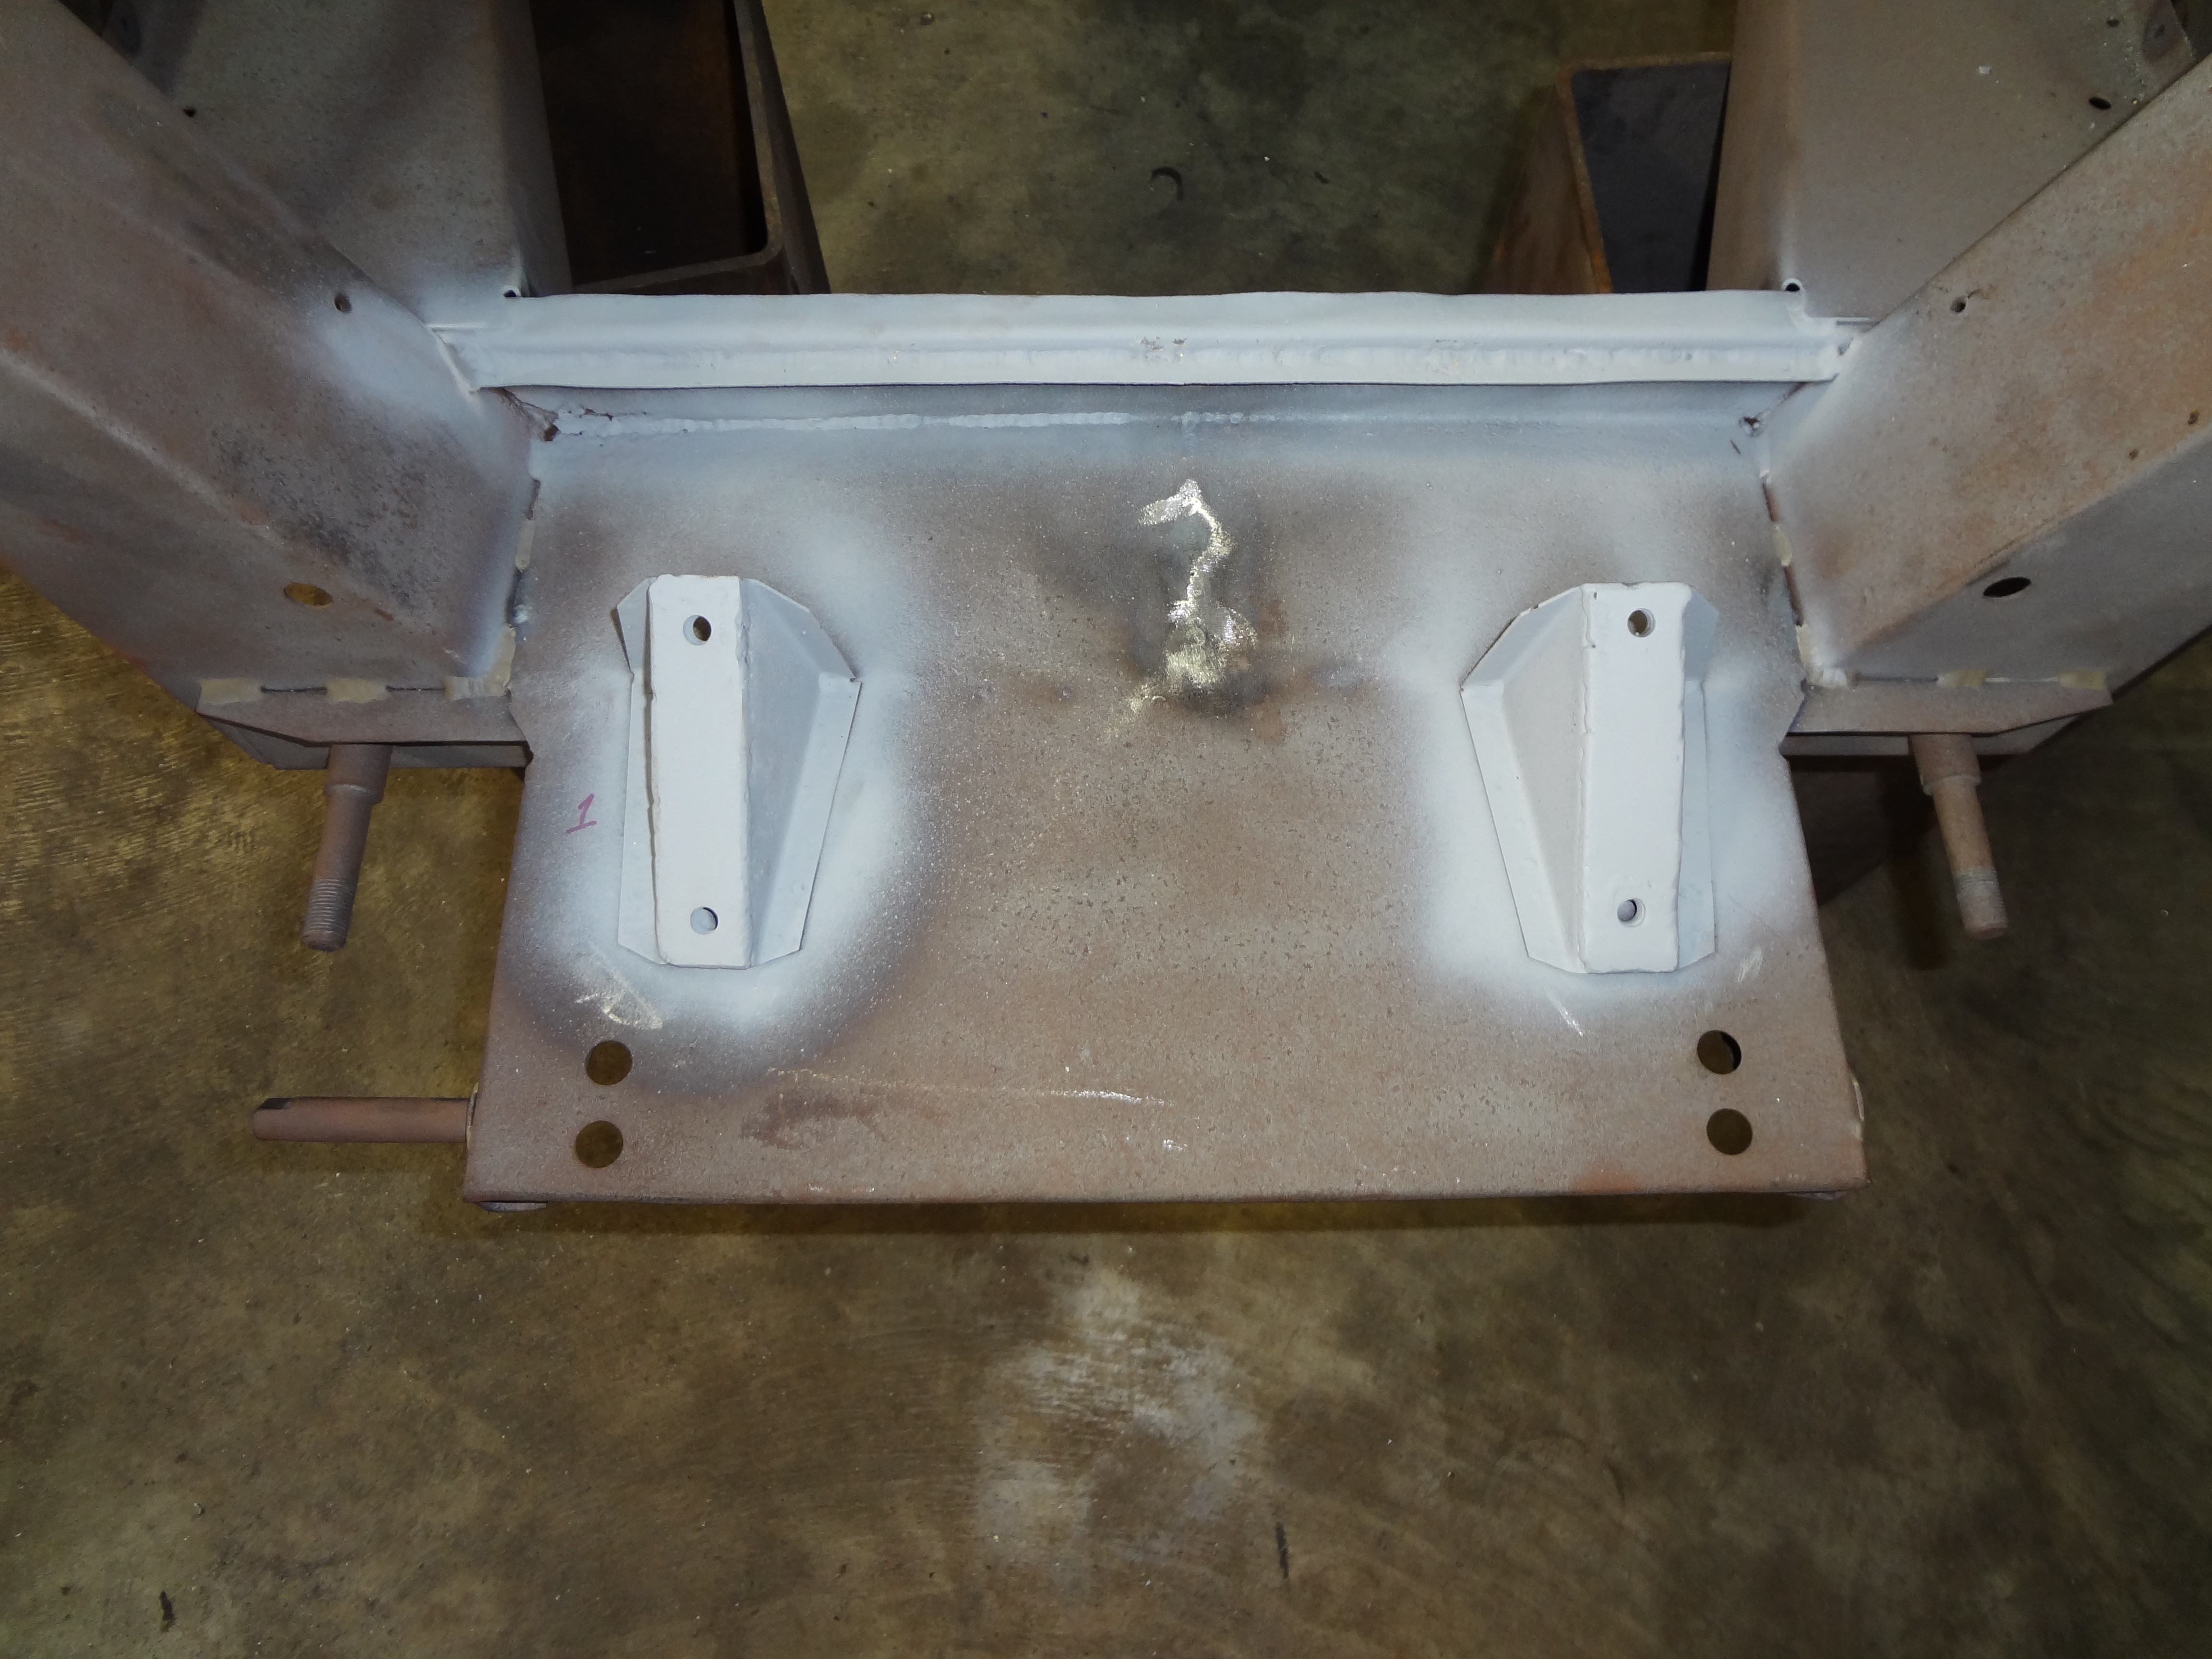
The replacement steering rack mounting brackets. Compare to [link] .

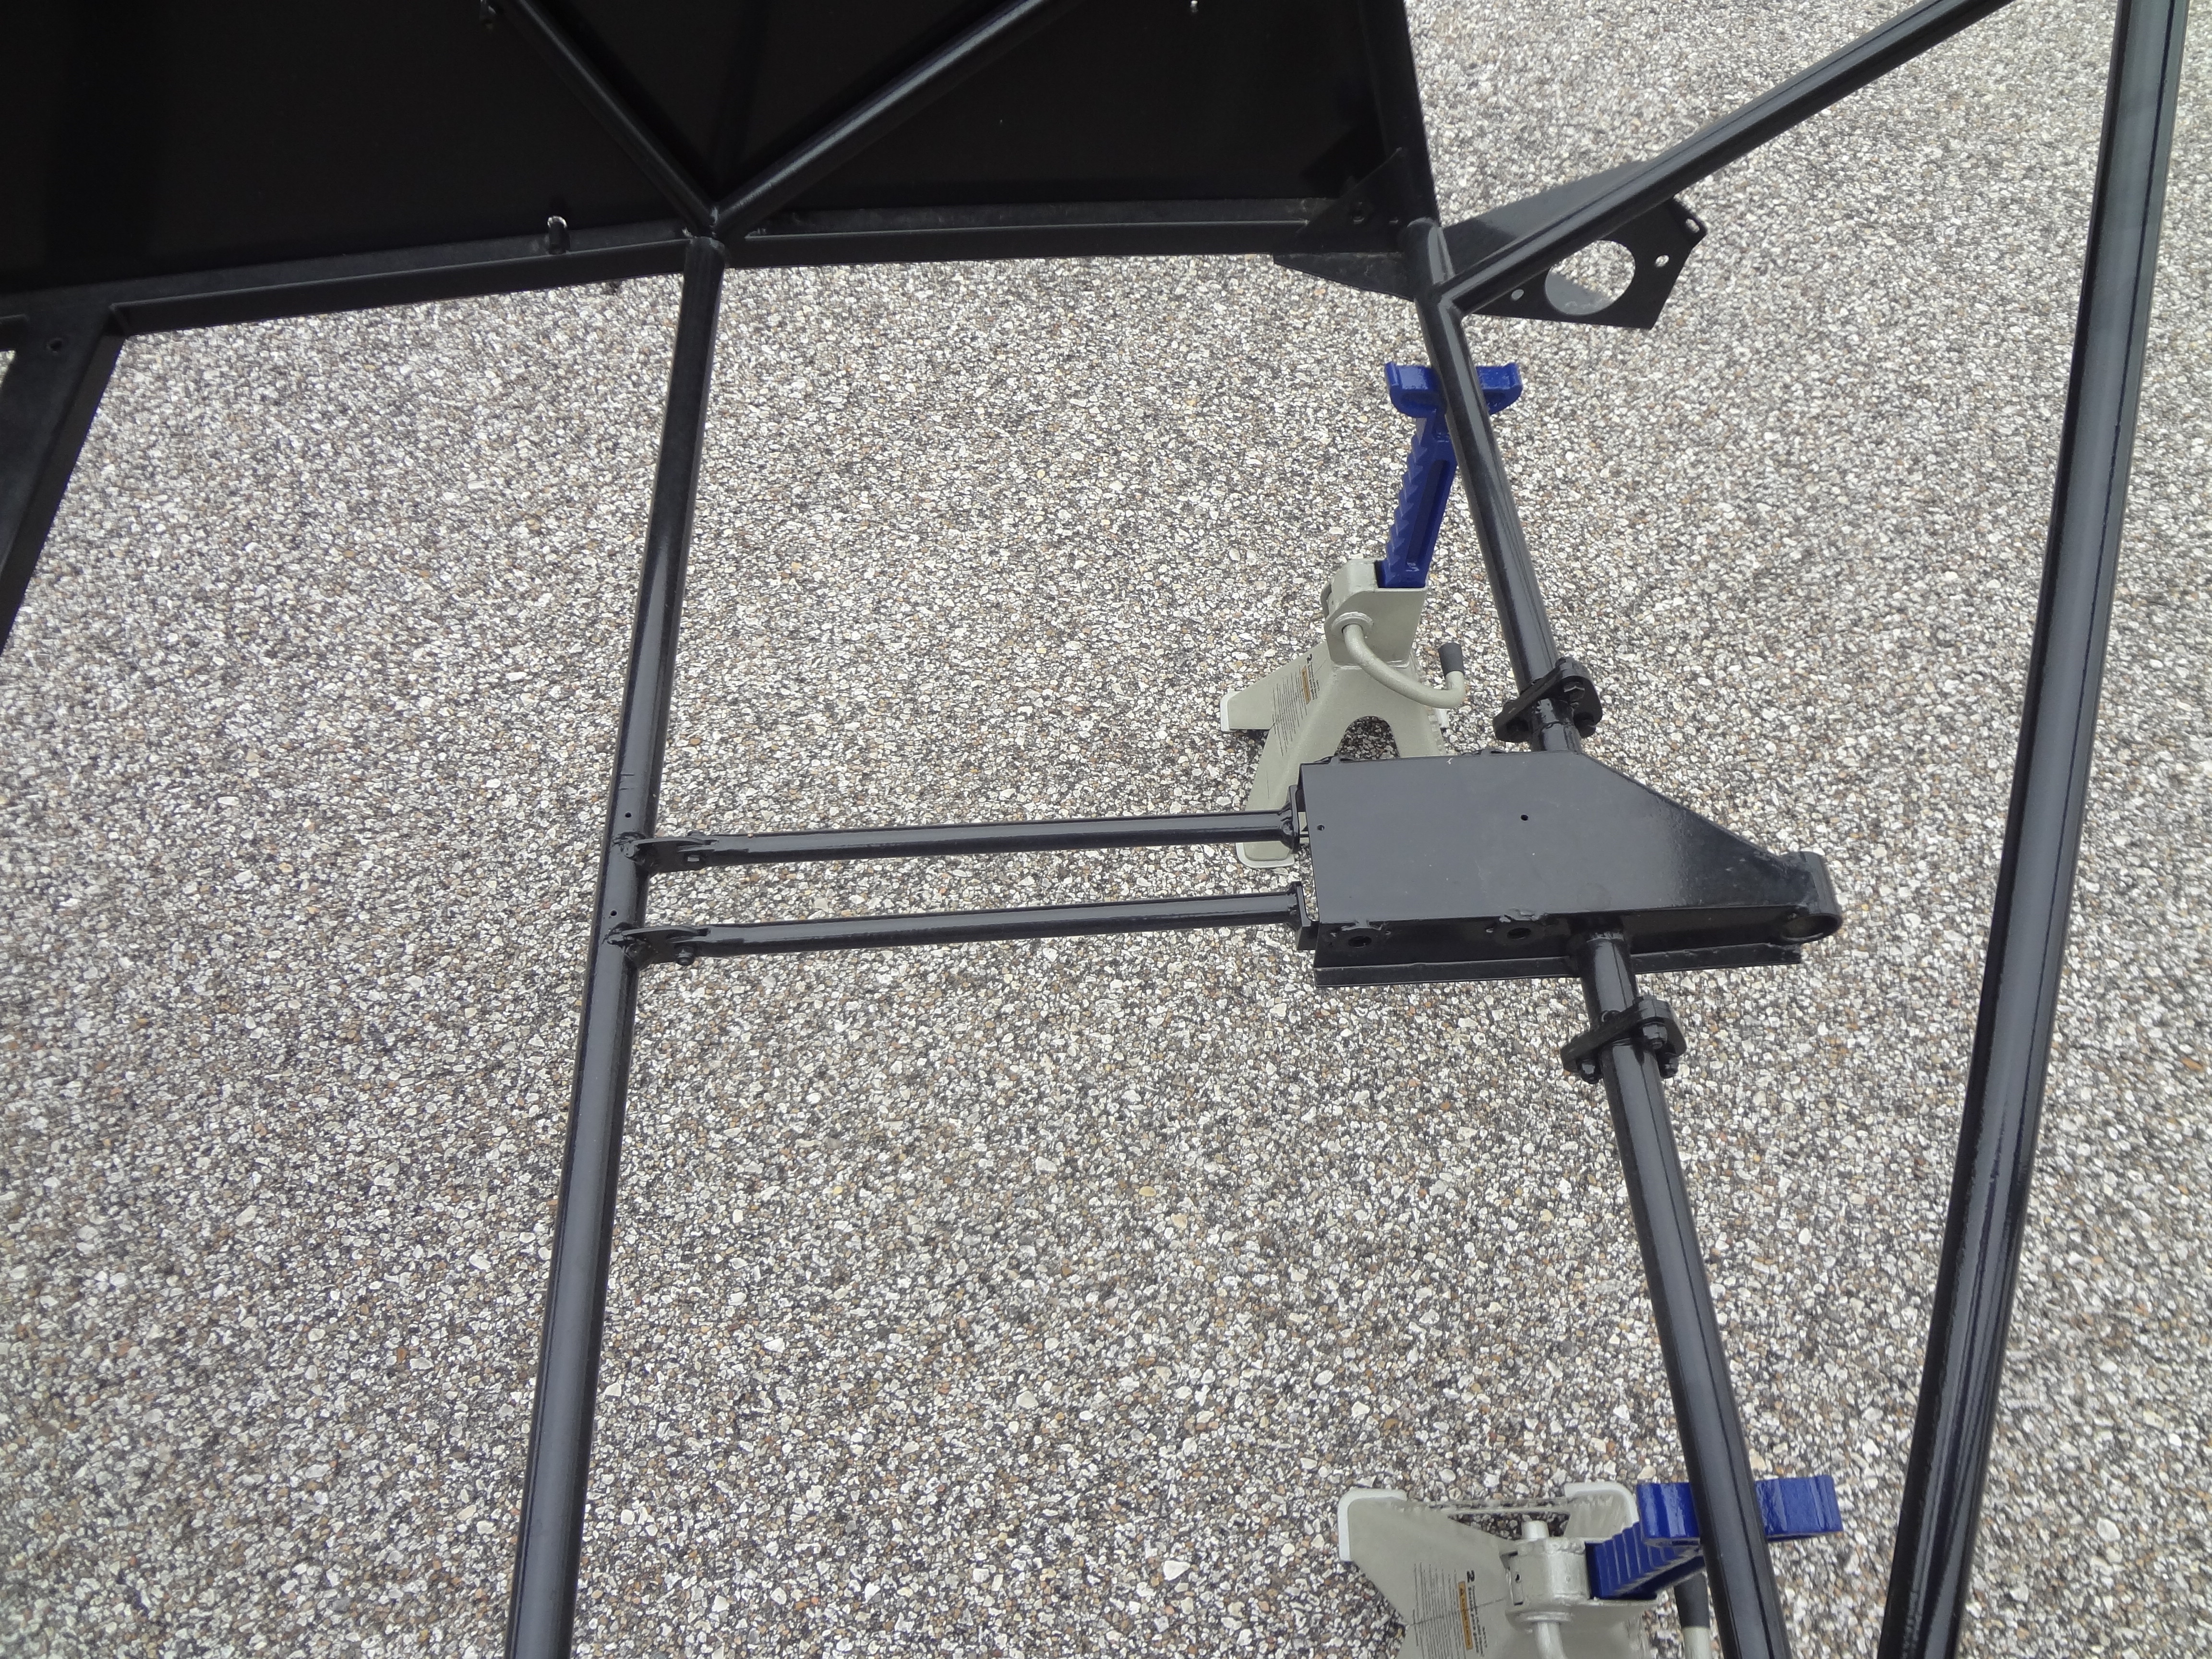
Chassis brace

At the rear of the chassis the inner seat belt and axle locating link are attached to a removable brace. The points where this is bolted to the cross member were strengthened ( [link] ).
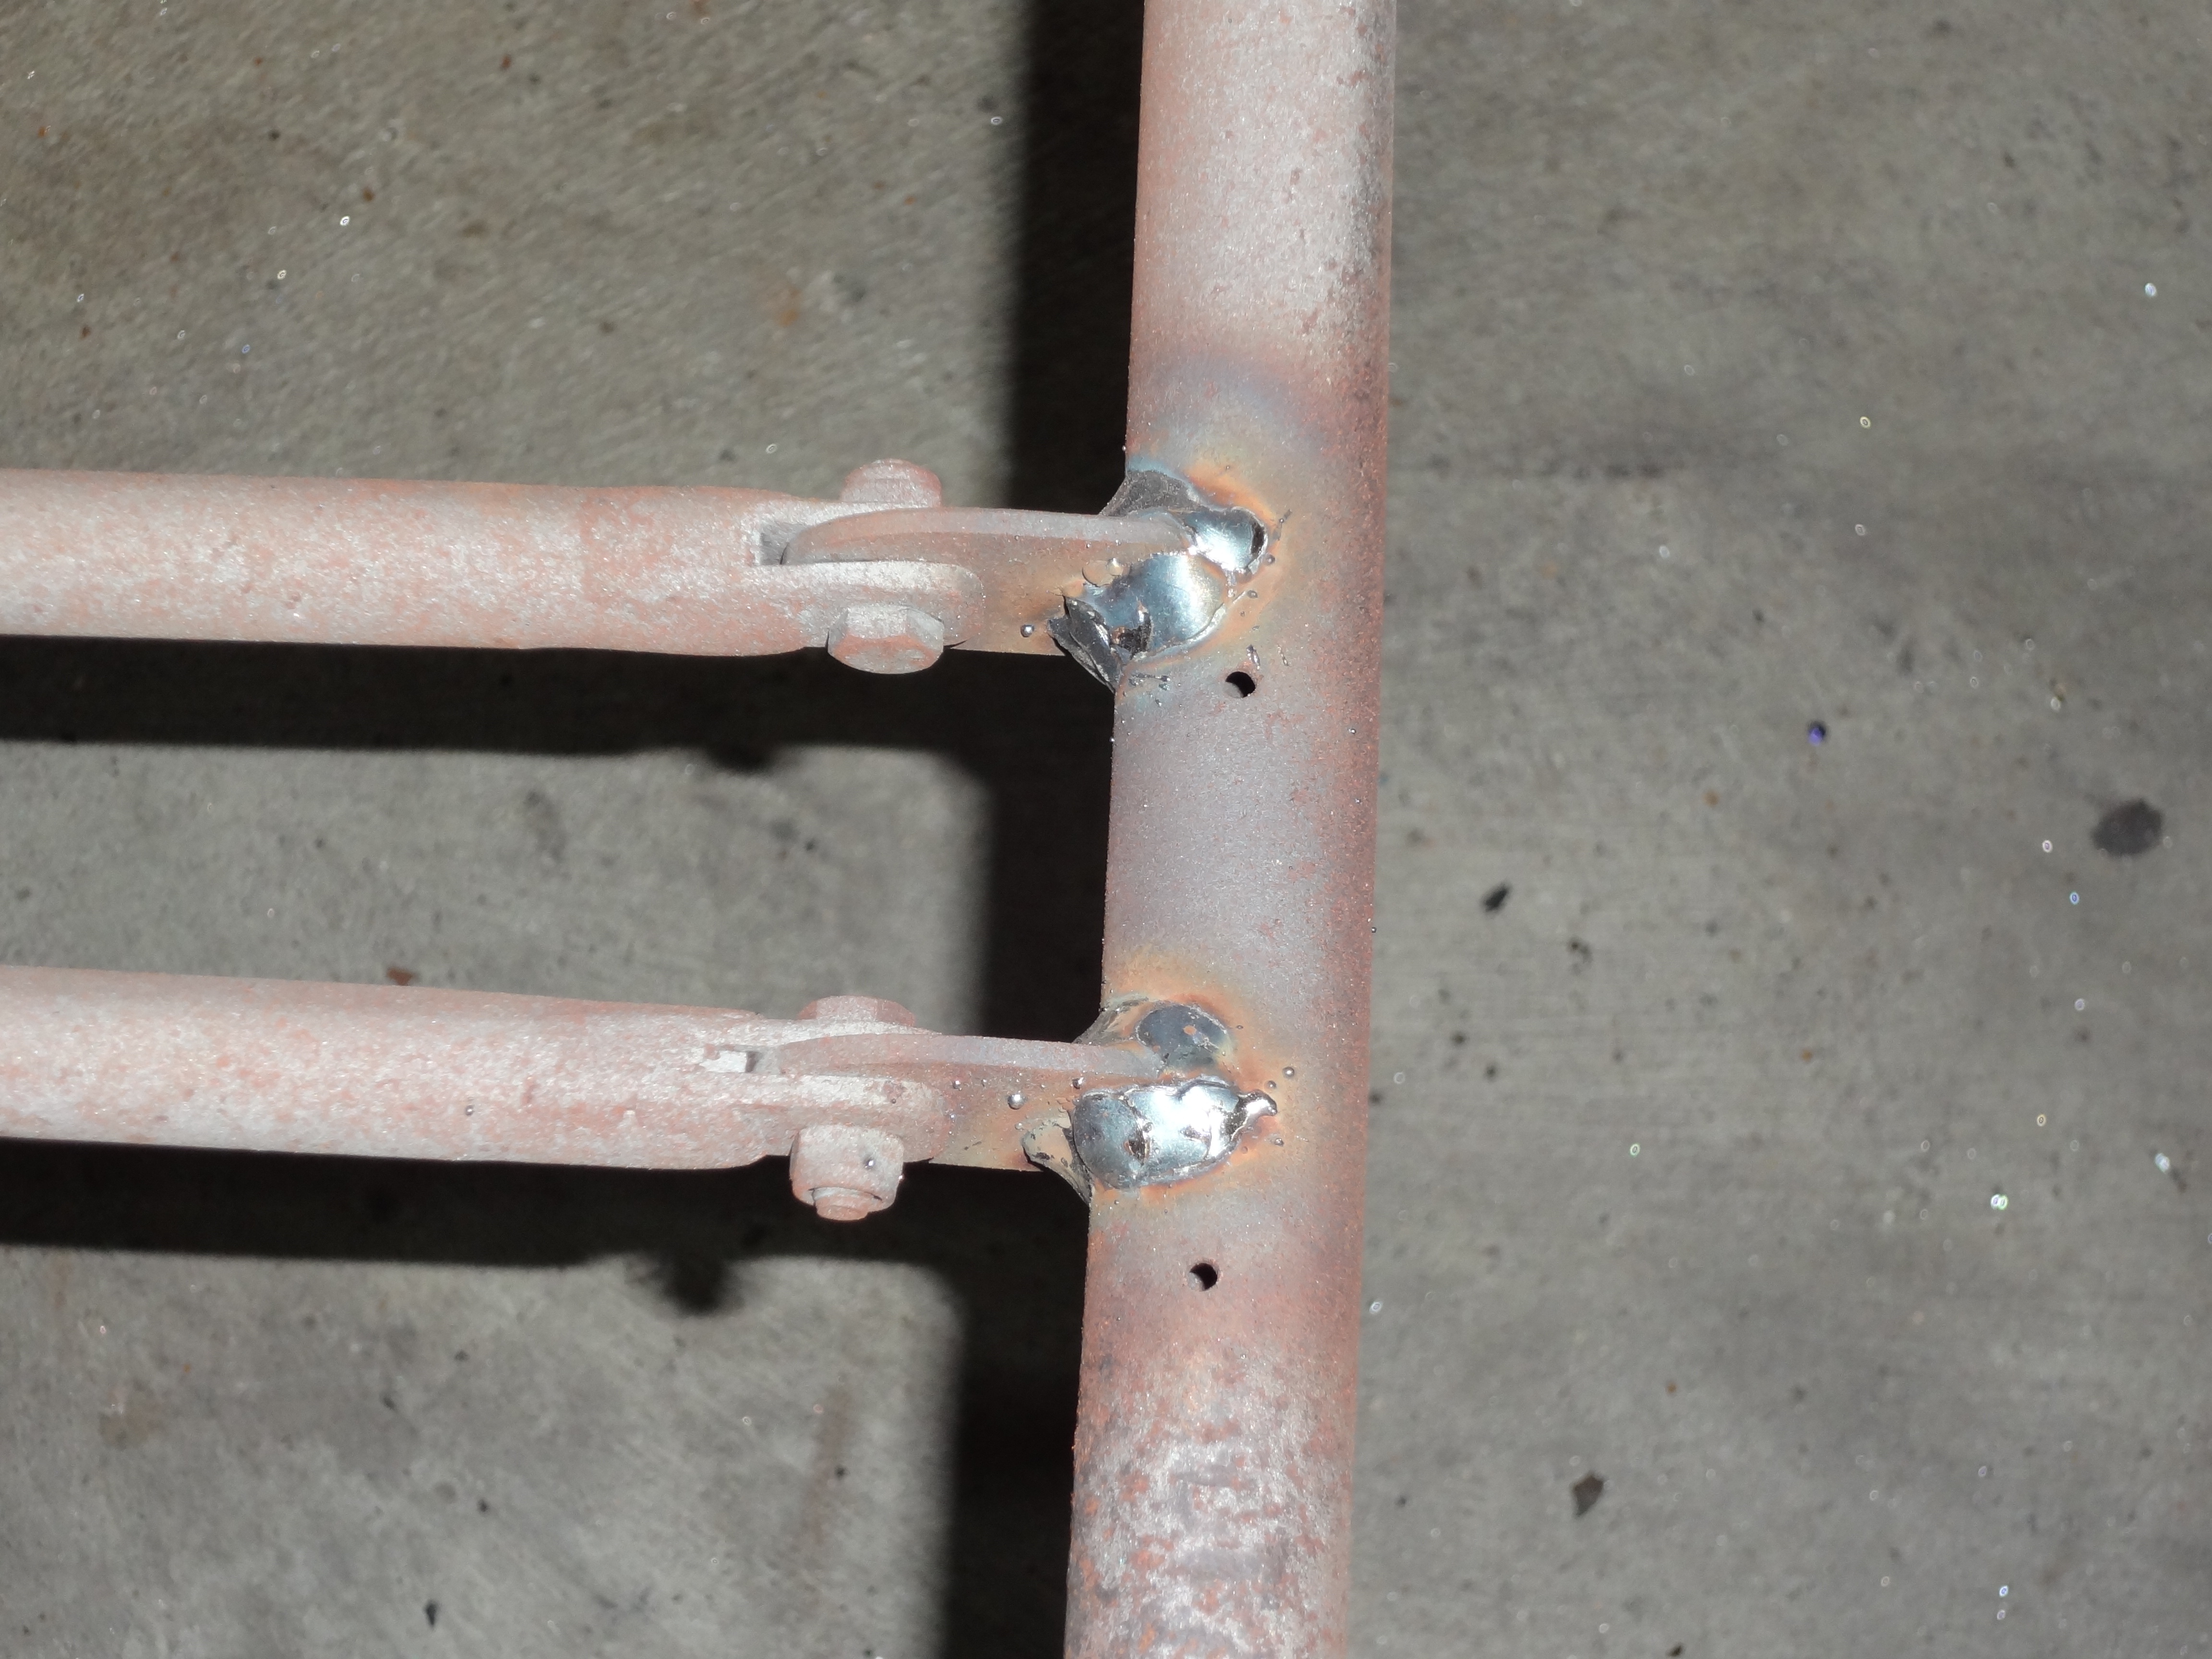
Strengthening of the brackets on the rear cross member.

Fabrication and attachment of new side panels

The original side panels were made from thin steel, and since they were damaged by the fire ( [link] ) it was necessary to replace the panels. However, it was decided to upgrade the thickness of the panel for added strength.
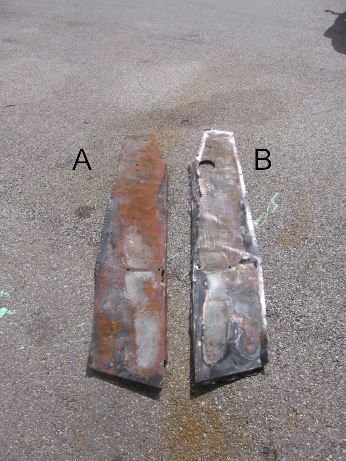
The outside of the two chassis panels of the Lotus Seven S4 after removal from the chassis. The panel from the right hand side of the car (A) shows more external corrosion, while the exhaust outlet is shown in the panel from the left hand side of the car (B). Note that the lower edges of the panels are facing each other.

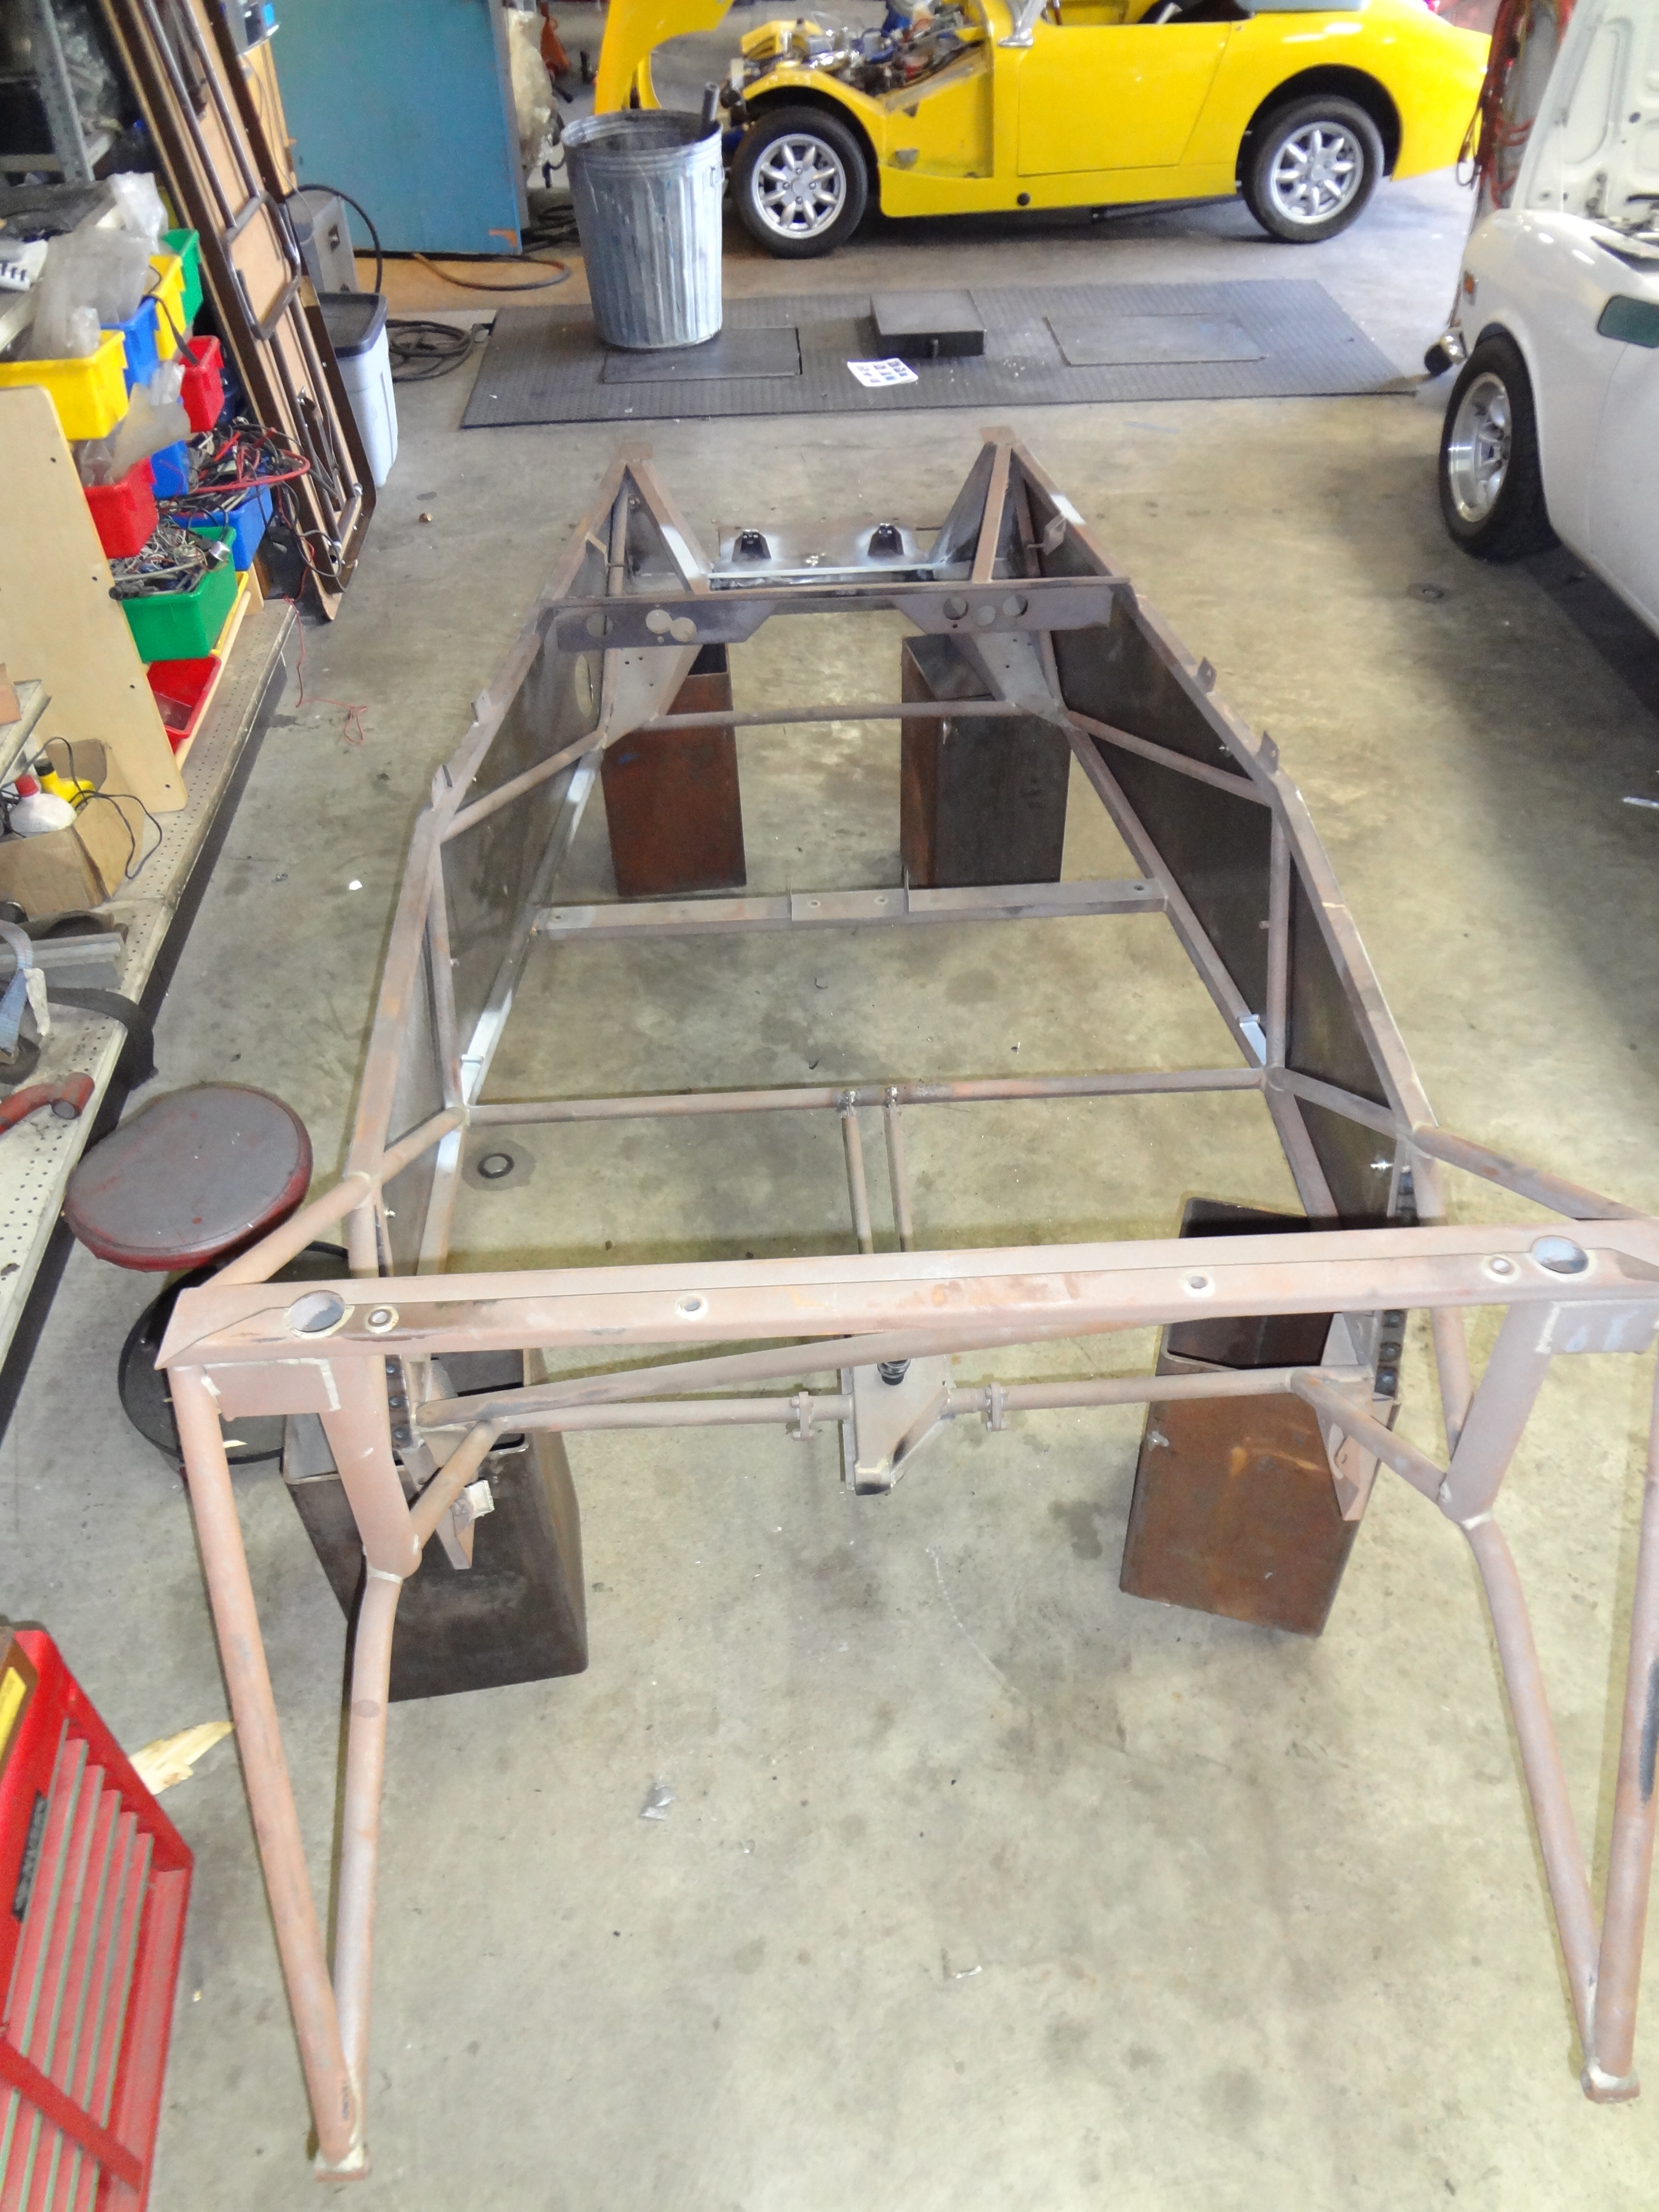
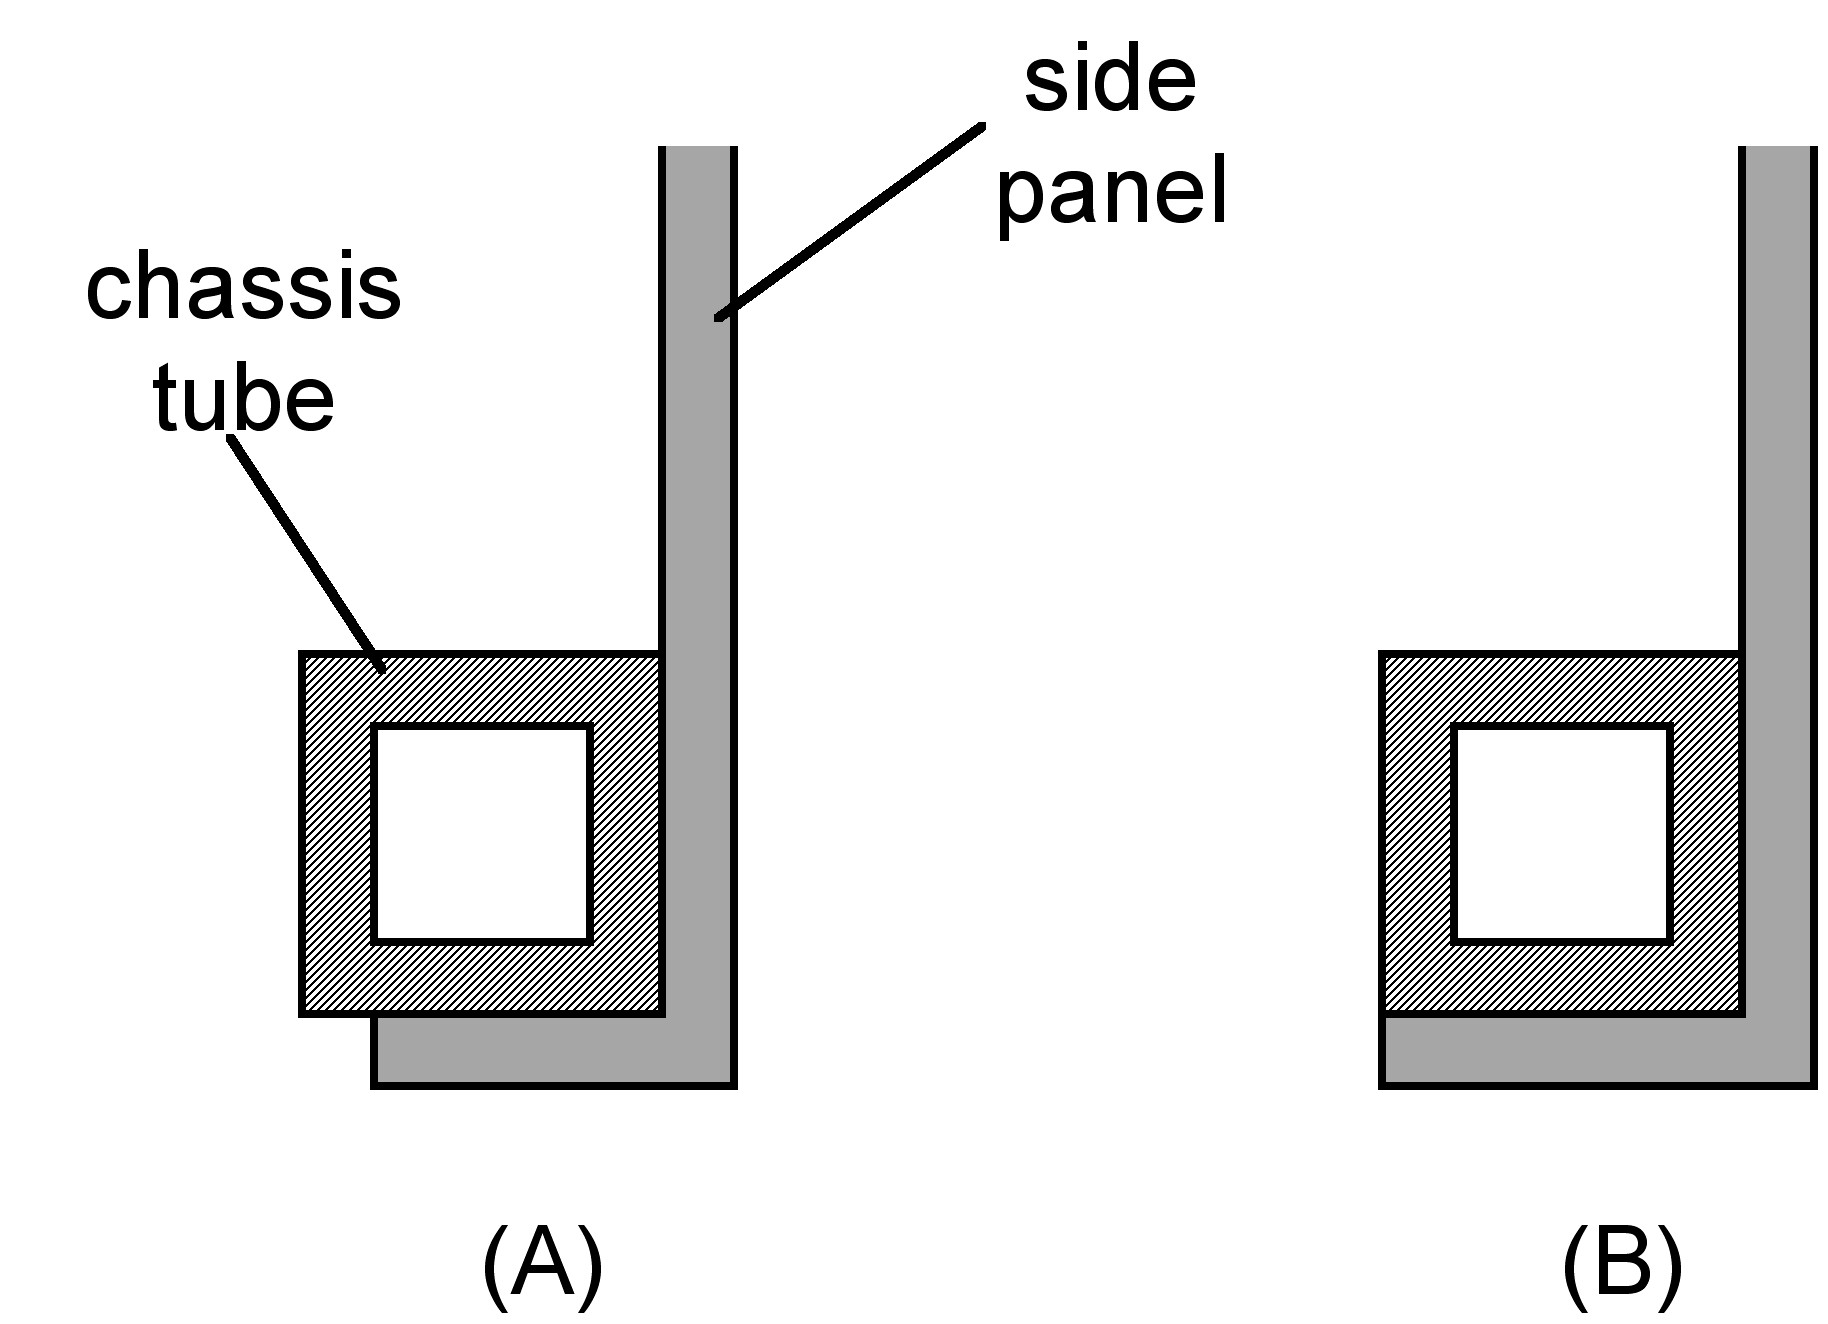
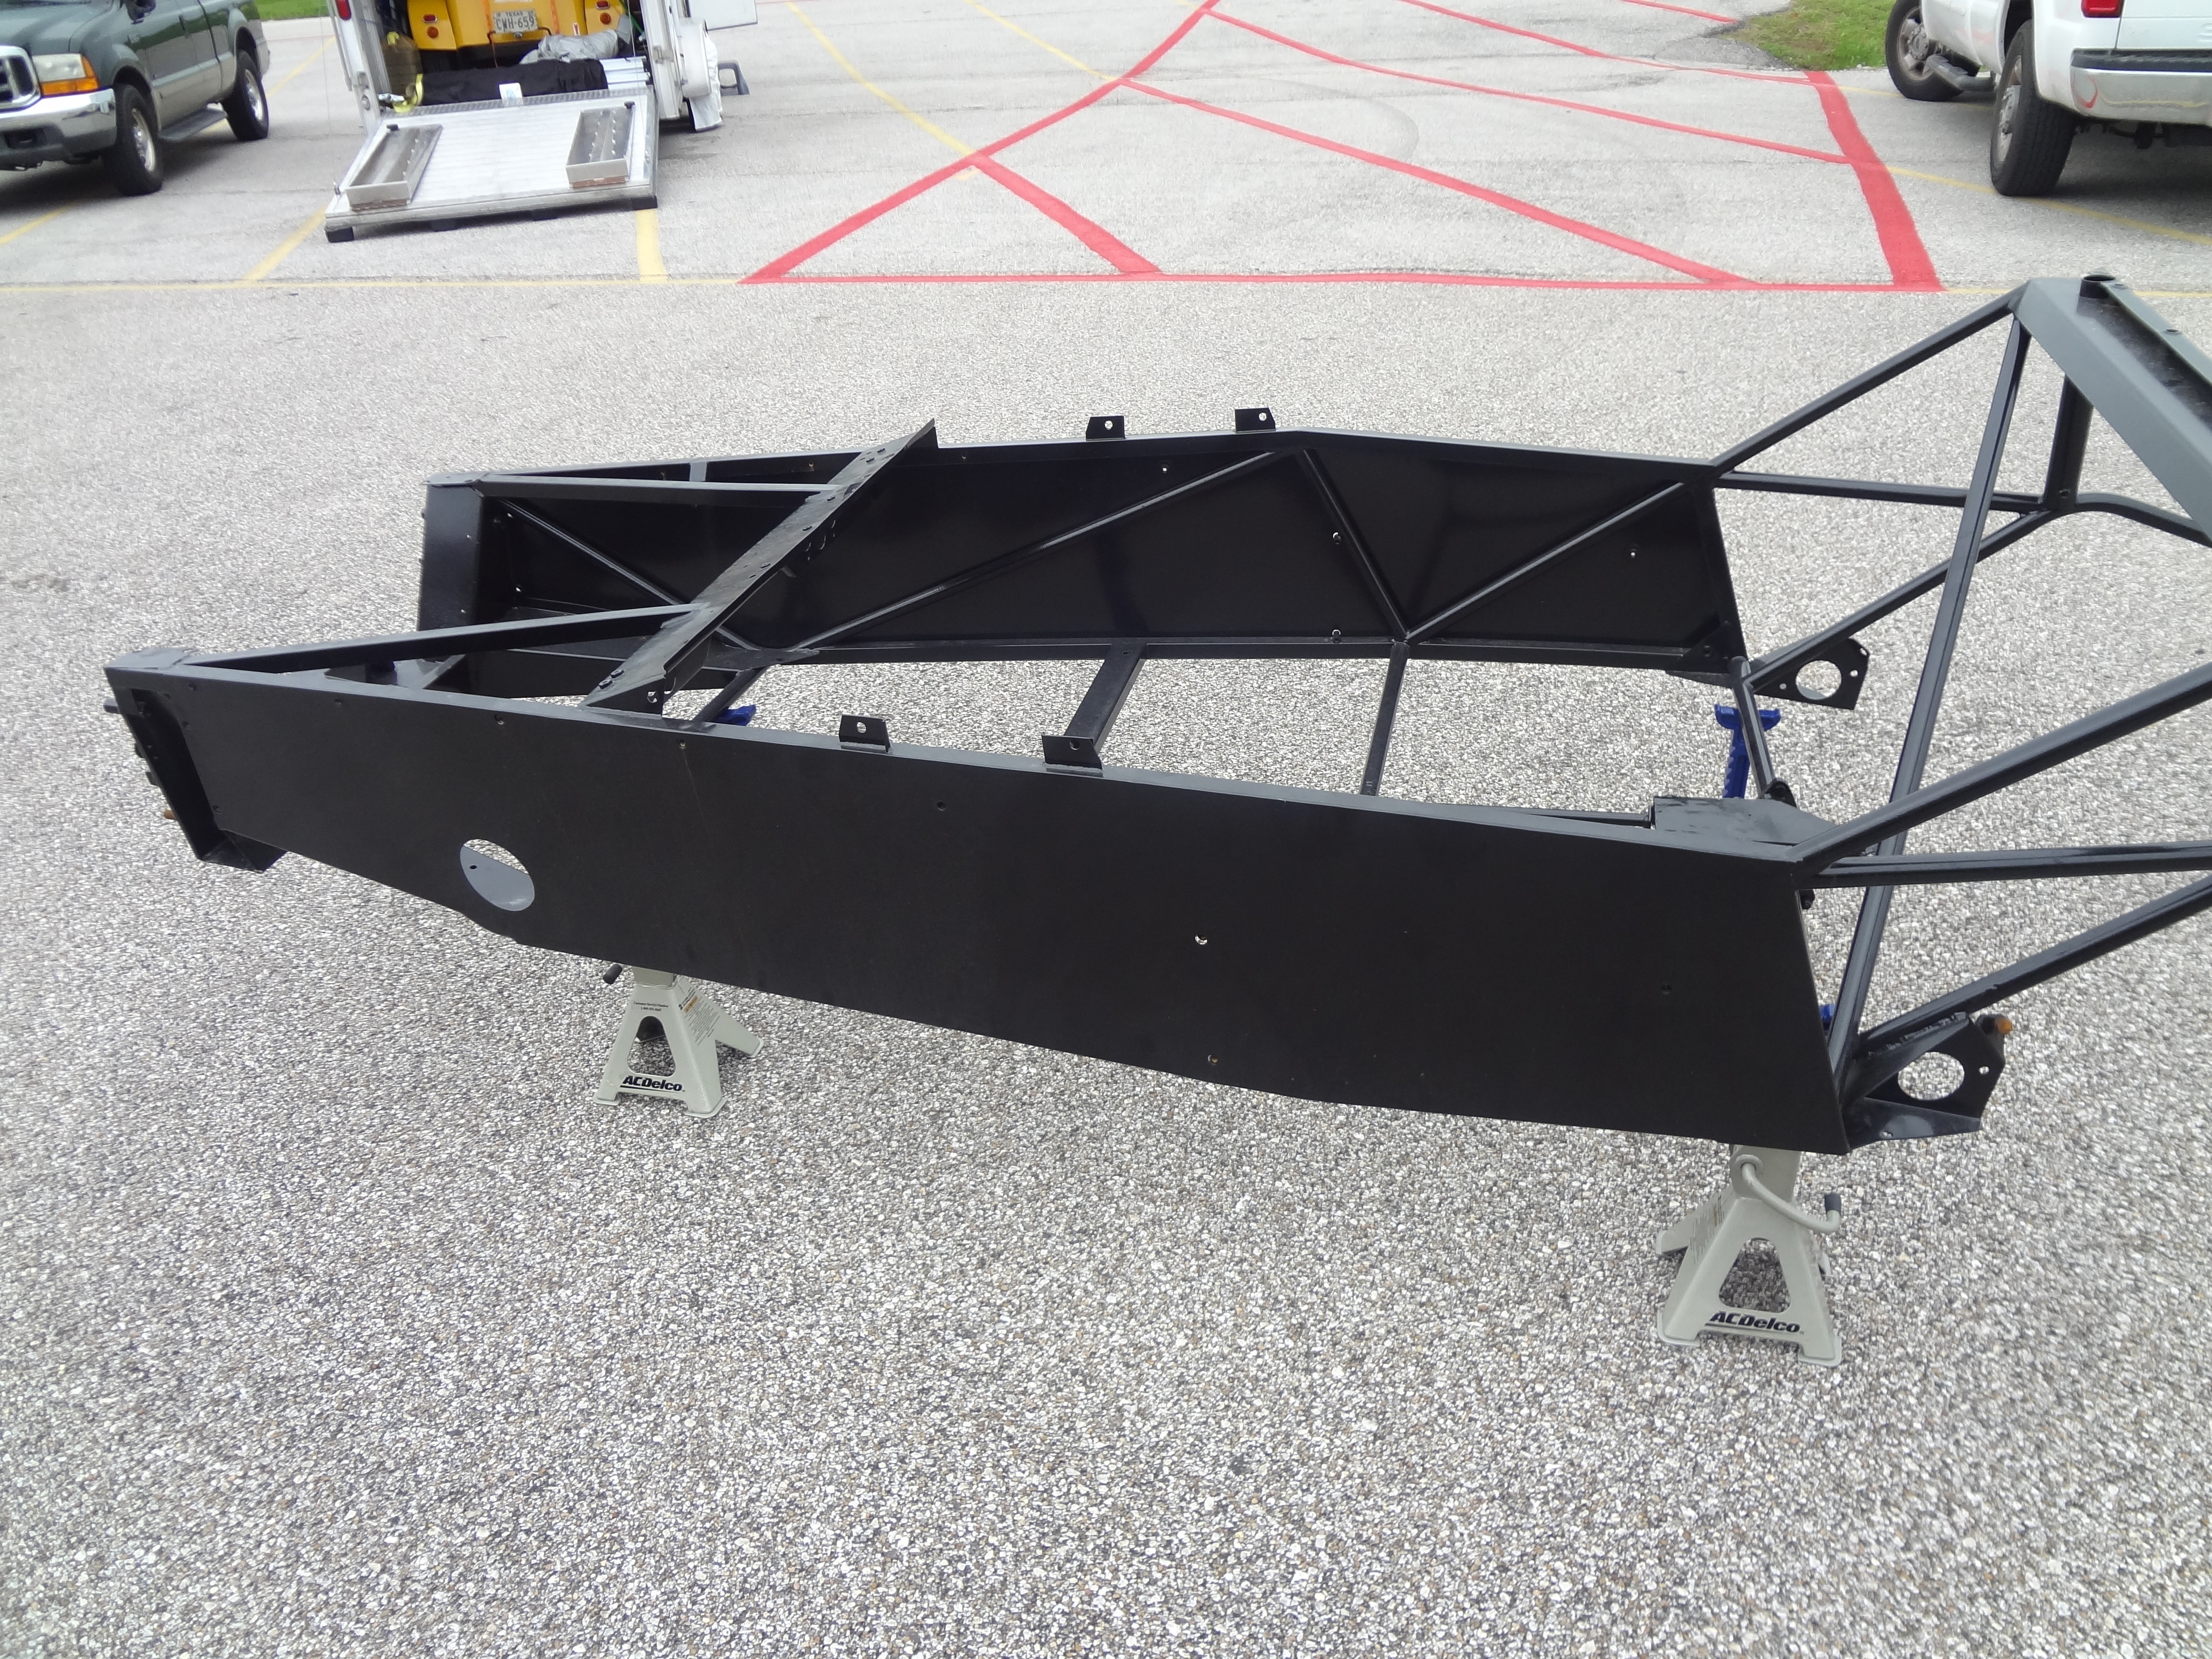
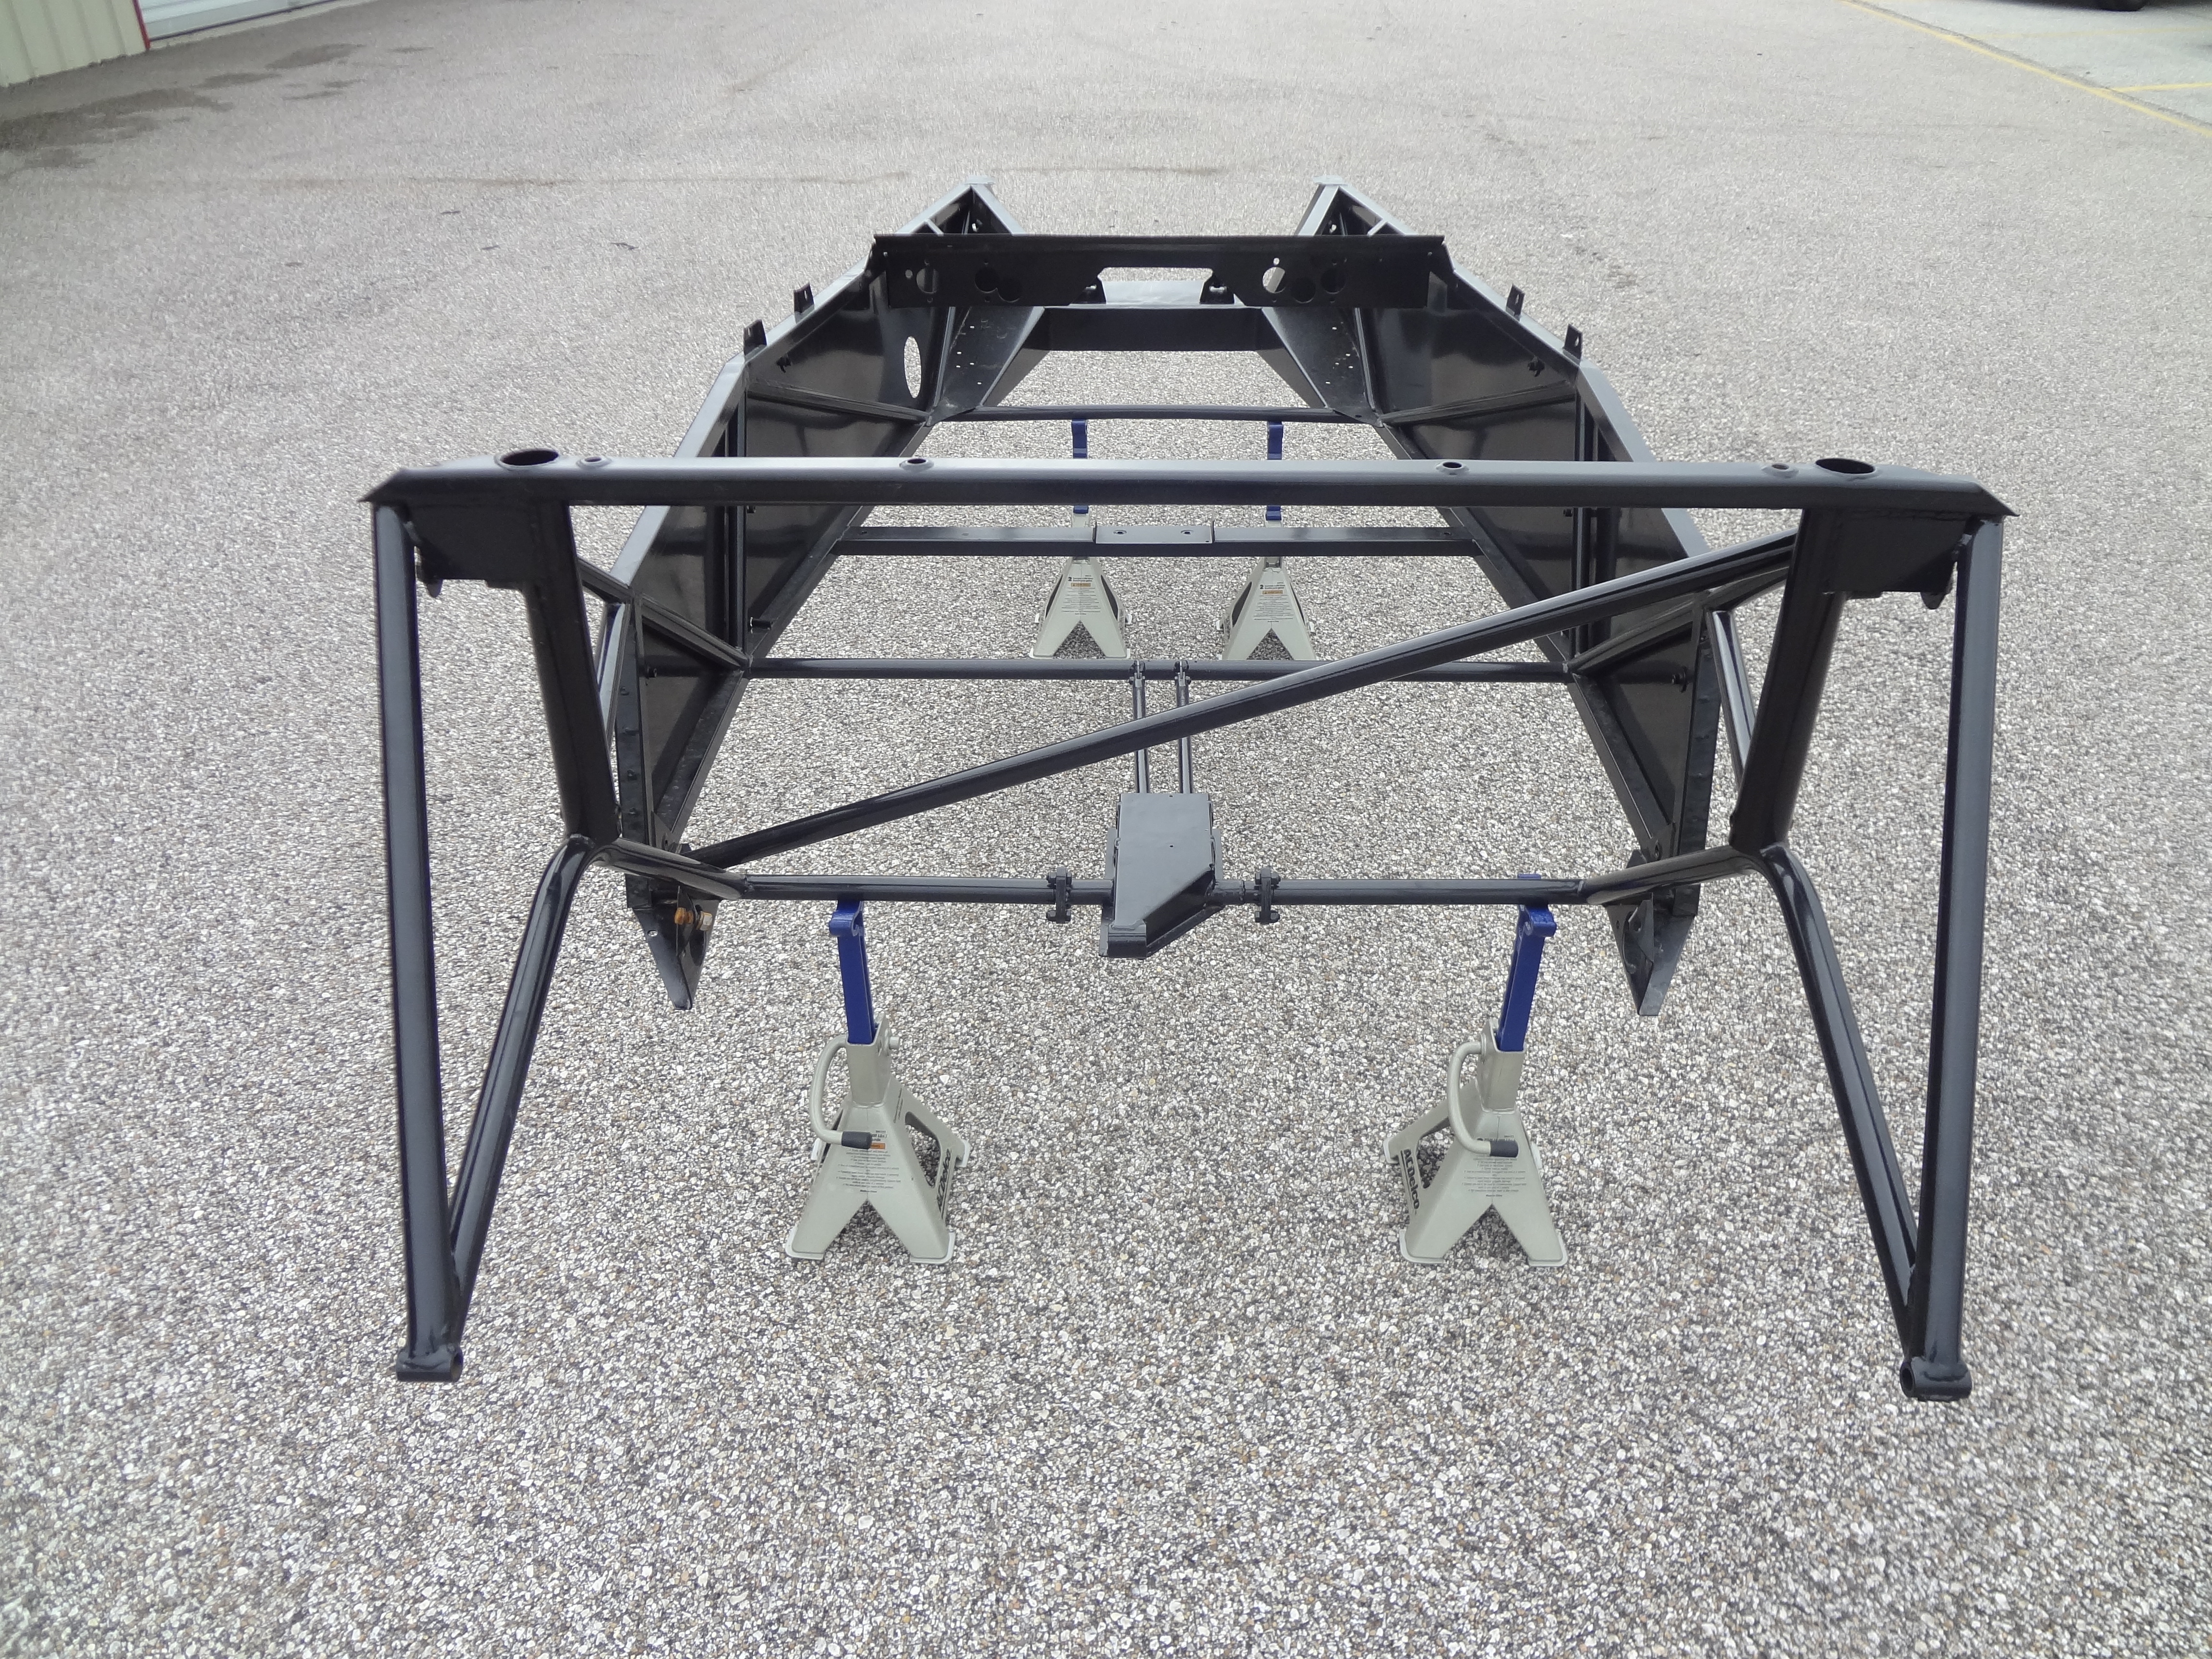
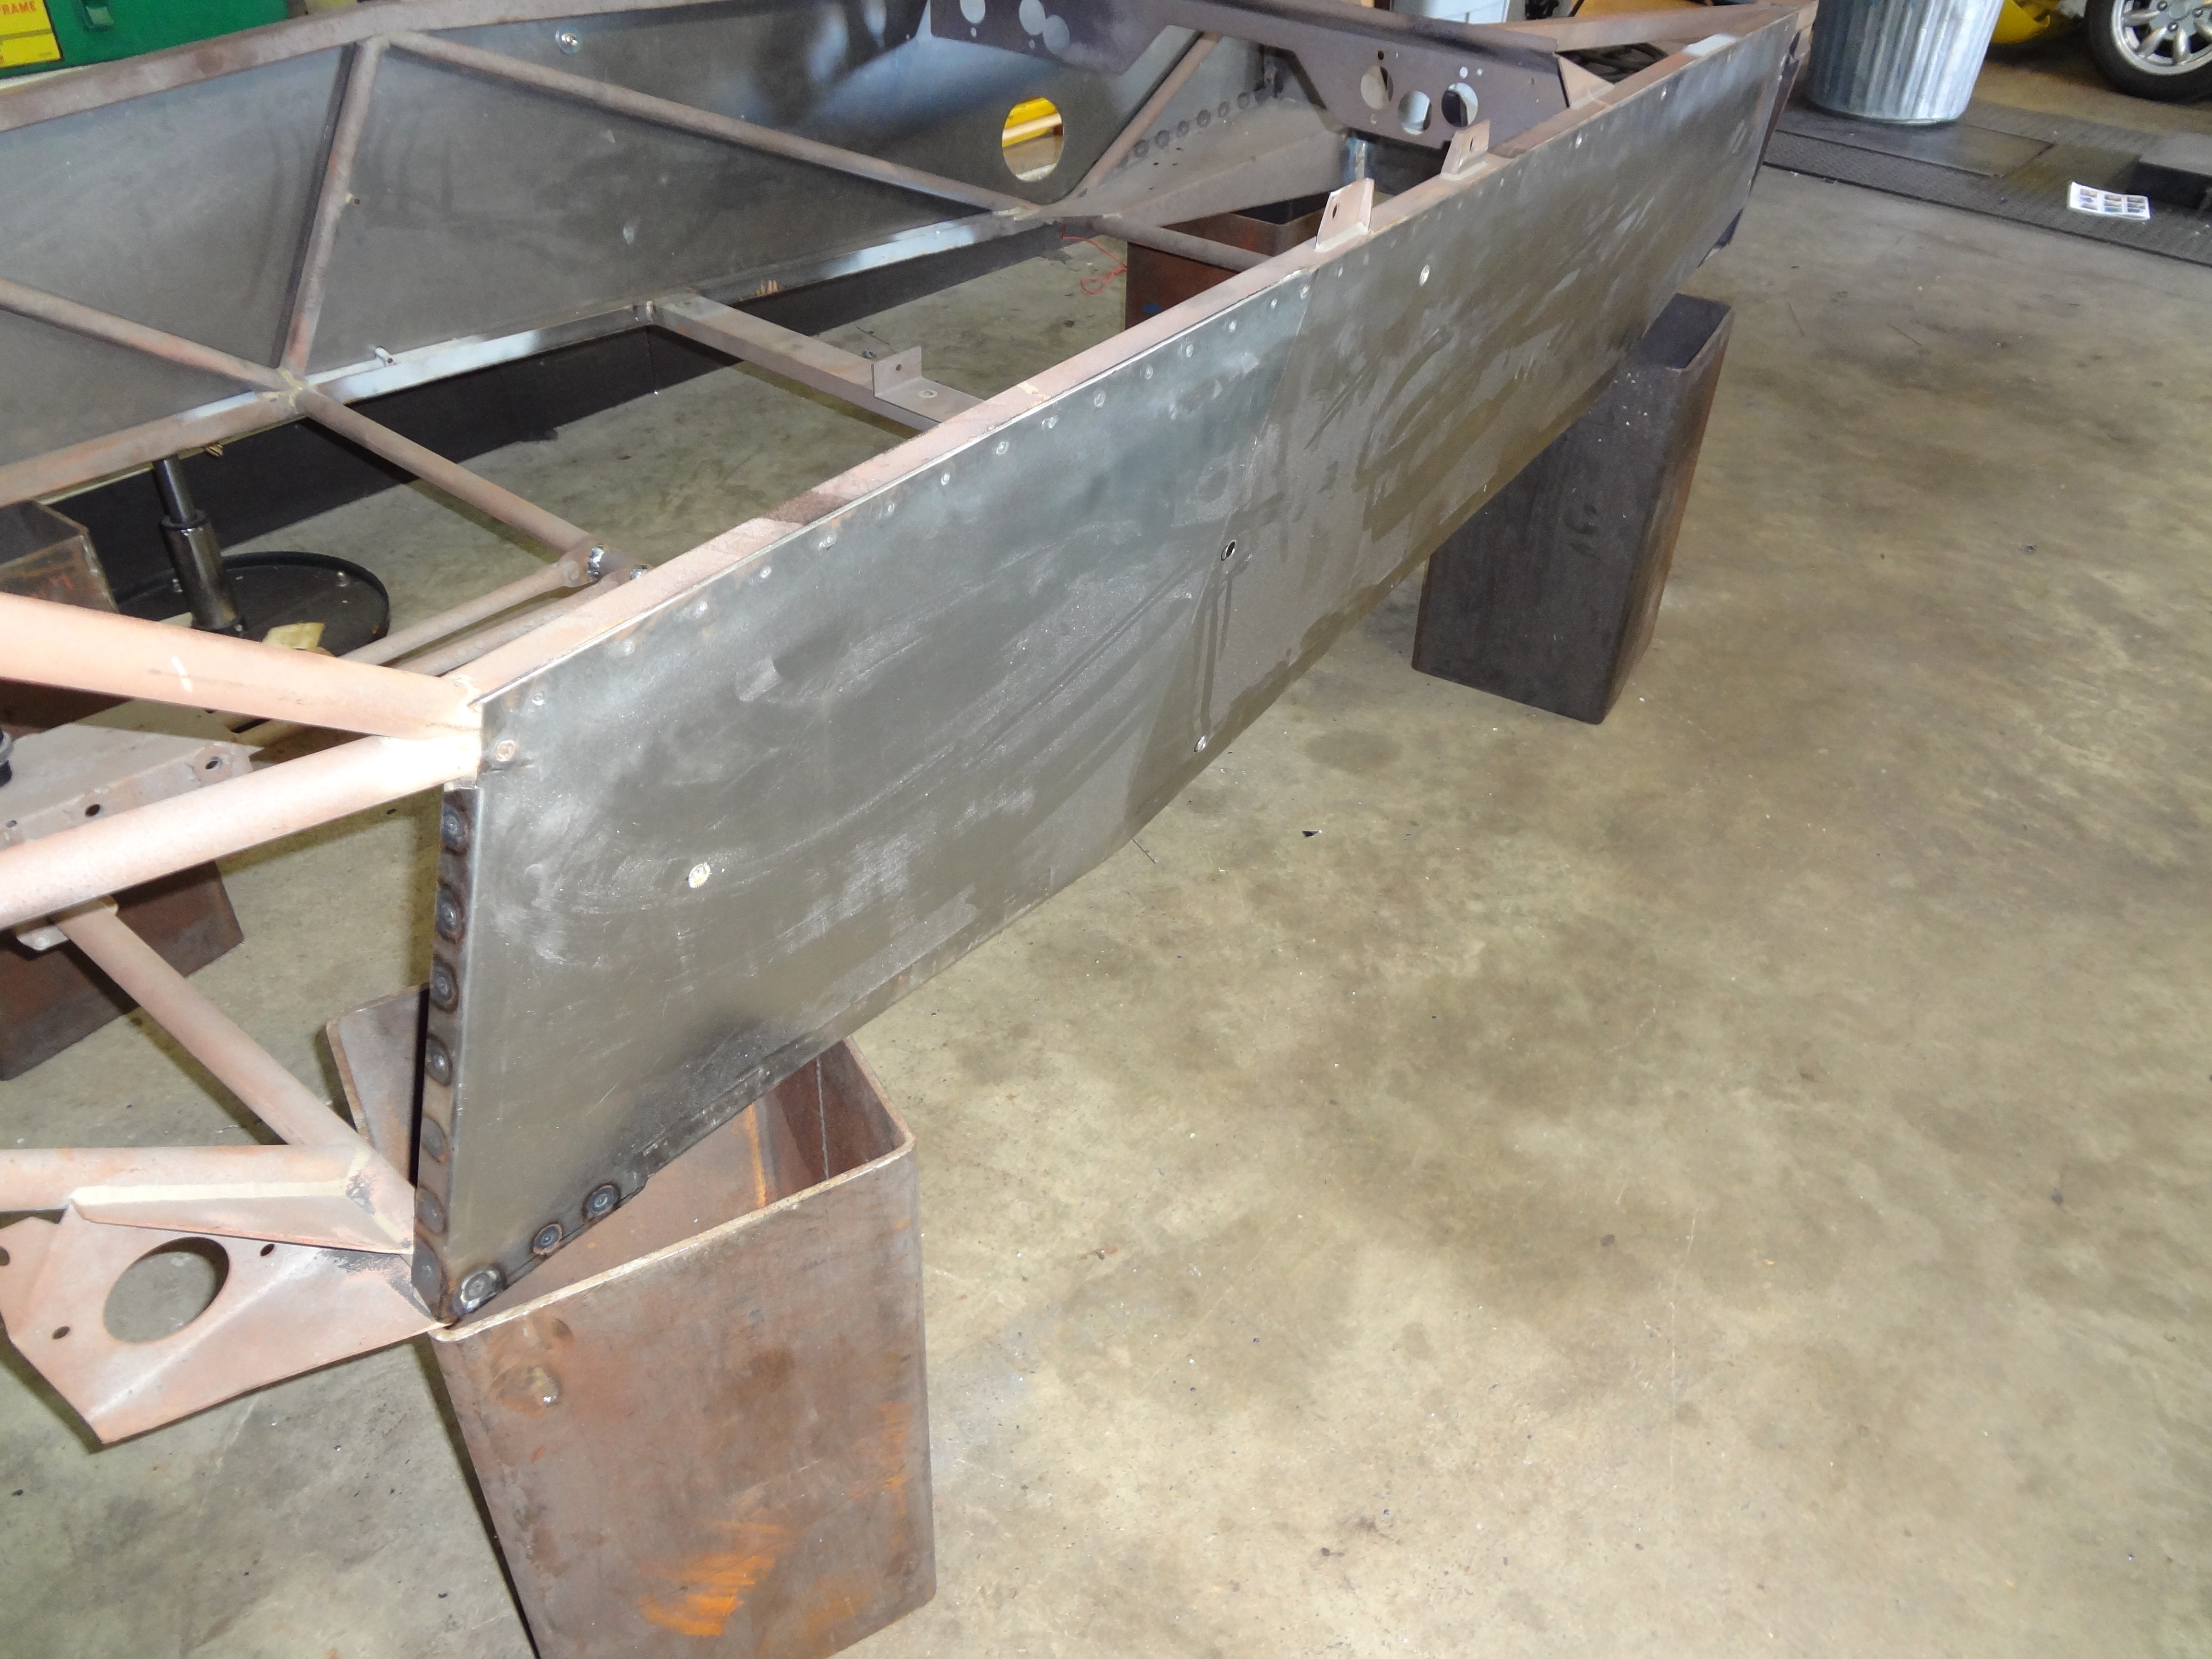
New panels were cut from 18 gauge steel using the original panels as templates. The new panels were welded to the repaired frame by drilling a 3 / 16 ” hole in the panel and TIG welding through the hole. This resulted in a spot-welded look, but with a greater strength. The finished panels are shown in [link] - [link] . The original panels were sized such that when the edges were folded over the chassis rail, they did not meet the edge ( [link] A). The new panels were sized such that the edges matched ( [link] B). Prior to welding the side panels, the chassis and panels were sprayed with weld-through primer to ensure that corrosion does not occur under the powder coat.
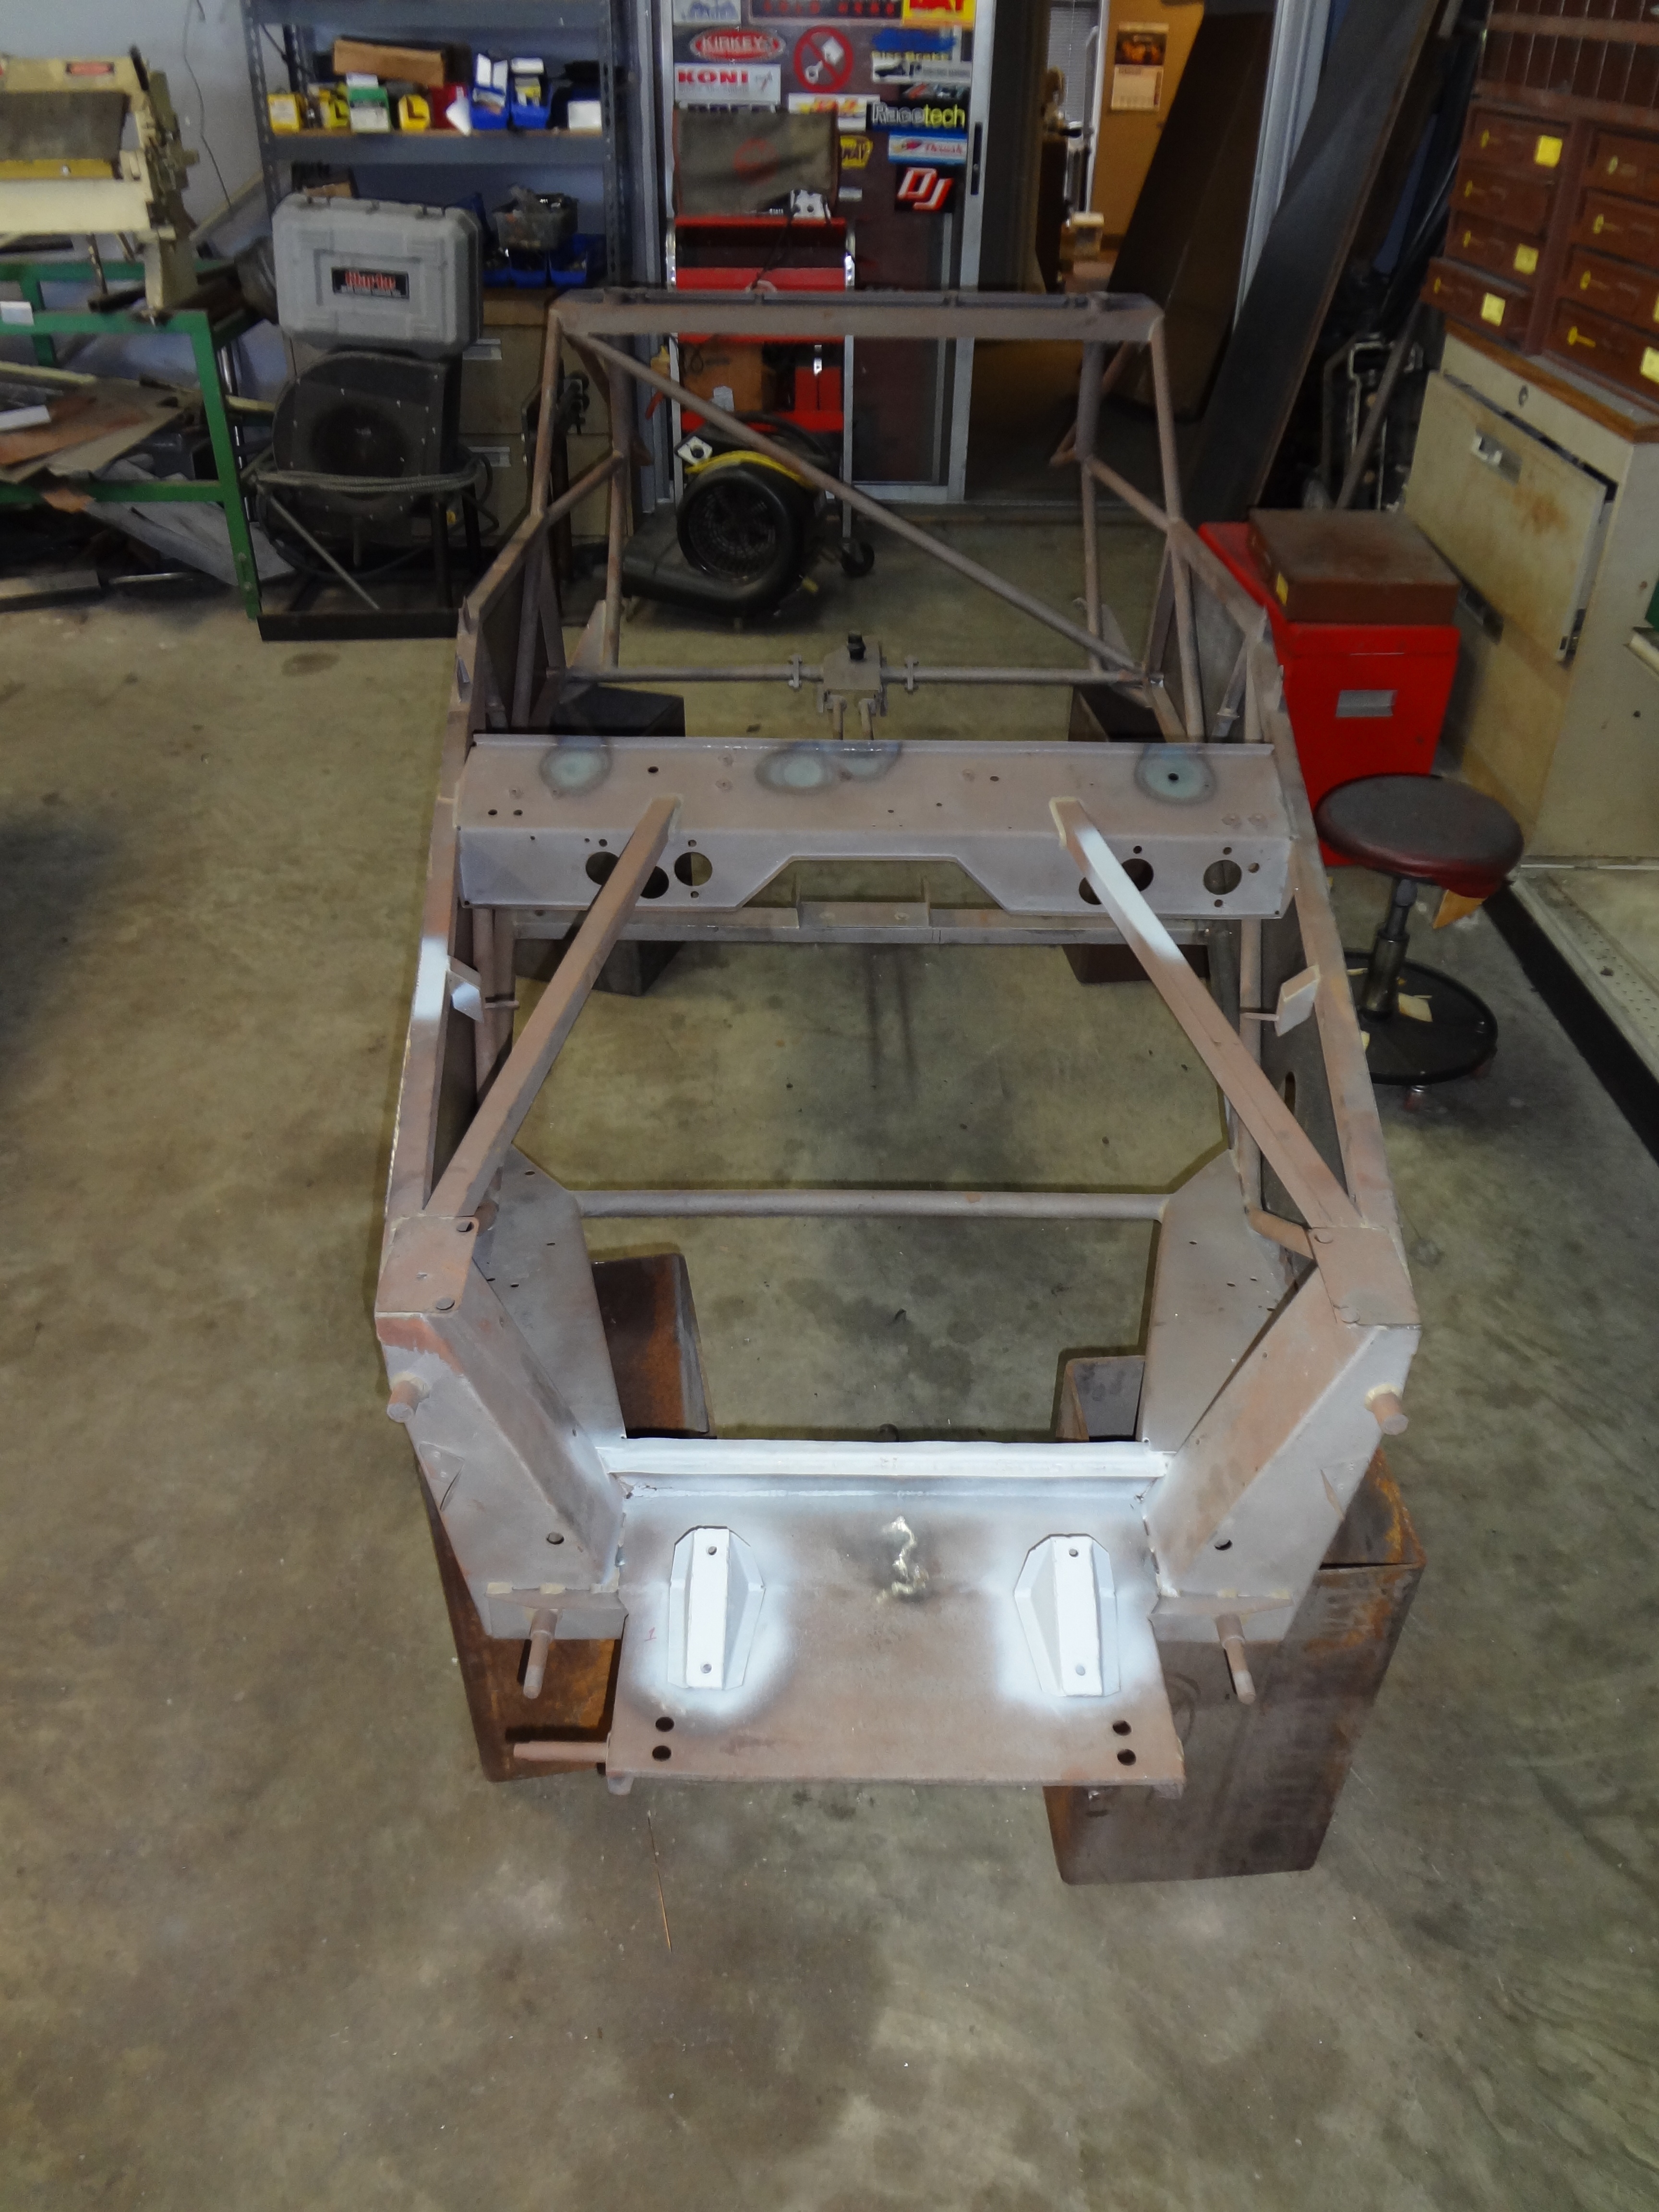
The chassis ready for powder coating, viewed from the front.
The chassis ready for powder coating, viewed from the right hand side, and showing the new side panels.
The chassis ready for powder coating, viewed from the rear, and showing the new side panels.
Schematic representation of the alignment of the side panel with the lower chassis tube in the original (A) and replacement (B).

Cleaning and powder coatings

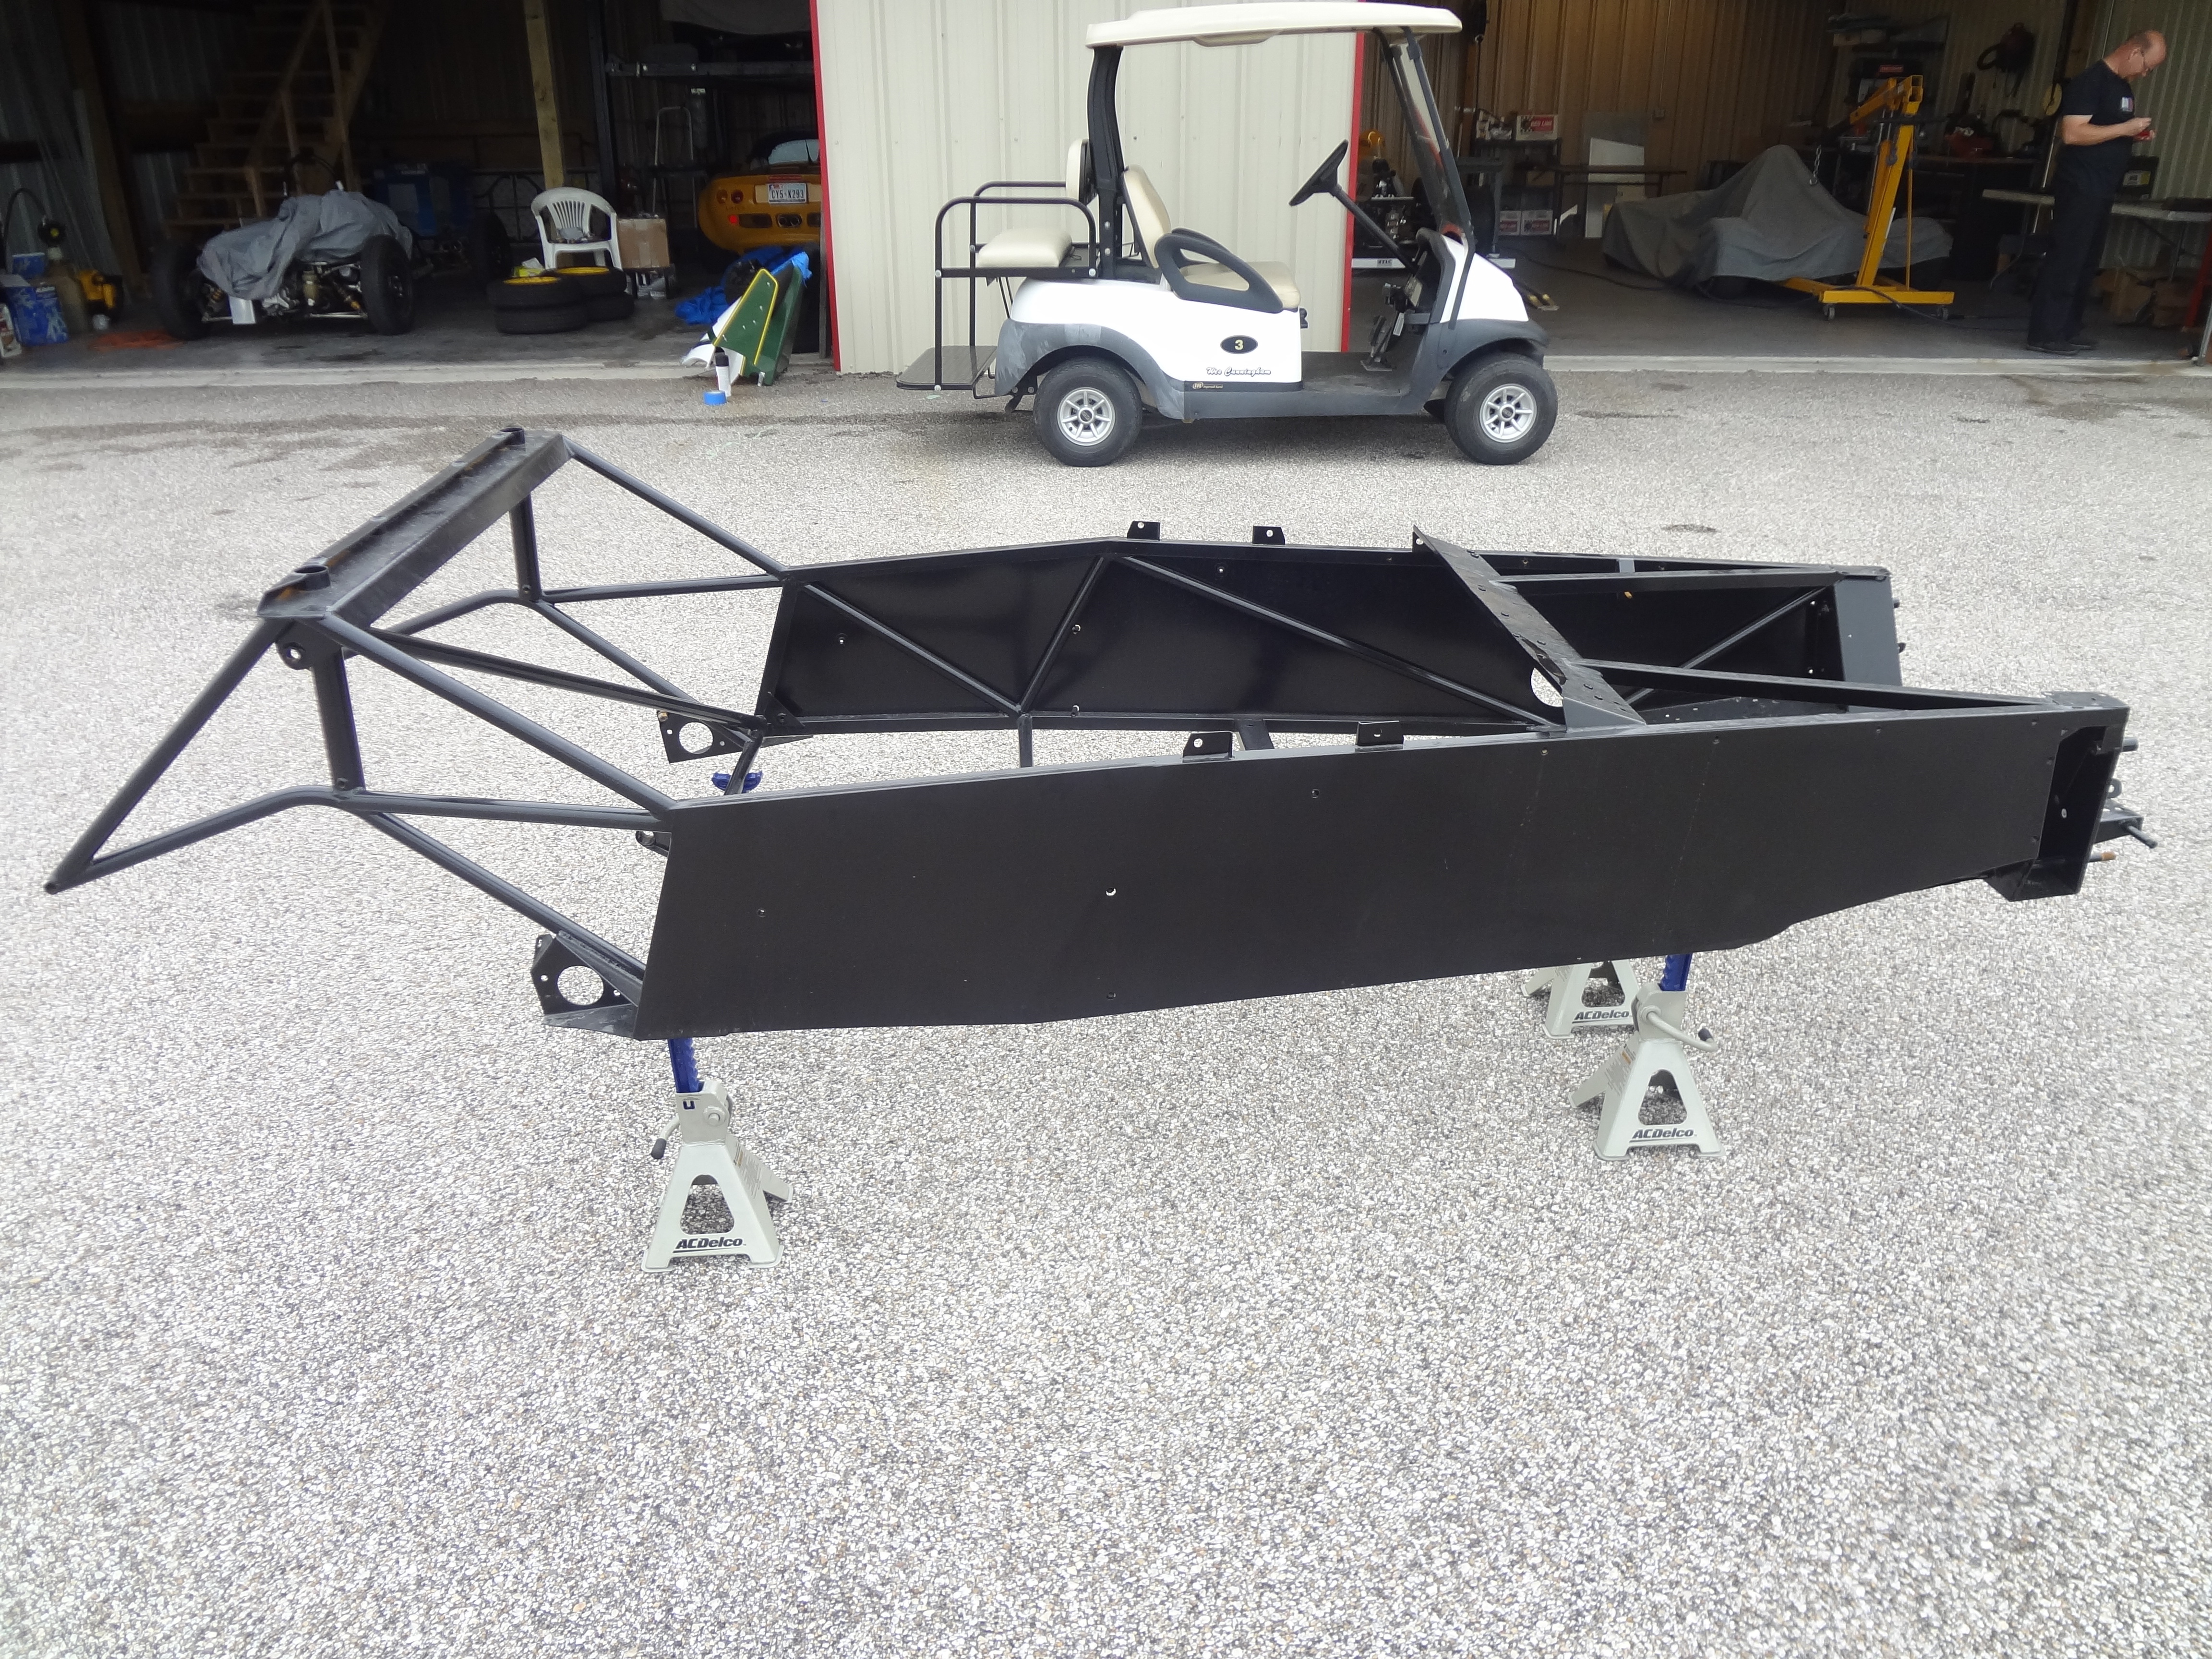
Once the chassis frame was repaired and the new side panels were welded in place the whole chassis was cleaned by media blasting and powder coated semi gloss black ( [link] - [link] ). Powder coating was performed by Custom Coatings (Cypress, TX).
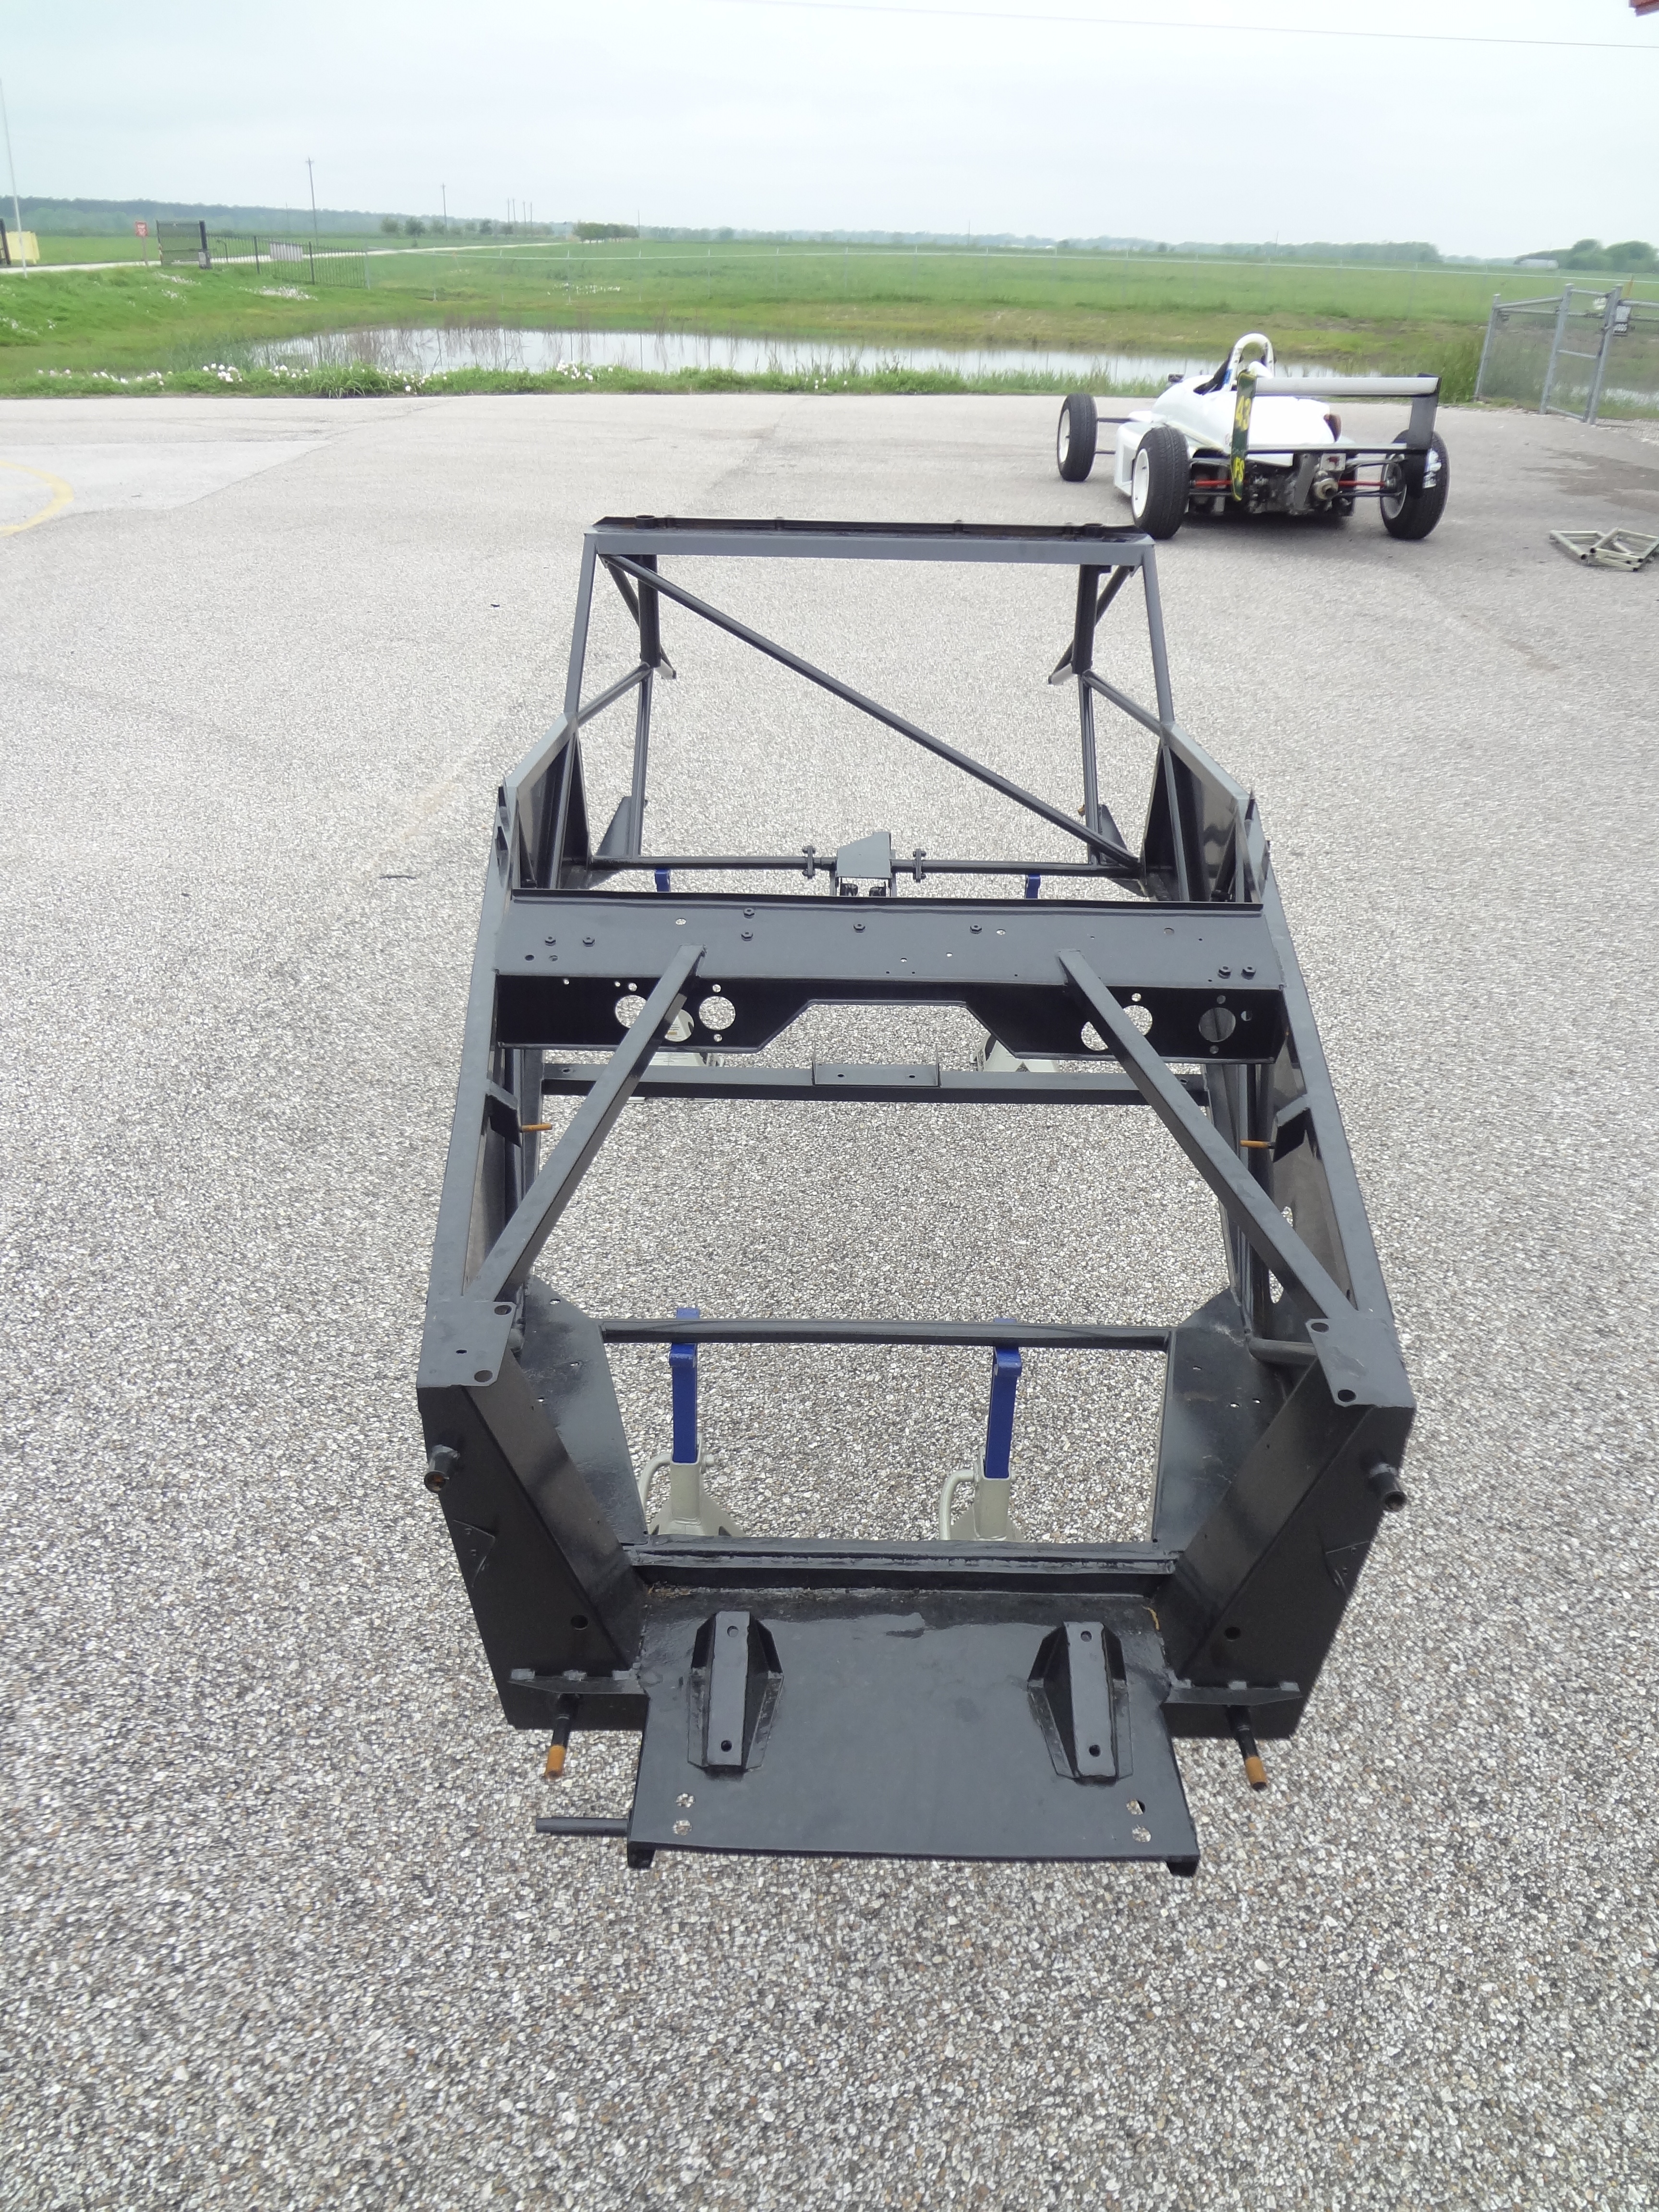
Powder coated chassis viewed from the front.
Powder coated chassis viewed from the right.
Powder coated chassis viewed from the left.
Powder coated chassis viewed from the rear.
Powder coated engine bay viewed from the left (intake side of the engine).
Powder coated engine bay viewed from the right (exhaust side of the engine).
Powder coated chassis brace and the rear cross member.

One of the advantages of media blasting and powder coating is that the original frame number became visible ( [link] ). The number GE-031 indicates that the chassis was produced by Griston Engineering.
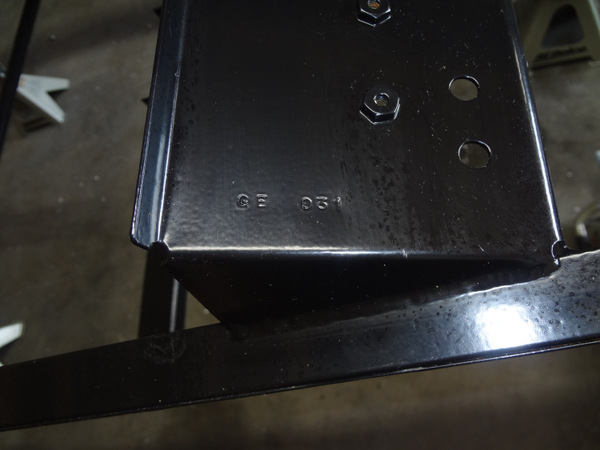
View of the frame number stamped onto the right hand side scuttle.

Resources

  • Lucas Racing and Restoration, 10030 Talley Lane, Houston, TX 77041, USA Tel: +1 713 462 0068. www.lucasracinginc.com .
  • Custom Coatings, 16219 Dundee, Cypress, TX 77429, USA. Tel: +1 281 813 0119.

Bibliography

  • Lotus Seven Register ( www.lotus7register.co.uk ).
  • D. Ortenburger, Legend of the Lotus Seven , Mercian Press (1987).
  • J. Coulter, Lotus Seven , Amadeus Press (1995).

Get Jobilize Job Search Mobile App in your pocket Now!

Get it on Google Play Download on the App Store Now


Source:  OpenStax, Lotus seven s4 (type 60): design, restoration, and maintenance. OpenStax CNX. Jun 07, 2013 Download for free at http://cnx.org/content/col11418/1.19
Google Play and the Google Play logo are trademarks of Google Inc.

Notification Switch

Would you like to follow the 'Lotus seven s4 (type 60): design, restoration, and maintenance' conversation and receive update notifications?

Ask