| << Chapter < Page | Chapter >> Page > |
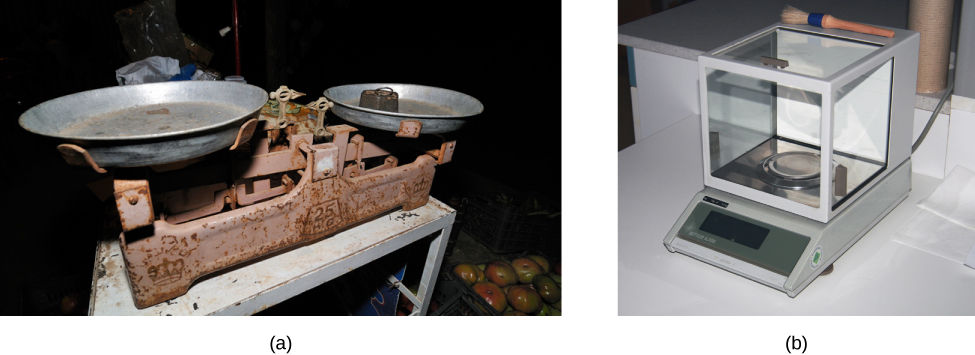
[link] shows two instruments used to measure the mass of an object. The digital scale has mostly replaced the double-pan balance in physics labs because it gives more accurate and precise measurements. But what exactly do we mean by accurate and precise ? Aren’t they the same thing? In this section we examine in detail the process of making and reporting a measurement.

Science is based on observation and experiment—that is, on measurements. Accuracy is how close a measurement is to the accepted reference value for that measurement. For example, let’s say we want to measure the length of standard printer paper. The packaging in which we purchased the paper states that it is 11.0 in. long. We then measure the length of the paper three times and obtain the following measurements: 11.1 in., 11.2 in., and 10.9 in. These measurements are quite accurate because they are very close to the reference value of 11.0 in. In contrast, if we had obtained a measurement of 12 in., our measurement would not be very accurate. Notice that the concept of accuracy requires that an accepted reference value be given.
The precision of measurements refers to how close the agreement is between repeated independent measurements (which are repeated under the same conditions). Consider the example of the paper measurements. The precision of the measurements refers to the spread of the measured values. One way to analyze the precision of the measurements is to determine the range, or difference, between the lowest and the highest measured values. In this case, the lowest value was 10.9 in. and the highest value was 11.2 in. Thus, the measured values deviated from each other by, at most, 0.3 in. These measurements were relatively precise because they did not vary too much in value. However, if the measured values had been 10.9 in., 11.1 in., and 11.9 in., then the measurements would not be very precise because there would be significant variation from one measurement to another. Notice that the concept of precision depends only on the actual measurements acquired and does not depend on an accepted reference value.

Notification Switch
Would you like to follow the 'University physics volume 1' conversation and receive update notifications?