| << Chapter < Page | Chapter >> Page > |
The elements of contrast are the following:
C OLOUR
LINE
TONE NUANCES
FORM
SPACE
TEXTURE
Find pictures in old magazines to illustrate at least one contrast of each formal element as mentioned above. Paste these into your journals.
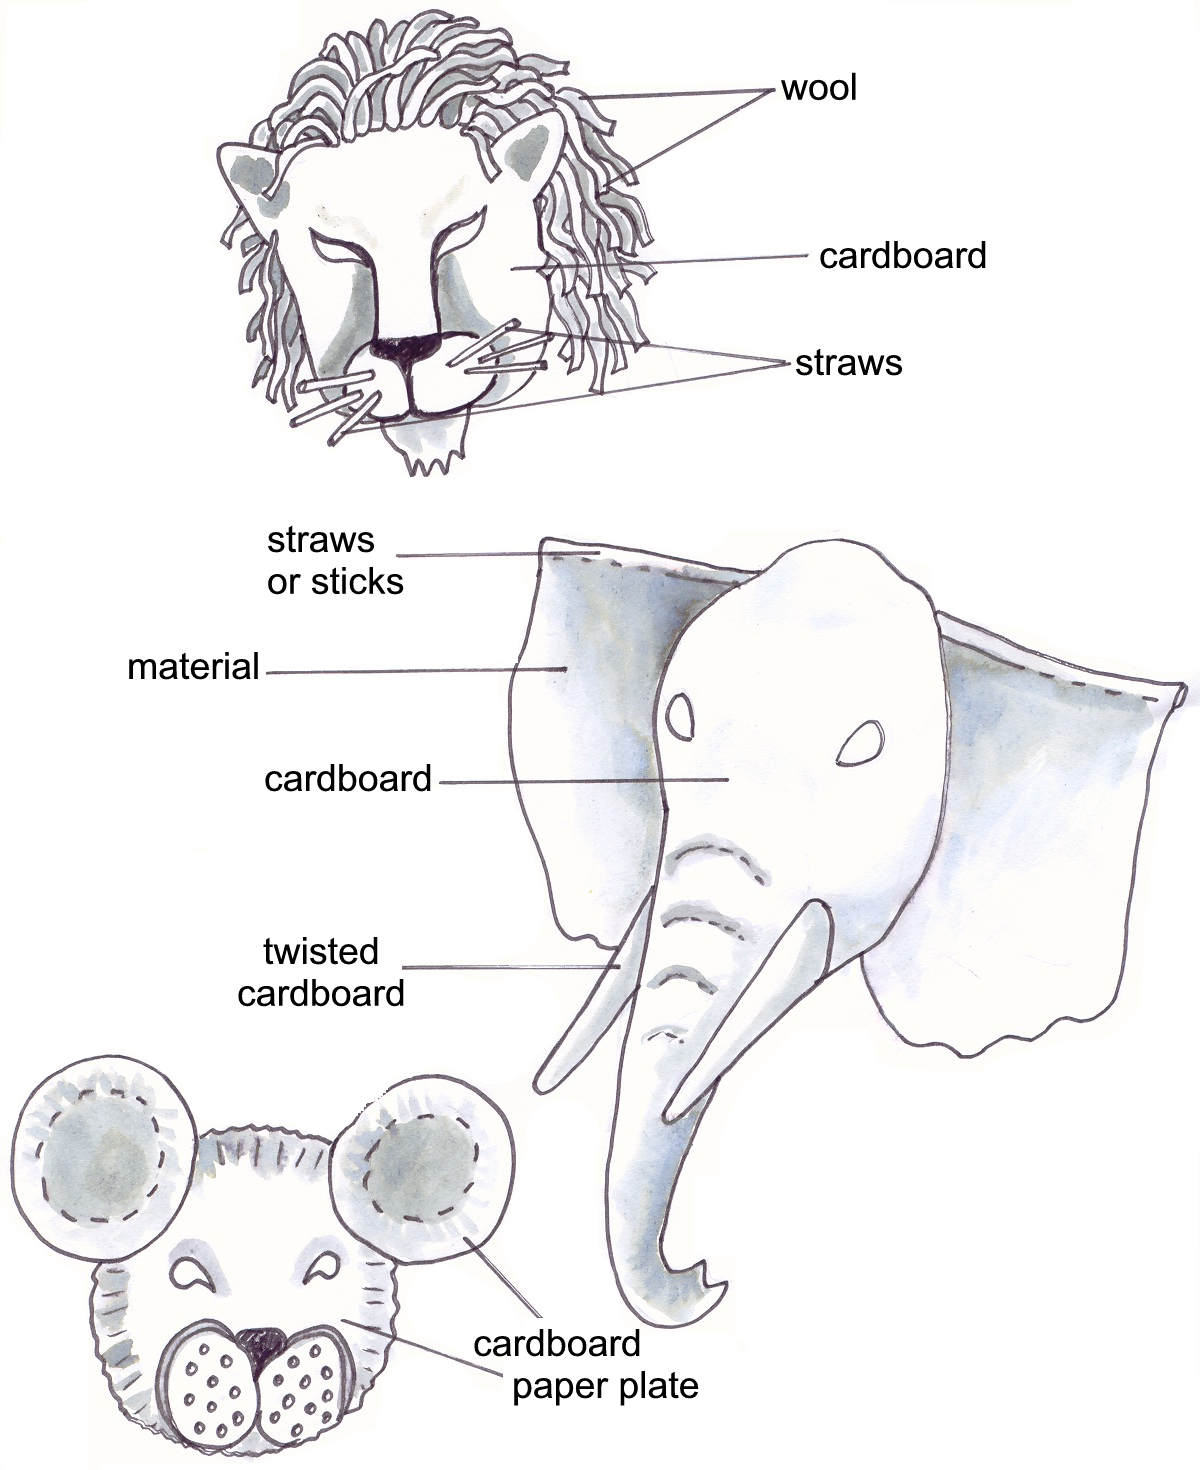
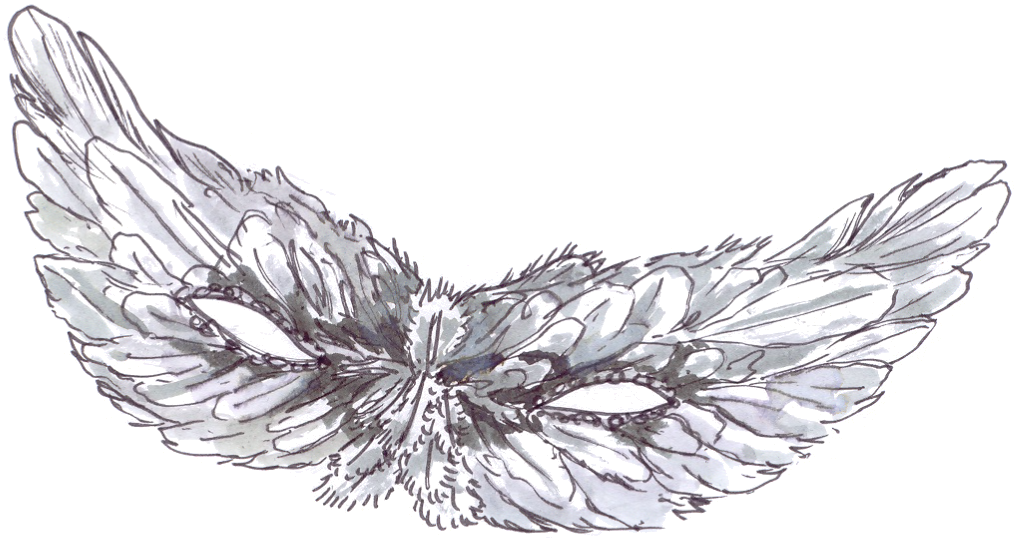
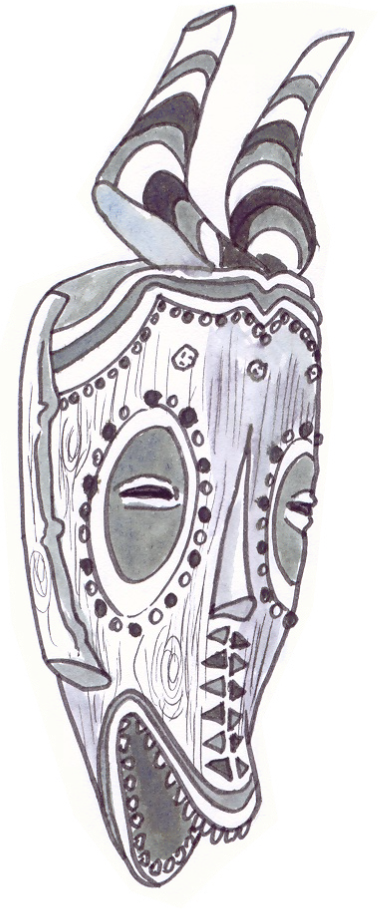
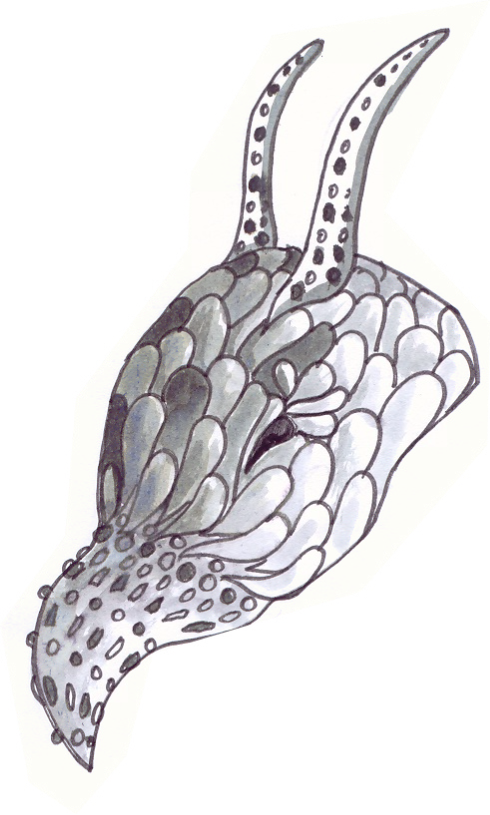
Before you start with the actual making of the masks, decide which animal you intend portraying.
Research must then be done on this animal. Pictures must be collected and pasted in or drawings can be made in your journal.
When you have collected enough information, the planning of the mask on paper may commence.
IMPORTANT : Remember that each animal has certain characteristics. You must identify the characteristics of his specific animal, e.g. the mane of a lion, the trunk of an elephant, teeth and ears, the wide mouth and protruding eyes of a frog, the horn of a rhino, etc.
You must collect:
Crinkled cardboard or paper plates/pencils/paint and brushes, pastels or wax crayons/elastic or string/glue/waste products like caps, cork, washing pegs, leaves, seeds, hessian, plastic bottles, dried flowers, bones, cotton, egg holders, polystyrene, wire, shredded paper, parts of old toys, wool, wood shavings, steel wool, feathers, packing material, pipe cleaners, etc.
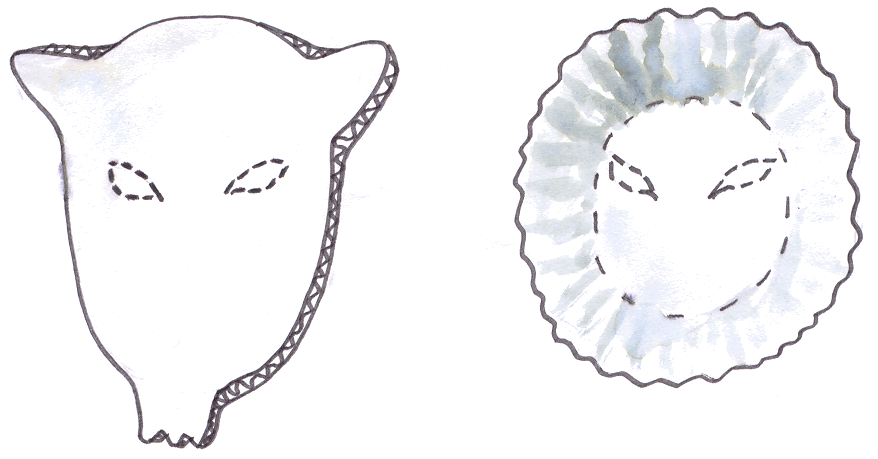
The basis of the mask is the crinkled cardboard, a very versatile material as it can be shaped. Interesting effects can also be obtained by alternating the smooth and the coarse sides as texture contrasts. The crinkled line can be used horizontally and vertically in combination. (As alternative a paper plate can be used as basis).
Hold the form, the plate or the cardboard in front of your face so that a friend can determine and mark the position of your eyes. Then the preliminary sketch of the previous activity can be redrawn with the pastels, wax crayons or paint.
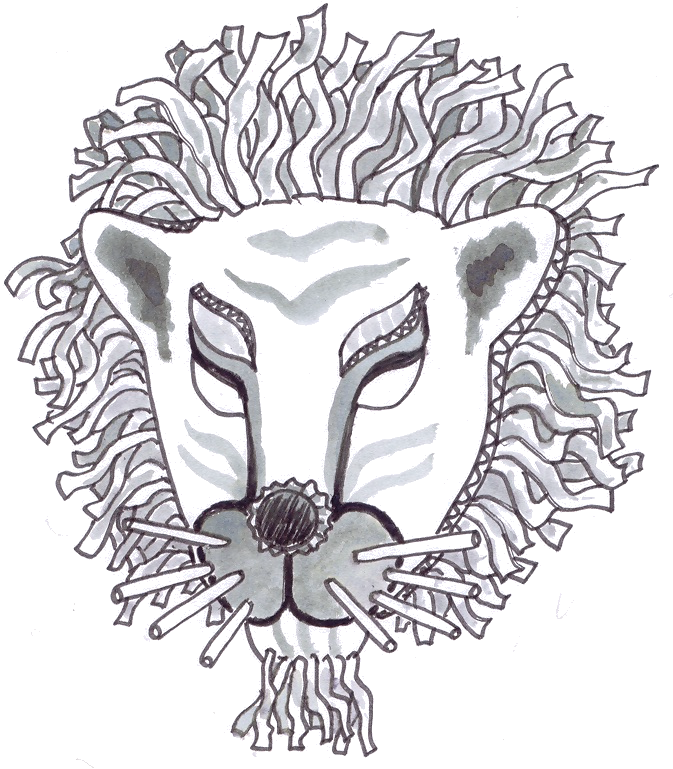
After the basis has been completed, look closely at the specific characteristics of the animal: nose, ears, whiskers, mouth, teeth, horn, etc. These characteristics must then be added by using the waste products. In this manner pipe cleaners can be used for whiskers, a nose is a bottle cap painted black, shredded paper is used for the mane - the list is infinite. Use this opportunity to be as original and creative as you can be!
Bear in mind the table that you completed in Activity 3.1 - you must create as many possible contrasts on the mask through colour, line, notation, form, space and texture.
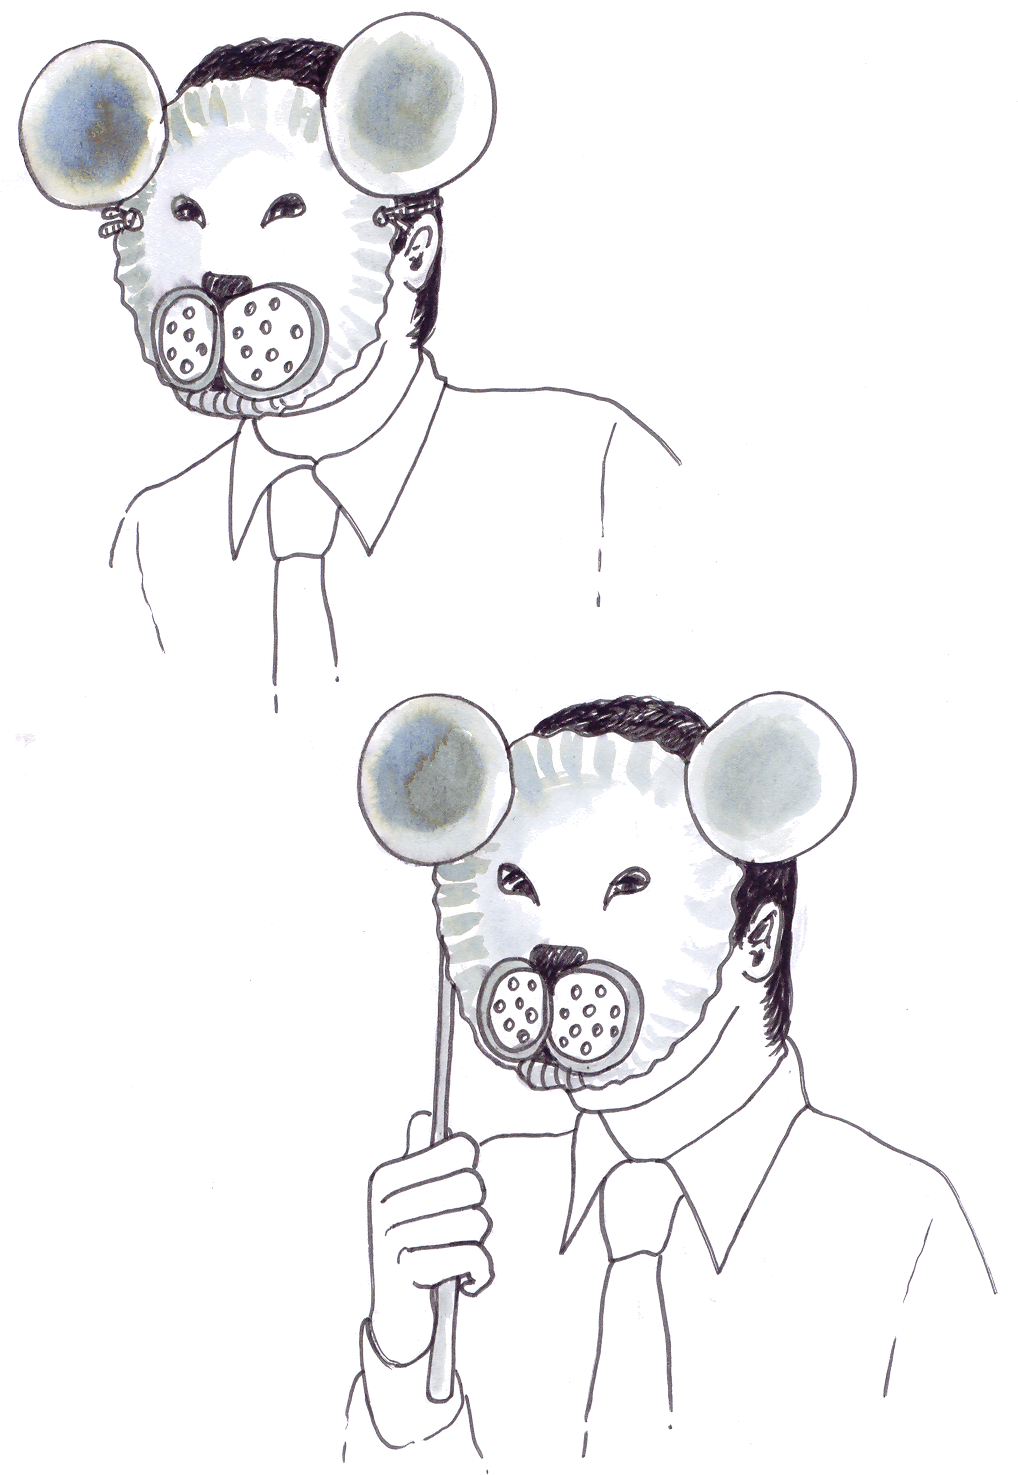
After the decoration of the mask, two holes must be made on either side of the mask. String or elastic can be used between the two holes to tie so that the mask will remain on your head. You could also simply hold the mask in your hand in front of your face during the presentation. You can also attach the mask to a longish stick.
LEARNING OUTCOME 1: CREATING, INTERPRETING AND PRESENTING The learner will be able to create, interpret and present work in each of the art forms.
We know this when the learner:
1.11 makes and shares artworks to:
- demonstrate planning and skilful use of design elements in creating masks based on various nature gods of different cultures;
- explore the basic formal elements and techniques of two-dimensional art (drawing and painting);
- identify tone and mix primary, secondary and tertiary colours;
- represent form in space in three-dimensional work (e.g. model making and clay-work).

Notification Switch
Would you like to follow the 'Arts and culture grade 4' conversation and receive update notifications?