| << Chapter < Page | Chapter >> Page > |
In the program file is a macro that is used to define the size of the buffers that are in the
inStream and
outStream buffers. The macro is
#define CHANLEN 256 // Number of samples per channel
The CCS project uses TI's device drivers described in SPRA846. In the TI document SPRA846 it states that "If buffers are placed in external memory for use with this device driver they should be aligned to a 128 bytes boundary. In addition the buffers should be of a size multiple of 128 bytes as well for the cache to work optimally." If the SIO streams
inStream and
outStream are in external memory then the buffer sizes need to adhere to this requirement. If the streams are placed in internal memory then they can be any size desired as long as there is enough memory.
Suppose you want to keep the buffers in external memory but change the size. As an example, you want to change the length of each channel to 512 (multiple of 128). Then change
CHANLEN to 512 and then open the configuration file
DSK6713_audio.tcf and examine the properties for
inStream .
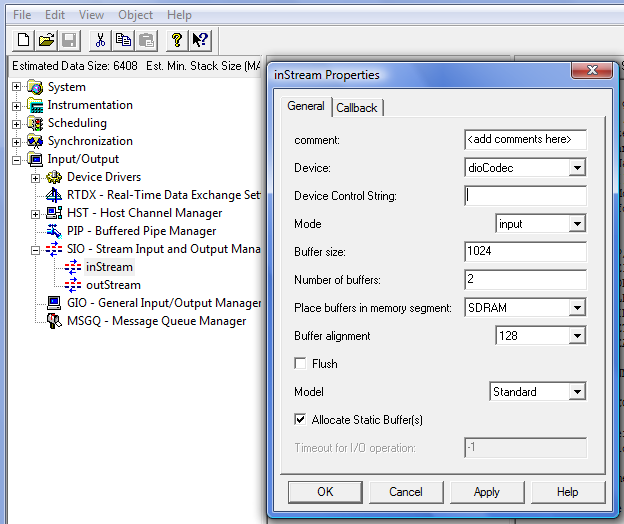
Notice that the buffer size is 1024. This was for a channel length of 256. In the C6713 a Minimum Addressable Data Unit (MADU) is an 8-bit byte. The buffer size is in MADUs. Since each sample from the codec is 16-bits (2 MADUs) and there is a right channel and a left channel, the channel length is multiplied by 4 to get the total buffer size needed in MADUs. 256*4 = 1024. If you want to change the channel length to 512 then the buffer size needs to be 512*4 = 2048. Simply change the buffer size entry to 2048. Leave the alignment on 128. The same change must be made to the
outStream object so that the buffers have the same size so change the buffer size in the properties for the
outStream object also.
Suppose you have an algorithm that processes a block of data at a time and the buffer size is not a multiple of 128. To make the processing easier, you could make the stream buffer sizes the size you need for your algorithm. In this case, the stream objects must be placed in internal memory. As an example suppose you want a channel length of 94. Set the
CHANLEN macro to 94 and then open the configuration file
DSK6713_audio.tcf and examine and modify the properties for
inStream and
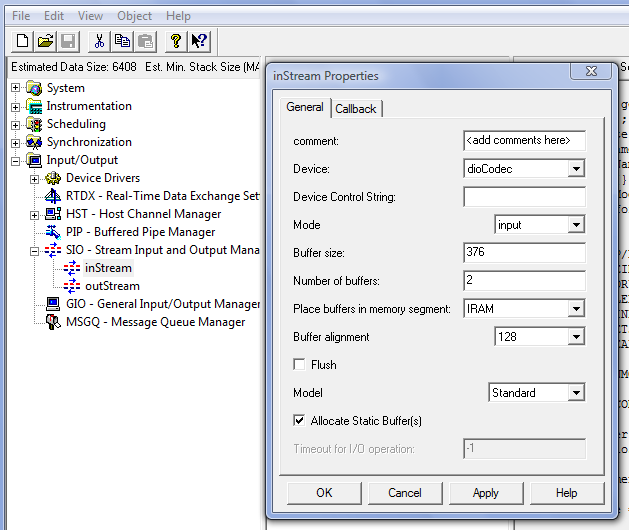
outStream . The buffer size will now be 94*4 = 376 and the buffer memory segment must be change from external RAM (SDRAM) to the internal RAM (IRAM).
CCS v3.3 comes with the chip support library (CSL). If for some reason you don't have it or it needs to be updated, download it from the TI website and install it.
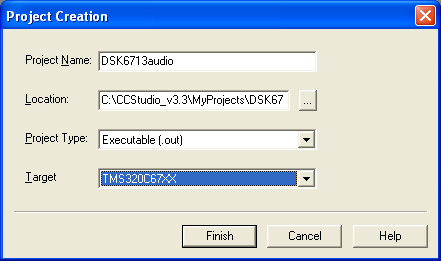
To create a CCS project select Project->New… . This will bring up a window where you can enter the name of the project. The location selected is the default location for project files. Note that it is in the install directory for CCS v3.3. Select the Target type as TMS320C67xx . Press Finish .
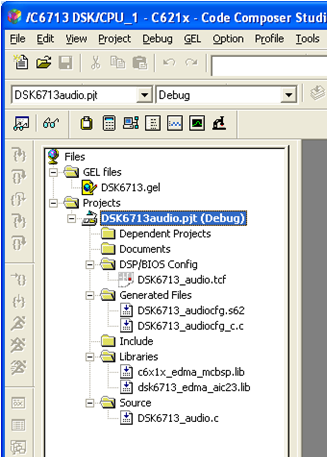
Copy files from the zip file to project directory. When they are copied to the project directory the files need to be added to the project. Right click on the project name and select Add Files To Project… . There should be 4 files added to the project as well as a header file and a couple of automatically generated files.
Some options in the project need to be changed in order to use the CSL. To get to the project properties select Project->Build Options . Under Preprocessor enter the chip that we are using, in this case CHIP_6713 .
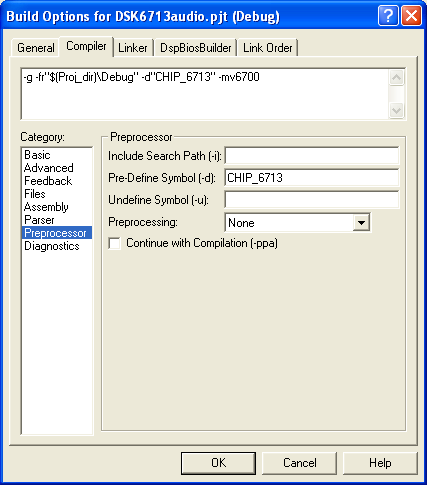
The library file for the CSL also needs to be added to the project. Right click on the project or where it says Libraries and search for the CSL library file named
csl6713.lib . It should be located in the directory
C:\CCStudio_v3.3\C6000\csl\lib .
The configuration file,
DSK6713_audio.tcf , generates several files, one of them being a command file titled
DSK6713_audio.cmd . Add this file to the project. If it is not there, you may need to attempt to build the project so that the file gets generated.
After installing CCS v3.3 the C6713 DSK drivers need to be installed also. If they are not already installed then download them from Spectrum Digital, manufacturer of the DSK, or install them from the install disk that comes with the DSK.
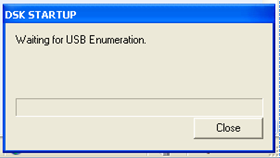
Add power to the DSK board and then plug the USB connector into the PC you are using. Start up CCS. As the splash screen comes, under Windows XP, there should be a little window that pops up in the bottom right corner of the screen.
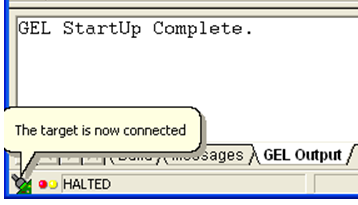
CCS v3.3 must first be connected to the target before the executable can be loaded onto the board. Select Debug->Connect . This will cause CCS to connect to the board and the board status should be in the lower left corner of the CCS window.
In order to debug and run the program you need to build it and then load it onto the DSK board. To build the project, click the Incremental Build button.

After the project builds successfully, load the
.out file to the DSK board but selecting
File->Load Program... and selecting the file. Or, if you want it loaded automatically, select
Options-
>Customize and then on the
Project/Program/CIO tab select the checkmark next to
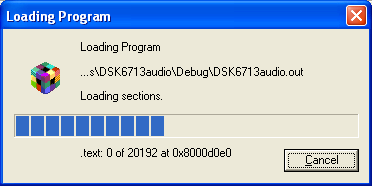
Load Program After Build . When you load the program you will see a status window like the following figure.
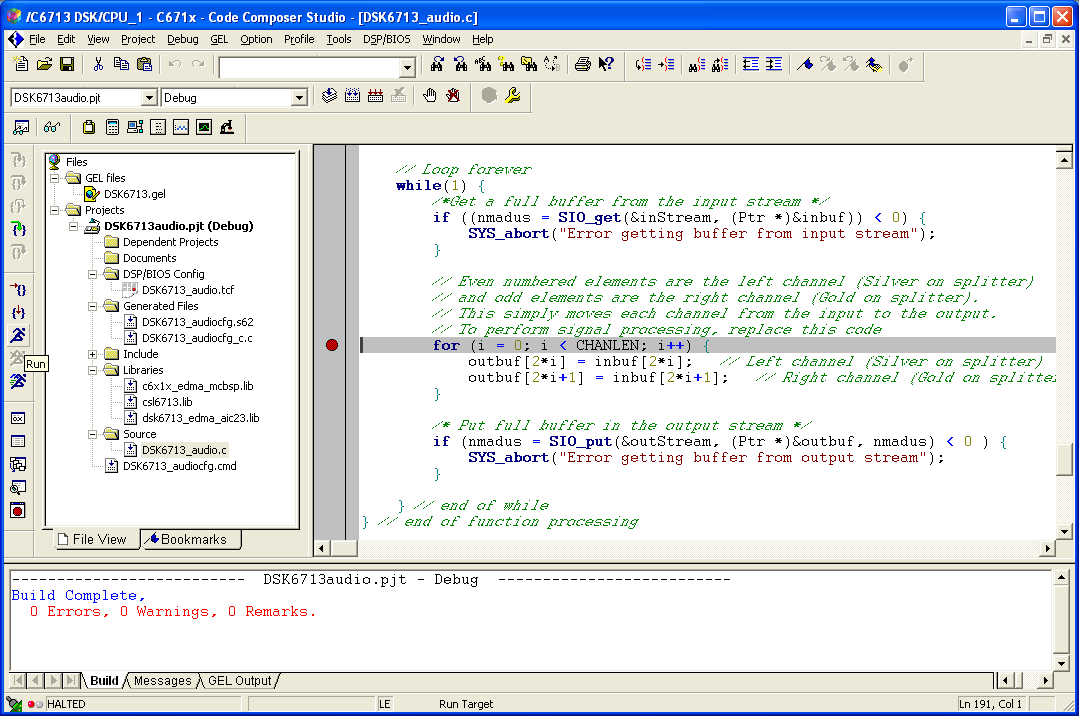
Once the program is loaded it is ready to be used. The following figure shows the final project with the main program file.

Notification Switch
Would you like to follow the 'Ti dsp/bios lab' conversation and receive update notifications?